Thawing Cheesecake in the Fridge: Tips for Best Texture & Flavor
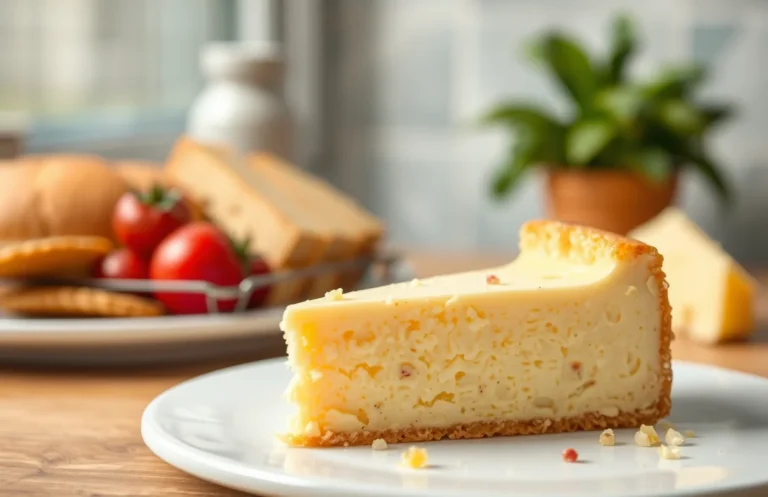
Cheesecake is that delightful dessert that melts in your mouth and leaves you craving more. With its creamy texture and rich flavor, it’s the perfect end to any meal or a sweet treat just for you. Imagine serving a beautiful slice, topped with fresh berries, to friends at a gathering — it’s a guaranteed crowd-pleaser!
Wondering if you can thaw cheesecake covered in the fridge? The good news is yes! Thawing cheesecake properly preserves its delicious texture and flavor. Expect about 6-8 hours of thawing time. This is an easy process suitable for all skill levels, serving 8-10 slices.
| Prep Time | Cook Time | Total Time | Servings | Difficulty |
|---|---|---|---|---|
| 5 minutes | 0 minutes | 6-8 hours | 8-10 slices | Easy |
Thawing Cheesecake Basics
Understanding the proper way to thaw cheesecake is crucial for maintaining its delicious texture and flavor. Thawing matters because it prevents the cheesecake from becoming soggy or overly soft, preserving that perfect creamy consistency we all love.
Why Thawing Matters
Thawing cheesecake in the fridge is the safest method to ensure its quality. Here are a few key reasons why this approach is preferred:
- Temperature Control: Keeping the cheesecake in the fridge during thawing helps maintain a stable, cool temperature, reducing the risk of bacterial growth.
- Texture Preservation: Gradual thawing allows the cheesecake to retain its creamy texture without becoming watery.
- Flavor Retention: Thawing slowly in the fridge helps preserve the rich flavors, ensuring that every bite remains delicious.
Impact on Texture and Flavor
When thawing cheesecake, the method you choose can significantly affect the outcome. Here’s what you can expect:
| Thawing Method | Texture | Flavor |
|---|---|---|
| Fridge | Creamy, intact | Rich and full |
| Countertop | Soft, potentially soggy | May lose intensity |
Pro tip: Thaw your cheesecake overnight in the fridge for the best results. It should feel firm but not frozen when ready to serve.
Thawing Covered Cheesecake
Thawing a covered cheesecake in the fridge is both safe and effective, preserving its delicious texture and flavor. This method minimizes moisture loss and prevents any unwanted odors from affecting your dessert. Here’s what you need to know about the safety and quality of thawing cheesecake while it’s covered.
Is It Safe?
Thawing cheesecake in the fridge is safe and highly recommended. The cool temperature of the refrigerator allows the cheesecake to defrost gradually, which helps maintain its creamy texture. Here are some key points:
- Thawing time: Expect to leave your cheesecake in the fridge for about 6 to 8 hours, or overnight for best results.
- Keep it covered: Ensure your cheesecake remains covered during thawing to avoid contamination and prevent it from absorbing strong odors.
Effect on Quality
Thawing cheesecake while covered helps preserve its quality. Here’s how this method impacts the cheesecake:
- Texture: The smooth and creamy texture of the cheesecake is maintained, with minimal risk of cracking.
- Flavor: Keeping it covered prevents the dessert from picking up unwanted flavors from other items in your fridge.
- Appearance: Proper thawing will help maintain the cheesecake’s beautiful presentation, ensuring it looks as good as it tastes.
Chef’s tip: If you notice any condensation on the cover after thawing, gently pat it dry with a clean paper towel to keep the cheesecake from becoming soggy.
Step-by-Step Thawing Instructions
Thawing cheesecake properly is essential for preserving its creamy texture and flavor. Thawing in the fridge allows for a gradual defrosting process, minimizing the risk of compromising quality. Follow these steps to ensure your cheesecake thaws safely and effectively.
- Preparation: Before you begin thawing, make sure your cheesecake is still covered. If it’s wrapped in plastic wrap, keep it that way to prevent condensation from forming on the surface. Place the cheesecake on a plate or in a shallow dish to catch any potential drips as it thaws.
- Thawing Duration: Transfer the cheesecake to the refrigerator and allow it to thaw for at least 6-8 hours, or overnight for best results. The cheesecake should feel firm but slightly soft when touched, indicating it has thawed adequately. Avoid thawing at room temperature, as this can lead to changes in texture and flavor.
- Final Checks: After the thawing time is up, carefully unwrap the cheesecake. Inspect it for any moisture beads on the surface; these can be gently dabbed away with a paper towel. Your cheesecake should have a smooth, creamy appearance, and should be easy to slice. If it feels overly soft, it may need a bit more time in the fridge.
Preserving Texture and Flavor
Thawing cheesecake properly is essential to maintain its creamy texture and rich flavor. When you choose to thaw your cheesecake in the fridge, using the right covering techniques and temperature can significantly affect the outcome. Here are some practical tips to ensure your cheesecake tastes amazing after thawing.
- Use a tight cover: Wrap your cheesecake tightly in plastic wrap or place it in an airtight container. This helps prevent moisture loss and protects the surface from any odors in the fridge, keeping your cheesecake fresh.
- Optimal temperature: Thaw your cheesecake at a consistent refrigerator temperature of 36°F to 40°F (2°C to 4°C). This gradual thawing process helps maintain the integrity of the cheesecake’s texture, preventing it from becoming grainy or losing its creaminess.
- Avoid rapid thawing: Never try to speed up the thawing process by leaving the cheesecake at room temperature. Rapid temperature changes can cause the filling to separate, leading to an undesirable texture. Always be patient and let it thaw slowly in the fridge.
- Check for condensation: After thawing, inspect the cheesecake for moisture on the surface. If you notice condensation, gently dab it with a paper towel before serving to avoid excess water affecting the texture and flavor.
Chef’s tip: If your cheesecake has been frozen for an extended period, consider letting it sit in the fridge for up to 24 hours for optimal thawing and flavor development.
Common Thawing Mistakes
Thawing cheesecake properly is crucial to maintain its creamy texture and delightful flavor. However, there are common mistakes that can lead to a less-than-perfect result. Understanding these pitfalls will help ensure your cheesecake remains a delicious treat.
Leaving It Out Too Long
- Time Management: Don’t leave your cheesecake out at room temperature for more than 2 hours. Beyond that, you risk bacterial growth, which can spoil your cheesecake.
- Watch for Warmth: If your kitchen is particularly warm, reduce that time to 1 hour. Cheesecake can start to sweat, leading to a soggy texture.
Using Incorrect Methods
Chef’s tip: Always thaw cheesecake in the refrigerator for the best results; other methods can compromise its texture.
- Microwave Mishap: Avoid using the microwave to thaw cheesecake, as it can heat unevenly, causing the filling to separate and lose its smoothness.
- Hot Water Bath: Never use a hot water bath to speed up the thawing process. This can lead to melting around the edges while the center remains frozen.
By steering clear of these common mistakes, you’ll preserve the quality of your cheesecake, ensuring it’s ready to be enjoyed as it was intended. Always opt for a gentle thaw in the fridge, and keep a close eye on time to enjoy every bite!
Variations for Cheesecake Types
This section discusses how different types of cheesecake can affect the thawing process, particularly when it comes to flavor and texture. Understanding these variations will help you thaw your cheesecake effectively and maintain its delicious qualities.
-
Baked Cheesecake
Baked cheesecakes, like classic New York-style cheesecake, are denser and creamier. When thawing a baked cheesecake in the fridge, it’s essential to keep it covered to prevent it from absorbing any odors and to maintain moisture. Typically, it takes about 6-8 hours for a baked cheesecake to thaw properly in the refrigerator. Once thawed, the texture should be smooth and creamy without any signs of separation.
-
No-Bake Cheesecake
No-bake cheesecakes tend to be lighter and fluffier, often made with whipped cream or mascarpone. These types can be more sensitive to temperature changes. Thawing in the fridge, covered, is crucial to preserving their airy texture. Allow for 4-6 hours in the refrigerator for complete thawing. After thawing, the no-bake cheesecake should feel soft to the touch but not overly runny.
-
Flavored Cheesecakes
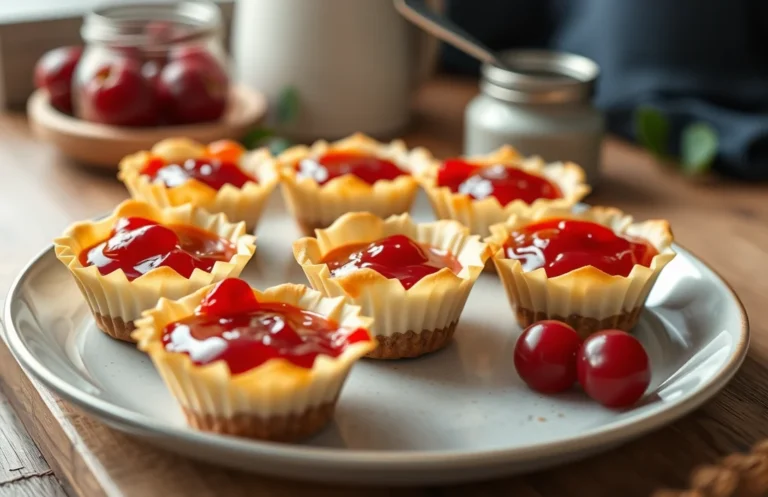
Flavored cheesecakes, such as chocolate or fruit-flavored varieties, can vary in texture based on their ingredients. Regardless of the type, always thaw these cheesecakes covered to lock in flavor and prevent freezer burn. Depending on the richness of the flavoring, allow for 4-8 hours in the fridge. The key is to ensure that the flavors meld back together without losing their distinct notes.
Serving and Pairing Suggestions
Once your cheesecake has been safely thawed in the fridge, it’s time to think about how to serve it for maximum enjoyment. The right plating and pairing can elevate your dessert experience, making it a memorable treat for any occasion.
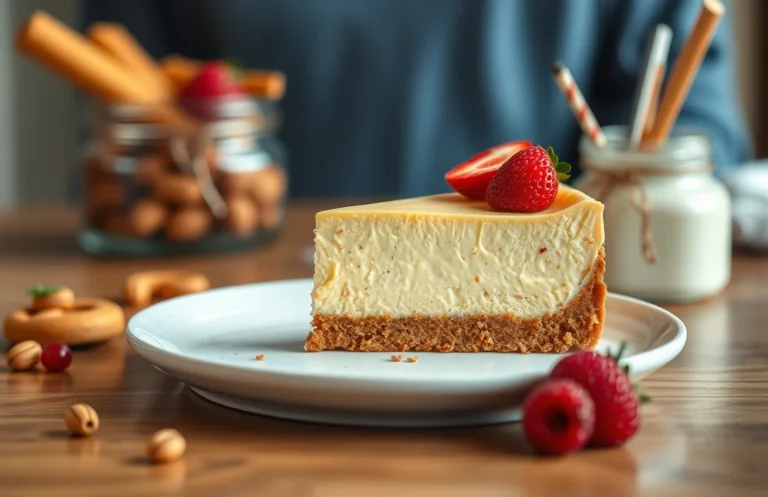
- Plating Tips: For a beautiful presentation, slice your cheesecake into even pieces using a hot knife. To do this, run the knife under hot water for a few seconds and wipe it clean after each cut. This will help you achieve clean edges and a professional look.
- Garnishing: Consider adding a dollop of whipped cream (1 cup heavy cream, whipped until soft peaks form) on top of each slice. You can also sprinkle some fresh berries like strawberries or blueberries (about ½ cup) around the plate for a pop of color and freshness.
- Perfect Pairings: Cheesecake pairs wonderfully with a variety of flavors. A drizzle of chocolate or caramel sauce (about ¼ cup) enhances the richness of the cheesecake. Alternatively, serve it with a fruit compote made from simmering 1 cup of mixed berries with 2 tablespoons of sugar until syrupy.
- Beverage Suggestions: Pair your cheesecake with a glass of dessert wine, espresso, or even a fruity herbal tea. Each of these options complements the creamy texture and rich flavors of the cheesecake beautifully.
Chef’s tip: If you want to add a layer of flavor, consider infusing your whipped cream with a splash of vanilla extract or a hint of citrus zest.
Quick Summary
| Prep Time | Cook Time | Total Time | Servings |
|---|---|---|---|
| 0 minutes | 0 minutes | 6-12 hours (thawing) | 8 slices |
- Thawing Time: Allow 6-12 hours in the fridge for optimal texture.
- Covering: Keep cheesecake covered to prevent drying and absorbing odors.
- Check for Doneness: Ensure it’s fully thawed before serving; a cold center is unappetizing.
- Serving Temperature: Serve at room temperature for the best flavor and creaminess.
- Storage After Thawing: Consume within 3-4 days for best taste.
- Tip 1: Use plastic wrap or an airtight container for covering.
- Tip 2: Avoid thawing at room temperature to prevent bacterial growth.
Frequently Asked Questions
Can I make this ahead of time? How to store and reheat?
You can make cheesecake ahead of time and store it covered in the fridge for up to 5 days. If you need to reheat it, warm it gently in the oven at 200°F for about 10-15 minutes until just warmed through.
What can I substitute for cream cheese?
If you’re looking for a substitute, you can use mascarpone cheese or a mixture of Greek yogurt and sour cream for a similar texture and flavor. Just keep in mind that the taste will vary slightly.
How do I know when it’s done?
Your cheesecake is done when the edges are set and the center has a slight jiggle; it will continue to firm up as it cools. A good visual cue is when the top is just starting to turn golden and the sides pull away slightly from the pan.
Can I freeze this? How long does it last?
Yes, you can freeze cheesecake for up to 3 months when properly wrapped. Make sure to wrap it tightly in plastic wrap and then in aluminum foil to prevent freezer burn.
What if I don’t have a springform pan?
If you don’t have a springform pan, you can use a 9-inch round cake pan lined with parchment paper to help with removal. Just be gentle when taking it out, as it may be a little more difficult to un-mold.