Can You Freeze Homemade Cheesecake? Tips for Perfect Results
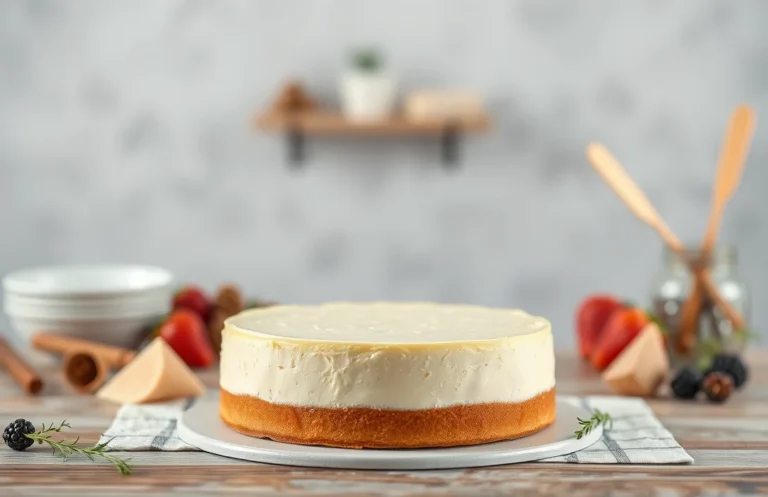
Homemade cheesecake is the ultimate indulgence, creamy and rich, perfect for celebrations or a cozy night in. Each bite melts in your mouth, with just the right amount of sweetness. Plus, it’s a crowd-pleaser that never fails to impress friends and family, making it a dessert you’ll want to enjoy time and time again.
Can you freeze homemade cheesecake? Yes! This article provides step-by-step freezing instructions, tips on thawing, and insights on how freezing affects texture and flavor. You’ll also find variations that freeze well and storage duration recommendations.
| Prep Time | Cook Time | Total Time | Servings | Difficulty |
|---|---|---|---|---|
| 20 minutes | 60 minutes | 1 hour 20 minutes | 8 servings | Medium |
Cheesecake Origins and Appeal
Understanding the origins of cheesecake not only enriches our appreciation for this beloved dessert but also informs how we can best preserve its delightful qualities. Cheesecake has a rich history that spans centuries and cultures, making it a fascinating subject in dessert lore.
- Historical Roots: Cheesecake can be traced back to ancient Greece, where it was served to athletes at the first Olympic Games in 776 B.C. This creamy dessert was made from fresh cheese and honey, laying the groundwork for future variations.
- Evolution Over Time: The Romans adopted and adapted the Greek recipe, adding their spin with ingredients like eggs and cream. As cheesecake traveled across Europe, it evolved further, leading to regional specialties, such as the rich and creamy New York-style cheesecake that many people adore today.
- Cultural Significance: Cheesecake is not just a dessert; it symbolizes celebration and indulgence in many cultures. From weddings to birthdays, it has become a staple for special occasions, making it a cherished part of dessert culture.
- Why We Love It: Its velvety texture and rich flavor appeal to many, and the versatility of cheesecake means it can be customized with various toppings and flavors, making it a favorite among home bakers and dessert lovers alike.
As we explore whether homemade cheesecake can be frozen, understanding its rich history and appeal helps us appreciate the importance of maintaining its texture and flavor through proper storage methods.
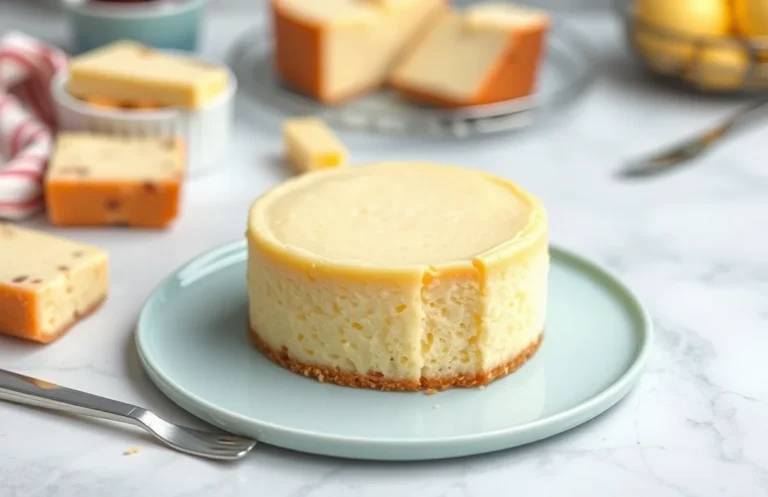
Ingredients for Homemade Cheesecake
This section provides a detailed list of all the essential ingredients needed to create a delicious homemade cheesecake, especially considering how they affect freezing and storage. Using the right ingredients not only contributes to the overall flavor and texture of the cheesecake but also impacts how well it can be frozen and thawed later on.
| Item | Amount/Specification | Notes |
|---|---|---|
| Cream Cheese | 24 ounces (680g) | Use full-fat for best texture; softened to room temperature |
| Sugar | 1 cup (200g) | Granulated sugar works best |
| Eggs | 3 large | Room temperature for better mixing |
| Sour Cream | 1 cup (240g) | Adds creaminess and tang; can substitute with Greek yogurt |
| Vanilla Extract | 1 teaspoon | Pure extract is preferred for flavor |
| Graham Cracker Crumbs | 1 ½ cups (150g) | For the crust; can use gluten-free crumbs if needed |
| Butter | 6 tablespoons (85g) | Melted; ensures crust holds together |
- For a lighter cheesecake, consider using low-fat cream cheese, but be aware it may affect texture.
- Ensure all ingredients are at room temperature before mixing to avoid lumps.
- Freeze the cheesecake uncut to maintain the best texture; wrap tightly in plastic wrap and then foil.
- Thaw in the refrigerator overnight for optimal taste and consistency.
Essential Kitchen Tools
Before you freeze your homemade cheesecake, it’s essential to gather the right tools to ensure a successful process. The right equipment helps maintain the quality and flavor of your cheesecake when stored in the freezer. Here’s a breakdown of the necessary items you’ll need.
| Item | Amount/Specification | Notes |
|---|---|---|
| Mixing Bowls | 2 medium-sized | One for the crust, one for the filling |
| Springform Pan | 9-inch | Ideal for easy removal of cheesecake |
| Freezer Bags | 2 large, heavy-duty | For storing sliced or whole cheesecake |
- Choose a quality springform pan to ensure a smooth cheesecake release.
- Use airtight freezer bags to prevent freezer burn, ensuring your cheesecake remains fresh.
- Consider using parchment paper at the bottom of the springform pan for easier removal.
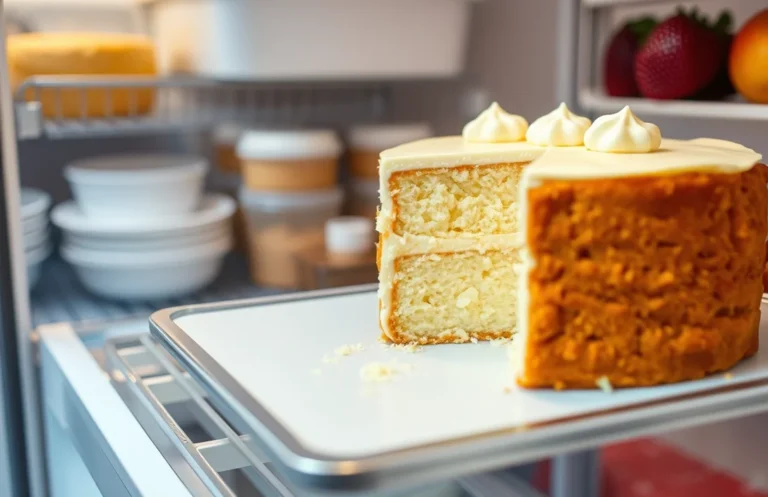
Step-by-Step Freezing Instructions
Freezing homemade cheesecake is a fantastic way to preserve your delicious creation for later enjoyment. Properly cooling, wrapping, and storing your cheesecake ensures it maintains its delightful flavor and creamy texture when you’re ready to indulge. Follow these detailed steps for optimal results.
- Cool the Cheesecake: After baking your cheesecake at 325°F (160°C) for about 50-60 minutes, remove it from the oven and let it cool in the pan on a wire rack for at least 1 hour. It should feel firm to the touch but slightly springy in the center. Once it’s at room temperature, refrigerate it for an additional 4 hours or overnight to ensure it sets properly.
- Wrap the Cheesecake: Before freezing, make sure the cheesecake is completely chilled. Use a sharp knife to carefully loosen the edges from the pan. Remove the sides of the springform pan and place the cheesecake on a large piece of plastic wrap. Wrap it tightly, ensuring no air pockets remain, which can lead to freezer burn.
- Use Additional Wrapping: For extra protection, wrap the cheesecake in aluminum foil or place it in an airtight freezer-safe container. This double-layer method prevents moisture loss and helps maintain flavor. Make sure to label the container with the date and type of cheesecake for reference.
- Storage Duration: Properly frozen cheesecake can last up to 3 months in the freezer. It’s best to consume it within this time frame for optimal taste and texture. After 3 months, the quality may decline, although it may still be safe to eat.
Pro Tips for Freezing Cheesecake
Freezing cheesecake can be a great way to preserve its luscious flavor and creamy texture, but it’s essential to do it right. Here are some expert tips to help you avoid common freezing pitfalls, ensuring your cheesecake remains delicious and visually appealing after thawing.
Avoiding Ice Crystals
Ice crystals can form during the freezing process, leading to an undesirable texture. To minimize ice crystal formation:
- Wrap the cheesecake tightly in plastic wrap, ensuring no air pockets remain. This helps keep moisture in and air out.
- For extra protection, place the wrapped cheesecake in a resealable freezer bag or an airtight container.
- Freeze the cheesecake for no longer than 1-2 months for optimal flavor and texture.
Choosing the Right Container
The choice of container can make a significant difference in the quality of your frozen cheesecake. Consider these options:
- Aluminum Foil: Wrap the cheesecake tightly in aluminum foil as an additional layer of protection against freezer burn.
- Freezer-Safe Containers: Opt for rigid plastic or glass containers that seal well to prevent air exposure.
Chef’s tip: Label your cheesecake with the date it was frozen to keep track of storage time and ensure you’re enjoying it at its best!
| Container Type | Pros | Cons |
|---|---|---|
| Plastic Wrap | Lightweight, easy to mold | Can tear easily |
| Aluminum Foil | Durable, great for preventing freezer burn | Can be less effective against air exposure |
| Freezer-Safe Containers | Reusability, excellent sealing | Heavier, requires more storage space |
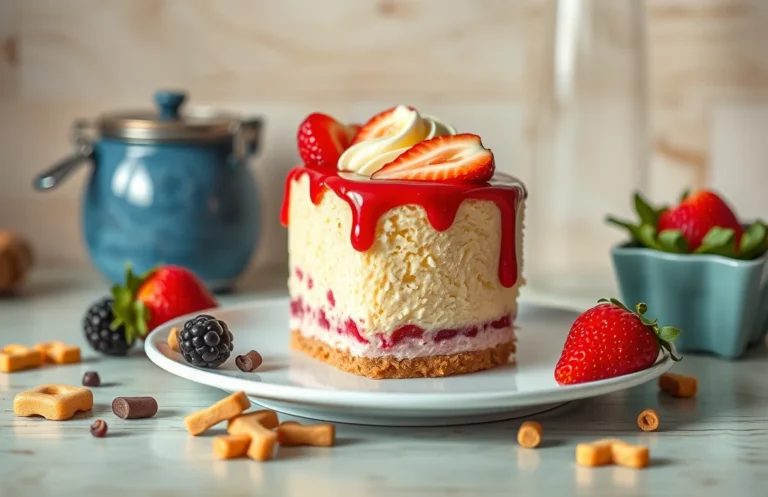
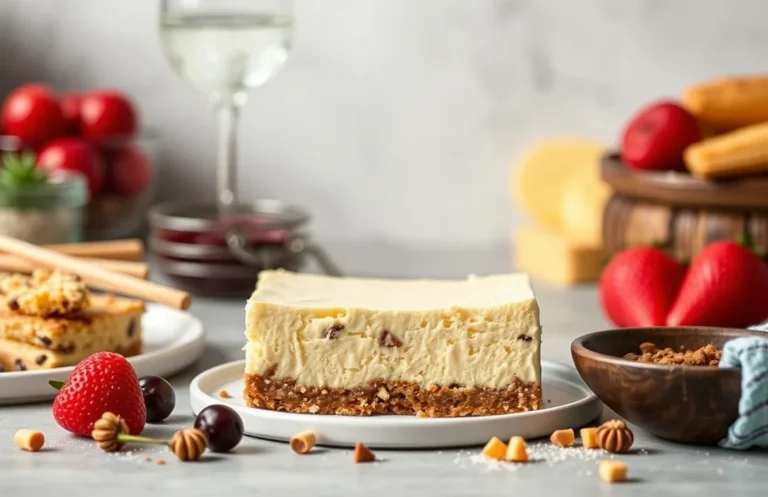
Cheesecake Variations That Freeze Well
Understanding which cheesecake variations freeze well can help you enjoy your favorite desserts without worrying about texture or flavor loss. Here’s a look at some popular types of cheesecake that maintain their deliciousness even after freezing.
Fruit Topped Cheesecake
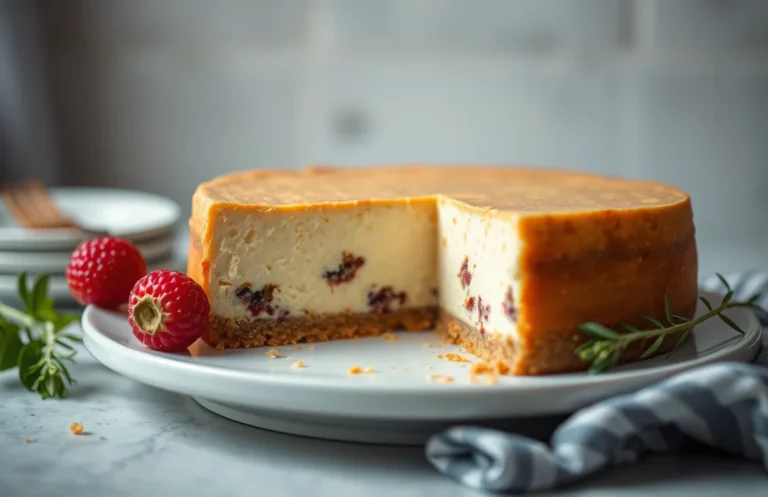
Fruit-topped cheesecakes, such as strawberry or blueberry, can freeze well with the right technique. However, freezing fresh fruit can alter its texture, so it’s best to freeze the cheesecake without the topping. You can add the fruit topping after thawing.
- Freeze the cheesecake for up to 3 months.
- Cover tightly with plastic wrap and aluminum foil to prevent freezer burn.
Chocolate Cheesecake
This rich variation generally freezes beautifully. The creamy chocolate flavor can intensify after freezing, making it a delightful treat when thawed.
- Wrap tightly in plastic wrap, then in aluminum foil for up to 3 months.
- Thaw in the refrigerator overnight before serving.
Vegan Options
Vegan cheesecakes, often made with cashews or tofu, can also be frozen effectively. Their creamy texture usually holds up well after thawing.
- Ensure it’s fully chilled before freezing to maintain texture.
- Store in an airtight container for up to 2 months.
Chef’s tip: Always label your cheesecakes with the date you froze them, so you can keep track of how long they’ve been stored.
Thawing and Serving Frozen Cheesecake
Understanding how to properly thaw and serve your frozen cheesecake is crucial to preserving its creamy texture and rich flavor. Whether it’s for a special occasion or a simple dessert at home, knowing the best methods will ensure your cheesecake is deliciously enjoyable.
Thawing Techniques
To maintain the texture and flavor of your cheesecake, follow these thawing methods:
- Refrigerator Thawing: This is the best method. Place the cheesecake in the refrigerator for 6-8 hours or overnight until fully thawed. The slow thawing helps to preserve its creamy consistency.
- Countertop Thawing: If you’re short on time, you can thaw the cheesecake at room temperature. Leave it out for about 1-2 hours, but keep an eye on it to prevent any melting.
- Microwave Thawing: Avoid this method as it can cause uneven thawing and affect texture. If absolutely necessary, use the defrost setting for 15-20 seconds at a time, checking frequently.
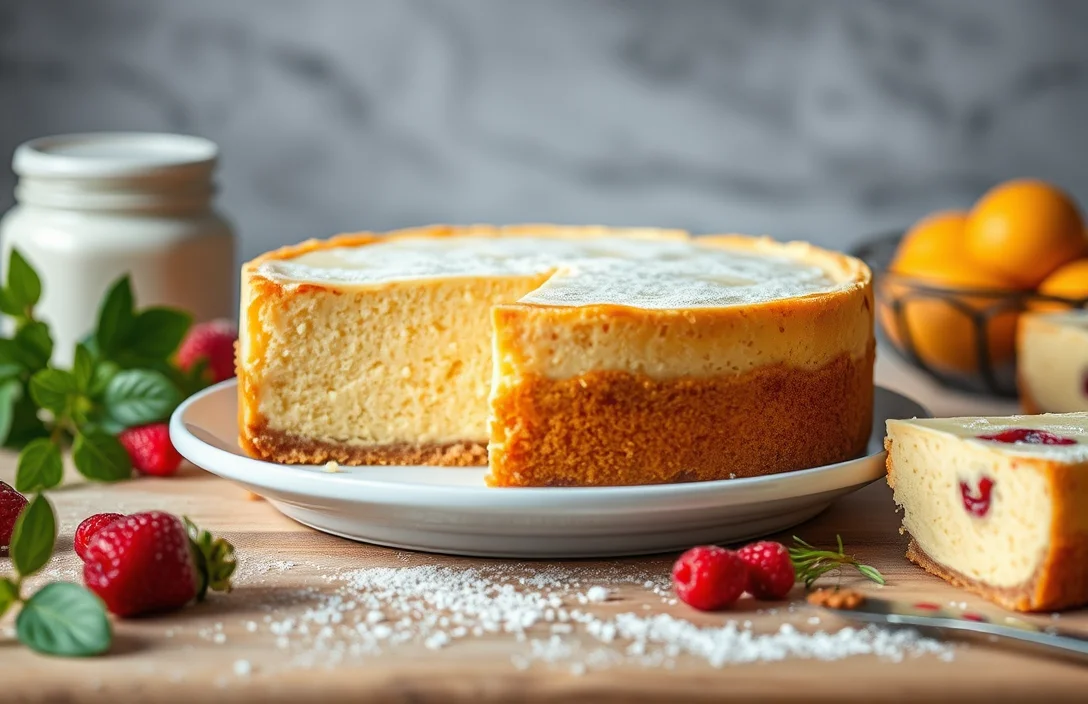
Serving Suggestions
Once your cheesecake is perfectly thawed, here are some serving tips to elevate your dessert:
- Garnish with fresh fruit like strawberries or blueberries for a pop of color and flavor.
- Drizzle with chocolate or caramel sauce for an indulgent touch.
- Serve with a dollop of whipped cream or a scoop of ice cream for a delightful contrast in texture.
Chef’s tip: For an extra layer of flavor, sprinkle some crushed graham crackers on top just before serving. It adds a nice crunch!
| Serving Size | Nutritional Info (approx.) |
|---|---|
| 1 slice (1/12 of cheesecake) | Calories: 320, Fat: 22g, Carbs: 28g, Protein: 6g |
By following these thawing and serving recommendations, your frozen cheesecake will be just as delightful as the day it was made! Enjoy every bite!
Quick Summary
| Prep Time | 20 minutes |
|---|---|
| Cook Time | 60 minutes |
| Total Time | 1 hour 20 minutes |
| Servings | 8 |
- Cool Completely: Let the cheesecake cool to room temperature before freezing.
- Wrap Properly: Use plastic wrap and aluminum foil to prevent freezer burn.
- Freeze Flat: Place the cheesecake on a flat surface until fully frozen.
- Thaw Slowly: Thaw in the refrigerator for 6-8 hours before serving.
- Check Texture: Freezing may change texture; use a light hand when slicing.
- Flavor Boost: Consider adding toppings after thawing for freshness.
Frequently Asked Questions
Can I make this ahead of time? How to store and reheat?
You can definitely make cheesecake ahead of time! Store it in the refrigerator for up to 5 days, or freeze it for up to 3 months; just thaw it in the fridge overnight before serving.
What can I substitute for cream cheese?
You can substitute cream cheese with mascarpone cheese for a lighter flavor, or use a mix of ricotta and sour cream for a creamy texture. Just keep in mind that the flavor and texture may vary slightly.
How do I know when it’s done?
Your cheesecake is done when the edges are set but the center still has a slight jiggle, which usually takes about 50-60 minutes at 325°F (163°C). It will firm up as it cools, so don’t worry if it looks a bit soft!
Can I freeze this? How long does it last?
You can absolutely freeze homemade cheesecake! When properly wrapped, it can last in the freezer for up to 3 months without compromising its taste and texture.
Why did my cheesecake turn out cracked?
Your cheesecake may have cracked due to overmixing or baking at too high a temperature; aim for a gentle mixing and keep the oven at 325°F (163°C). A water bath can also help prevent cracks by maintaining moisture during baking.

- Decadent Peanut Butter No-Bake Cheesecake: Easy Recipe to Indulge - April 3, 2026
- Delicious Mango No-Bake Cheesecake: Step-by-Step Recipe - April 3, 2026
- Decadent Raspberry No-Bake Cheesecake: Easy Step-by-Step Recipe - April 3, 2026