Easy Philadelphia Cream Cheese Filling: Tips & Variations Included
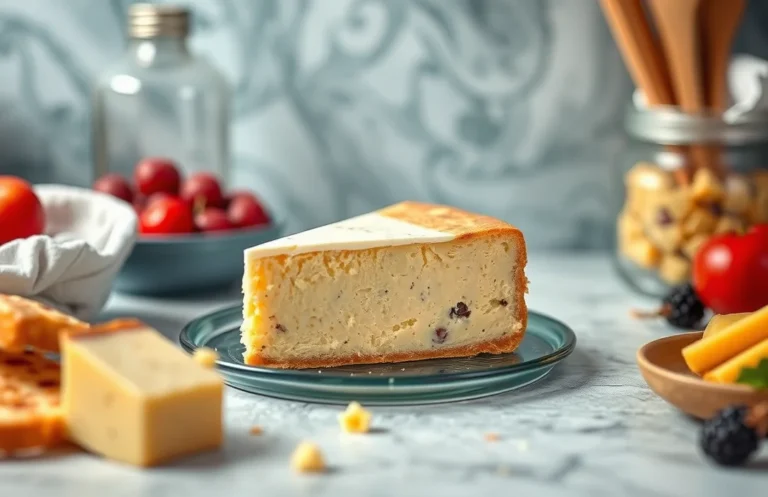
There’s something undeniably comforting about a rich, creamy cheesecake filling made with Philadelphia cream cheese. It’s a crowd-pleaser at gatherings and a perfect indulgence for a cozy night in. This luscious filling is the secret to turning any cheesecake into a showstopper, making every bite a delightful experience that leaves you wanting more.
Get ready for a delicious cheesecake filling recipe! With a total time of 15 minutes and a difficulty level of easy, this recipe serves 8. You’ll love how simple it is to create a filling that’s versatile and perfect for any occasion.
| Prep Time | Cook Time | Total Time | Servings | Difficulty |
|---|---|---|---|---|
| 15 minutes | 0 minutes | 15 minutes | 8 | Easy |
Cheesecake Filling Origin
Understanding the origin of cheesecake filling, particularly with Philadelphia cream cheese, adds depth to your culinary creations. This iconic ingredient not only enhances the flavor but also carries a rich history that connects cultures and traditions.
Cultural Significance
The cheesecake has roots in ancient Greece, where it was served to athletes during the first Olympic Games. The Romans later adapted this dessert, and it became popular across Europe. Over time, various regions developed their own versions, but the American cheesecake, particularly the New York style, truly made its mark with the introduction of cream cheese.
Why Philadelphia Cream Cheese?
Philadelphia cream cheese, established in 1872, quickly became synonymous with cheesecake due to its creamy texture and rich flavor. Here’s why it’s a favorite:
- Texture: Its smooth consistency helps create a velvety filling that sets perfectly.
- Flavor: The subtle tanginess balances sweetness, making it ideal for cheesecakes.
- Versatility: It blends seamlessly with other ingredients, allowing for both classic and innovative flavors.
Chef’s tip: Always use full-fat Philadelphia cream cheese for the best results in your cheesecake filling.
Incorporating Philadelphia cream cheese into your cheesecake filling not only respects the tradition of this beloved dessert but also ensures a delicious outcome. As you prepare to create your cheesecake, remember the cultural significance behind this humble yet luxurious filling.
Ingredients for Cheesecake Filling
This section outlines the essential ingredients needed to create a rich and creamy cheesecake filling using Philadelphia cream cheese. Each ingredient plays a crucial role in achieving the perfect texture and flavor, ensuring your cheesecake is a delightful treat.
| Item | Amount/Specification | Notes |
|---|---|---|
| Philadelphia Cream Cheese | 2 (8 oz) packages (450g total) | Softened to room temperature for easy mixing |
| Granulated Sugar | 1 cup (200g) | Adjust to taste if you prefer a less sweet filling |
| Sour Cream | ½ cup (120g) | Adds tanginess and creaminess |
| Vanilla Extract | 1 teaspoon (5ml) | Use pure vanilla for best flavor |
| Eggs | 3 large | At room temperature; helps to bind the filling |
| All-Purpose Flour | 2 tablespoons (15g) | Helps to stabilize the filling |
- Make sure the cream cheese is properly softened; it should feel creamy and spreadable, not lumpy.
- For a gluten-free version, substitute all-purpose flour with cornstarch or a gluten-free flour blend.
- If you want a fruit-flavored cheesecake, consider adding 1 cup of fruit puree or zest for flavor variations.
- Store any leftover filling in an airtight container in the fridge for up to 3 days.
Equipment and Prep Steps
Before diving into making your cheesecake filling with Philadelphia cream cheese, it’s essential to gather the right tools and prepare your ingredients properly. Having everything ready will ensure a smooth cooking process and help you achieve the perfect creamy texture.
- Essential Kitchen Tools: Gather the following tools: a large mixing bowl, electric mixer (or a whisk if you prefer a workout), rubber spatula, measuring cups, and spoons, and a 9-inch springform pan for your cheesecake. A food processor is optional but can be used for a super smooth filling.
- Preparation Instructions: Start by taking 16 ounces (450g) of Philadelphia cream cheese out of the refrigerator and allowing it to sit at room temperature for about 30 minutes. This step is crucial as it softens the cream cheese, making it much easier to blend and ensuring a creamy texture without lumps.
- Measure Your Ingredients: Gather your other filling ingredients: ½ cup (100g) granulated sugar, ½ cup (120ml) sour cream, 2 large eggs, and 1 teaspoon vanilla extract. Have everything measured out so you can add them quickly during mixing.
- Check for Allergies: If you or your guests have allergies, consider substitutions. For a gluten-free option, ensure your sugar is certified gluten-free. You can replace sour cream with Greek yogurt for a healthier twist.
- Set the Oven Temperature: Although you won’t be baking yet, it’s smart to set your oven to 325°F (160°C) now. This way, it will be ready when you finish preparing your filling and crust.
Step-by-Step Instructions
This section will guide you through the process of mixing the cheesecake filling and chilling it properly using Philadelphia cream cheese. Following these steps will ensure a smooth, creamy filling that sets perfectly in the fridge.
- Prepare the Cream Cheese: Start by taking 16 ounces (450g) of Philadelphia cream cheese out of the fridge. Let it sit at room temperature for about 30 minutes until it softens. This step is crucial as it prevents lumps in your filling, giving it a smooth texture.
- Mix the Filling: In a large mixing bowl, combine the softened cream cheese with ½ cup (100g) of granulated sugar. Use an electric mixer on medium speed, beating for about 2-3 minutes until the mixture is light and fluffy. You’ll know it’s ready when it’s smooth and creamy, without any visible lumps.
- Add Flavorings: Gradually mix in 1 teaspoon of vanilla extract and ¼ cup (60ml) of sour cream for added tanginess. Beat the mixture again for about 1 minute until everything is well combined and you can smell the vanilla. This will enhance the overall flavor of your cheesecake filling.
- Incorporate Eggs: Finally, add 2 large eggs, one at a time, mixing on low speed until just combined after each addition. Be careful not to overmix; you want the filling to remain light. The mixture should look glossy and smooth, with no streaks of egg visible.
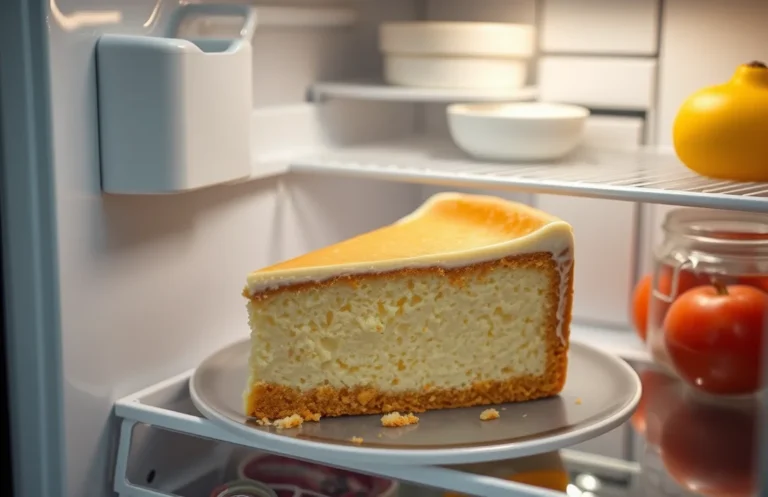
- Chill the Filling: Once mixed, cover the bowl with plastic wrap and refrigerate for at least 2 hours. This chilling time allows the flavors to meld and the filling to firm up slightly, making it easier to spread or pour into your crust. When ready, it should feel thick and creamy.
Chef Tips and Common Mistakes
This section will help you avoid common pitfalls when making cheesecake filling with Philadelphia cream cheese, as well as offer professional tips for achieving a creamy, delicious result. Understanding these nuances will elevate your cheesecake-making skills and ensure your filling is always a hit!
- Overmixing the Filling: Mixing too vigorously can incorporate excess air, leading to a soufflé-like texture instead of the dense creaminess you want. Aim for a smooth consistency by mixing just until combined.
- Using Cold Ingredients: If your cream cheese, eggs, and other ingredients are straight from the fridge, the filling may become lumpy. Allow them to sit at room temperature for about 30 minutes before you start mixing.
- Skipping the Sugar Adjustment: Not all cheesecake recipes require the same amount of sugar. Taste your filling before baking; if it’s too tangy, add a tablespoon of sugar at a time until it reaches your desired sweetness.
- Ignoring the Resting Time: After baking, let your cheesecake cool gradually and chill in the fridge for at least 4 hours, preferably overnight. This helps the filling set properly and enhances the flavor.
- Not Using a Water Bath: If you’re baking a traditional cheesecake, using a water bath helps regulate temperature and prevents cracking. Wrap the springform pan in foil and place it in a larger pan filled with hot water for the baking time.
Chef’s tip: If you notice any lumps after mixing, use a hand mixer on low speed for a few seconds to smooth it out before baking.
Filling Variations and Modifications
Exploring different flavors and dietary adjustments for your cheesecake filling can elevate your dessert to new heights. Whether you’re looking to add a twist to the classic or accommodate specific dietary needs, there are plenty of options to consider.
Flavor Options
Here are some delicious variations to try with your Philadelphia cream cheese filling:
- Chocolate Cheesecake: Add ½ cup (85g) of melted dark chocolate into the mixture. Blend until smooth and fully incorporated.
- Fruit Swirl: Fold in 1 cup (150g) of pureed strawberries, raspberries, or blueberries after mixing the filling. This adds a beautiful color and flavor.
- Pumpkin Spice: Mix in 1 cup (240g) of pumpkin puree along with 1 teaspoon of cinnamon, ½ teaspoon of nutmeg, and 1 teaspoon of vanilla extract for a fall-inspired treat.
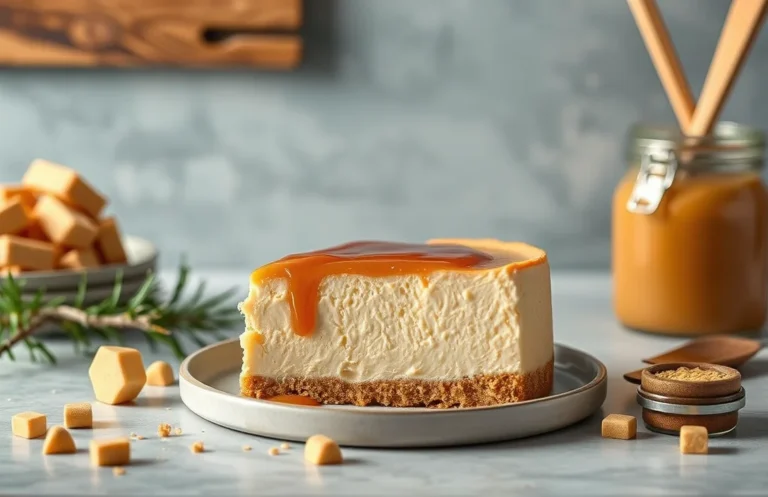
- Caramel: Drizzle ½ cup (120ml) of caramel sauce into the filling, then swirl with a knife for a marbled effect.
Dietary Adjustments
If you need to cater to specific dietary requirements, here are some substitutions:
- Gluten-Free: Use a gluten-free graham cracker crust or substitute with crushed nuts.
- Dairy-Free: Replace Philadelphia cream cheese with a vegan cream cheese alternative, like Tofutti or Kite Hill.
- Low-Sugar: Use a sugar substitute like Stevia or Monk Fruit in place of regular sugar in the filling. Be sure to check the conversion ratios.
Chef’s tip: Always taste the filling before pouring it into the crust to ensure it meets your flavor preferences!
Serving and Plating Suggestions
Serving your cheesecake filling can elevate the dessert from ordinary to extraordinary. Presentation and pairing are key to making the most of your delicious Philadelphia cream cheese filling. Here are some ideas to help you create an impressive dessert experience.
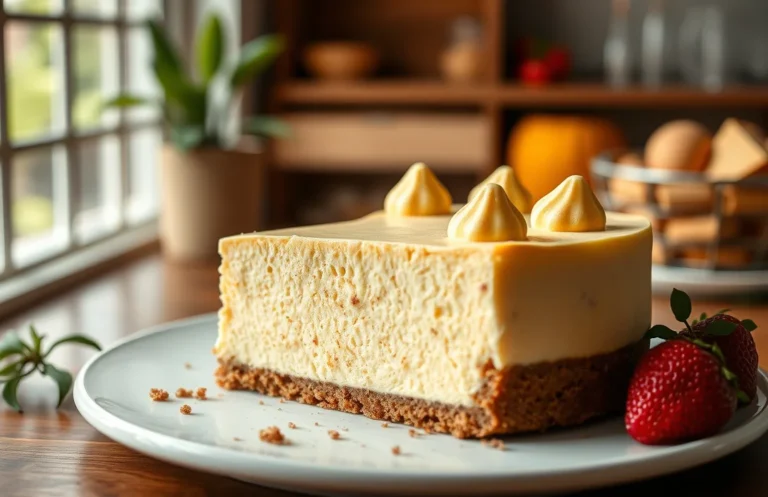
- Presentation Ideas: Start by choosing a beautiful serving dish, like a glass pie plate or individual dessert cups. Layer the cheesecake filling with crushed graham crackers at the bottom, then top with a generous layer of fruit compote or fresh berries. This not only adds color but also creates a delightful textural contrast.
- Garnishing: For a finishing touch, sprinkle some finely grated lemon zest or a dusting of powdered sugar on top of the cheesecake filling before serving. This adds an aromatic lift and enhances the visual appeal.
- Serving Temperature: Always serve your cheesecake filling chilled. Take it out of the fridge about 10 minutes before serving to soften slightly, which will enhance its creamy texture. It should be firm but not hard, allowing for a smooth slice or spoonful.
- Pairing Recommendations: Consider serving your cheesecake filling with a side of whipped cream or a dollop of sour cream mixed with vanilla extract for a tangy contrast. A drizzle of homemade chocolate or caramel sauce will also add a decadent touch.
- Flavor Combinations: To complement the richness of the filling, pair it with tart fruits like strawberries, raspberries, or citrus slices. Alternatively, a spiced apple or pear compote can bring warmth and depth to the dessert.
Quick Summary
| Prep Time | Cook Time | Total Time | Servings |
|---|---|---|---|
| 15 minutes | 0 minutes | 15 minutes | 8 servings |
- Soften cream cheese: Let 16 oz of Philadelphia cream cheese sit at room temperature for 30 minutes.
- Mix ingredients: Combine cream cheese, 1 cup sugar, and 1 tsp vanilla until smooth.
- Add eggs: Blend in 3 large eggs one at a time to avoid lumps.
- Chill properly: Refrigerate for at least 4 hours before serving.
- Garnish: Top with fresh fruit or fruit preserves for added flavor.
- Tip: Use a hand mixer for a fluffier texture.
- Tip: Ensure all ingredients are at room temperature for better blending.
Frequently Asked Questions
Can I make this ahead of time? How to store and reheat?
You can definitely make cheesecake filling ahead of time! Store it in an airtight container in the fridge for up to 5 days, and there’s no need to reheat it—just give it a good stir before using.
What can I substitute for Philadelphia cream cheese?
If you don’t have Philadelphia cream cheese, you can use any other brand of cream cheese or even mascarpone cheese for a slightly different flavor and texture.
How do I know when it’s done?
Your cheesecake filling is done when it’s smooth and creamy, but still slightly jiggly in the center after mixing; it will firm up as it chills in the fridge. Keep an eye out for a silky texture without lumps.
Can I freeze this? How long does it last?
You can freeze cheesecake filling for up to 2 months, but be sure to store it in a freezer-safe container. Thaw it in the fridge overnight before using to maintain its creamy texture.
What if I don’t have a mixer?
If you don’t have a mixer, you can use a sturdy whisk or a spatula to combine the ingredients; just be prepared to put in some extra elbow grease! Make sure to soften the cream cheese before mixing for easier blending.

- Decadent Peanut Butter No-Bake Cheesecake: Easy Recipe to Indulge - April 3, 2026
- Delicious Mango No-Bake Cheesecake: Step-by-Step Recipe - April 3, 2026
- Decadent Raspberry No-Bake Cheesecake: Easy Step-by-Step Recipe - April 3, 2026