Perfect Cheesecake Temperatures: Bake & Cool for No-Crack Texture
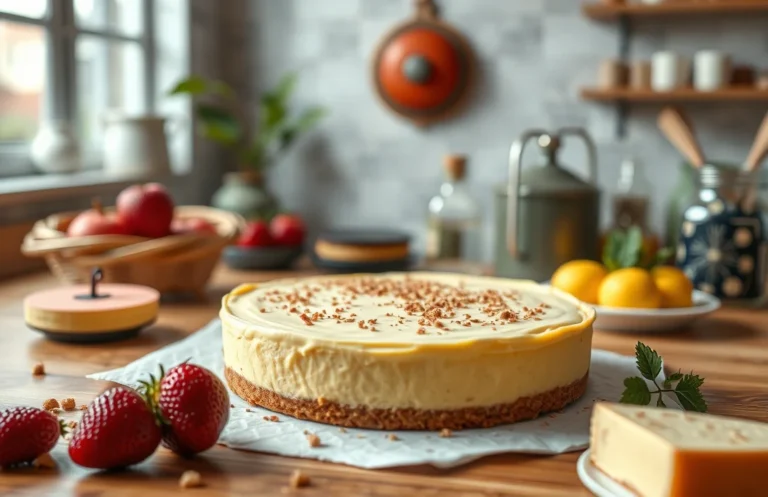
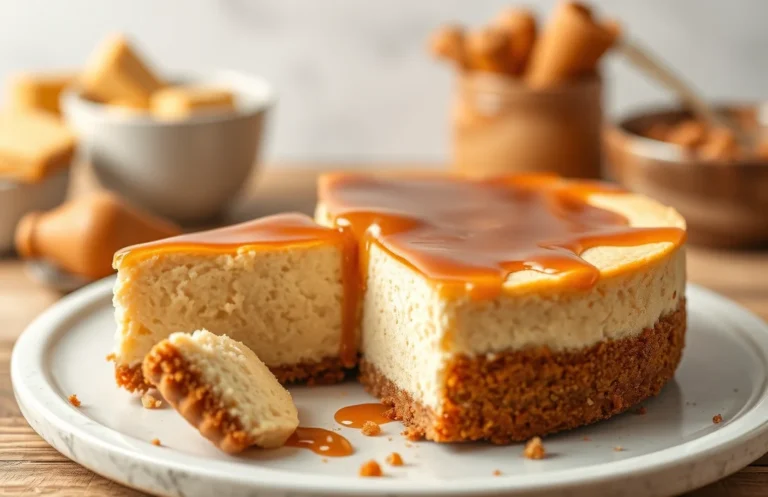
Cheesecake is one of those desserts that brings comfort and joy, whether it’s a cozy weeknight treat or the star of a festive gathering. The creamy texture and rich flavor make it irresistible, and just the thought of a perfectly baked slice topped with fresh berries or a drizzle of chocolate has me craving another bite!
You’ll discover how temperature impacts your cheesecake from baking to cooling, plus troubleshooting tips for achieving that dream texture without cracks. This recipe is ready in 5 hours, requires medium difficulty, and serves 8 people.
| Prep Time | Cook Time | Total Time | Servings | Difficulty |
|---|---|---|---|---|
| 30 minutes | 1 hour | 5 hours | 8 | Medium |
Cheesecake Origin Story
Understanding the history of cheesecake offers insight into its cultural significance and the importance of temperature in achieving the perfect dessert. From ancient Greece to modern kitchens, the evolution of cheesecake has been shaped by tradition and technique, particularly in how it is baked and cooled.
- Historical Background: Cheesecake dates back to ancient Greece, where it was served to athletes at the first Olympic Games in 776 B.C. The original recipe used simple ingredients like cheese, honey, and flour, but as it spread throughout Europe, variations emerged, each with its own baking methods and temperature requirements.
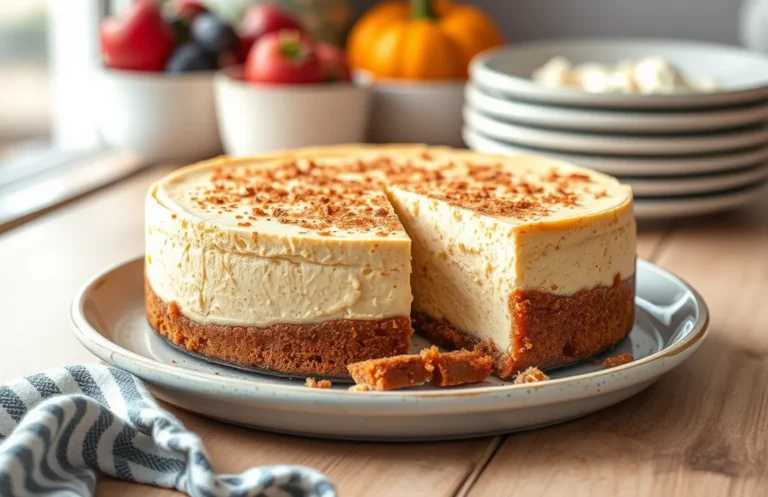
- Cultural Importance: In various cultures, cheesecake is a symbol of celebration and festivity. For example, in America, the New York-style cheesecake, known for its creamy texture, is often associated with special occasions and gatherings. The temperature at which it is baked and cooled is crucial to maintaining its signature texture and preventing cracks, making it a beloved dessert around the world.
As we dive deeper into cheesecake recipes, remember that both the baking and cooling temperatures play vital roles in achieving that smooth, creamy finish that everyone loves. A well-executed cheesecake not only delights the palate but also honors its rich history.
Essential Ingredients List
This section provides the essential ingredients for your cheesecake, each measured precisely to ensure the best results in terms of texture and flavor. Understanding the role of each ingredient and how it contributes to achieving the perfect cheesecake temperature is key to avoiding cracks and achieving a creamy consistency.
| Item | Amount/Specification | Notes |
|---|---|---|
| Cream Cheese | 4 packages (8 oz each, 900g total) | Softened to room temperature for smooth blending |
| Sugar | 1 cup (200g) | Granulated sugar helps achieve the right sweetness; avoid brown sugar |
| Eggs | 4 large | Room temperature eggs ensure better incorporation and texture |
| Crust Ingredients | 1 ½ cups (150g) graham cracker crumbs | Combined with ½ cup (115g) unsalted butter, melted |
- Tip: Make sure your cream cheese is at room temperature to prevent lumps.
- For a gluten-free version, substitute graham cracker crumbs with gluten-free cookies.
- Ensure eggs are at room temperature for a smoother batter; this helps with even baking.
- When mixing, avoid overmixing after adding the eggs to prevent excess air, which can cause cracks.
Required Kitchen Equipment
To achieve the perfect cheesecake, having the right equipment is essential. Each tool plays a specific role in ensuring your cheesecake bakes evenly and cools properly, which helps prevent cracks and ensures a creamy texture.
- Baking Pan: Use a 9-inch (23 cm) springform pan for your cheesecake. The removable sides allow for easy release without damaging the delicate cheesecake. Before pouring in your batter, wrap the outside of the pan with aluminum foil to prevent water from seeping in during the water bath baking process.
- Mixer: A stand mixer or hand mixer is vital for achieving a smooth and creamy filling. Beat the cream cheese at medium speed until it’s soft and fluffy, about 3-4 minutes. Avoid overmixing after adding eggs, as this can incorporate too much air, leading to cracks during baking.
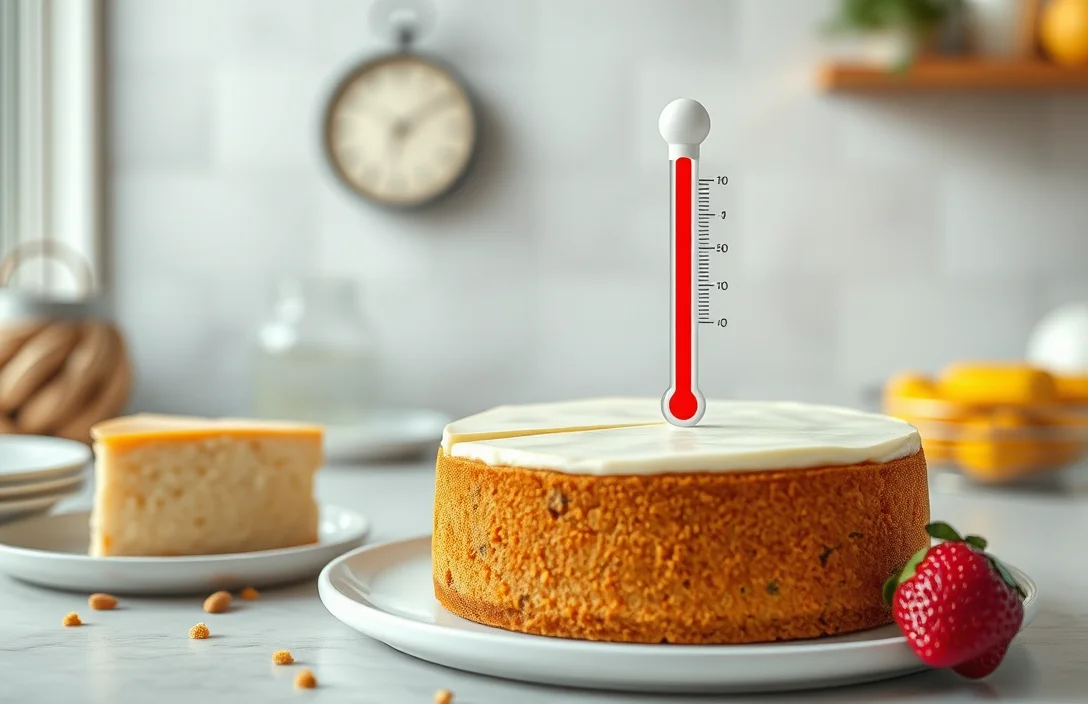
- Oven Thermometer: An oven thermometer is crucial to ensure your oven is at the correct temperature. Ovens can often be off by as much as 25°F (14°C). Preheat your oven to 325°F (160°C) for the best results, and use the thermometer to confirm the temperature before placing your cheesecake inside.
Baking Instructions by Temperature
This section details the precise baking process for your cheesecake, highlighting the importance of temperature control for achieving the perfect texture and avoiding cracks. Following these steps will help you produce a beautifully smooth cheesecake every time.
- Preheat the Oven: Set your oven to 325°F (163°C) and allow it to preheat for at least 20 minutes. This ensures an even baking environment, which is crucial for a cheesecake that rises uniformly and has a creamy texture.
- Baking Time: Pour your cheesecake batter into the prepared crust and place it in the center of the oven. Bake for 50-60 minutes, until the edges are set but the center still has a slight jiggle. This slight wobble means the cheesecake will continue to firm up as it cools, preventing overbaking and cracks.
- Checking Doneness: About 10 minutes before the baking time ends, gently shake the pan. The cheesecake should have a slight movement in the center but appear mostly firm. If it looks too jiggly, give it a few more minutes, but be careful not to overbake.
- Cooling Down: Once baked, turn off the oven and crack the door open. Let the cheesecake cool in the oven for 1 hour; this gradual cooling helps prevent cracks. Afterward, remove it from the oven and let it cool to room temperature before refrigerating.
Chef’s tip: If you notice cracks forming on the surface, don’t worry! A topping of whipped cream or fruit can cover them up beautifully.
Cooling Guidelines for Cheesecake
Proper cooling is essential for achieving a smooth, crack-free cheesecake. By following these guidelines, you can ensure your cheesecake sets perfectly and maintains its creamy texture.
- Cooling in the Oven: Once your cheesecake is baked, turn off the oven and crack the door open slightly. Let the cheesecake cool in the oven for about 1 hour. This gradual cooling process helps prevent sudden temperature changes that can cause cracks.
- Room Temperature Cooling: After the hour in the oven, carefully remove the cheesecake and let it cool at room temperature for another hour. Place it on a wire rack to promote even cooling. You should notice the edges pulling away slightly from the pan, while the center may still look a little jiggly but not liquid.
- Refrigeration Tips: Once the cheesecake has cooled to room temperature, cover it lightly with plastic wrap or aluminum foil. Refrigerate for at least 4 hours or overnight for the best texture. The cheesecake should feel firm to the touch and have a smooth surface. If you find it’s still too soft, give it an additional hour in the fridge.
- Common Mistakes: Avoid cooling your cheesecake too quickly by placing it in the refrigerator immediately after baking. This can lead to cracks and an uneven texture. Additionally, do not touch or disturb the cheesecake while it’s cooling, as this can also affect its structure.
Expert Tips for Perfect Texture
Achieving the perfect texture in cheesecake involves careful attention to temperature during both baking and cooling phases. The right temperatures help prevent cracks and ensure a creamy, smooth finish. Here are some pro tips to guide you.
Avoiding Cracks
- Bake at the right temperature: Set your oven to 325°F (160°C) for a gentle bake. This lower temperature allows for even cooking and minimizes the risk of cracks forming on the surface.
- Use a water bath: Place your cheesecake pan in a larger pan filled with hot water. This technique helps maintain humidity in the oven, preventing the cheesecake from drying out and cracking.
- Don’t overmix: When combining your ingredients, mix just until smooth. Overmixing can incorporate too much air, leading to cracks as the cheesecake rises and falls during baking.
Texture Checks
- Jiggle test: About 5 minutes before the end of the baking time, gently shake the pan. The center should still have a slight jiggle while the edges are set. This indicates a perfect texture that will firm up as it cools.
- Cool gradually: After baking, turn off the oven and crack the door open. Allow the cheesecake to cool in the oven for 1 hour, which helps prevent sudden temperature changes that can cause cracks.
- Chill before slicing: Refrigerate your cheesecake for at least 4 hours, ideally overnight, before serving. This resting period helps the flavors meld and the texture to set properly.
Cheesecake Variations and Substitutions
When crafting your perfect cheesecake, dietary needs and flavor preferences can inspire delightful variations. Understanding how temperature affects different cheesecake recipes ensures that everyone can enjoy this classic dessert, whether they require gluten-free options or vegan alternatives.
Gluten-Free Options
Creating a gluten-free cheesecake is easy with the right substitutions. For the crust, replace traditional graham crackers with gluten-free alternatives. Here’s a simple recipe:
- 1 ½ cups gluten-free graham cracker crumbs (150g)
- ¼ cup granulated sugar (50g)
- ½ cup unsalted butter, melted (113g)
Combine the crumbs and sugar in a bowl, then stir in the melted butter until well mixed. Press this mixture firmly into the bottom of your springform pan. Bake at 350°F (175°C) for 10 minutes until set. Let cool while you prepare the filling.
Vegan Alternatives
For a vegan cheesecake, temperature management is crucial to get that creamy texture without dairy. Here’s how to create a rich filling:
- 2 cups raw cashews, soaked for 4 hours (300g)
- ¾ cup coconut cream (180ml)
- ½ cup maple syrup (120ml)
- 2 tablespoons lemon juice (30ml)
Blend the soaked cashews, coconut cream, maple syrup, and lemon juice in a high-speed blender until smooth and creamy. Pour this mixture over your prepared crust and bake at 325°F (160°C) for 45 minutes. Allow to cool to room temperature, then refrigerate for at least 4 hours to fully set.
Pro tip: Ensure your vegan cheesecake is fully chilled before slicing to achieve clean, smooth edges.
By adjusting ingredient ratios and baking temperatures, you can craft a cheesecake that accommodates various diets without sacrificing taste or texture.
Serving and Pairing Suggestions
Presenting your cheesecake in an inviting way enhances the overall experience, and pairing it with the right beverages can elevate its flavors. Here are some tips for beautiful plating and ideal beverage pairings to complement your cheesecake perfectly.
Plating Techniques
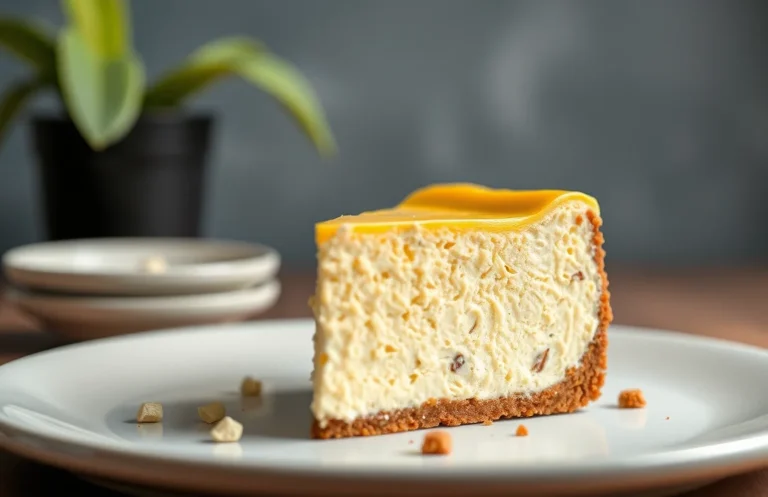
- Chill before serving: Ensure your cheesecake has been properly chilled for at least 4 hours or overnight. This allows it to set fully, making it easier to slice. The perfect slice should feel firm yet creamy and should hold its shape when lifted.
- Garnish creatively: Top with fresh berries, a drizzle of fruit coulis, or a sprinkle of chocolate shavings. Use a squeeze bottle for sauces for a professional look. A vibrant color contrast on top not only enhances visual appeal but also adds complementary flavors.
- Use a warm knife: Before slicing, dip your knife in hot water and wipe it dry. This ensures a clean cut, and your cheesecake will look neat and polished. Repeat this process with each slice for best results.
Ideal Beverage Pairings
- Coffee: A rich cup of coffee, particularly a cappuccino or espresso, pairs wonderfully with cheesecake’s creamy texture. The bitterness of coffee balances the sweetness of the dessert.
- Fruit-infused tea: Serve with a fragrant tea, like chamomile or berry blends, which can enhance fruity cheesecakes. The aromatic flavors of the tea make for a refreshing complement.
- Sparkling wine: A light sparkling wine or prosecco can add a celebratory touch. The bubbles cleanse the palate, making each bite of cheesecake feel lighter.
Quick Summary
| Prep Time | 20 mins |
|---|---|
| Cook Time | 60 mins |
| Total Time | 80 mins |
| Servings | 8 |
- Preheat oven to 325°F (160°C) for even baking.
- Use room temperature ingredients for a smooth batter.
- Bake in a water bath to prevent cracking.
- Check doneness at 150°F (65°C) using a digital thermometer.
- Cool gradually to avoid sudden temperature changes.
- Tip: Refrigerate for at least 4 hours before serving for best flavor.
- Tip: Avoid overmixing to prevent air bubbles.
Frequently Asked Questions
Can I make this cheesecake ahead of time? How to store and reheat?
You can make cheesecake up to 2 days in advance and store it in the refrigerator, covered with plastic wrap. To serve, simply let it sit at room temperature for about 30 minutes before slicing.
What can I substitute for cream cheese?
You can substitute cream cheese with an equal amount of mascarpone cheese for a rich flavor, or use ricotta cheese blended until smooth for a lighter option. Just keep in mind that the texture and taste may vary slightly.
How do I know when my cheesecake is done?
Your cheesecake is done when the edges are set but the center still has a slight jiggle, similar to gelatin; it will firm up as it cools. A good target temperature is around 150°F (65°C) when you check it with a food thermometer.
Can I freeze cheesecake? How long does it last?
Yes, you can freeze cheesecake for up to 2 months. Wrap it tightly in plastic wrap and then in aluminum foil to prevent freezer burn.
What if I don’t have a springform pan?
If you don’t have a springform pan, you can use a standard 9-inch round cake pan, but make sure to line the bottom and sides with parchment paper for easy removal. Just remember to let it cool completely before attempting to take it out.

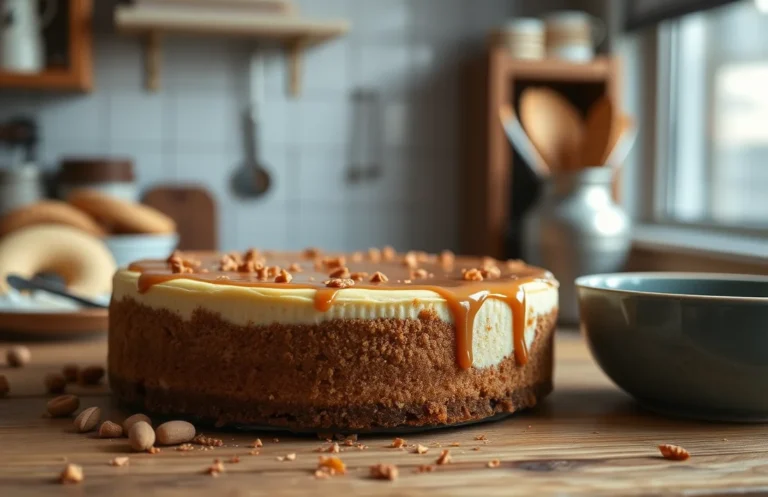
- Decadent Peanut Butter No-Bake Cheesecake: Easy Recipe to Indulge - April 3, 2026
- Delicious Mango No-Bake Cheesecake: Step-by-Step Recipe - April 3, 2026
- Decadent Raspberry No-Bake Cheesecake: Easy Step-by-Step Recipe - April 3, 2026