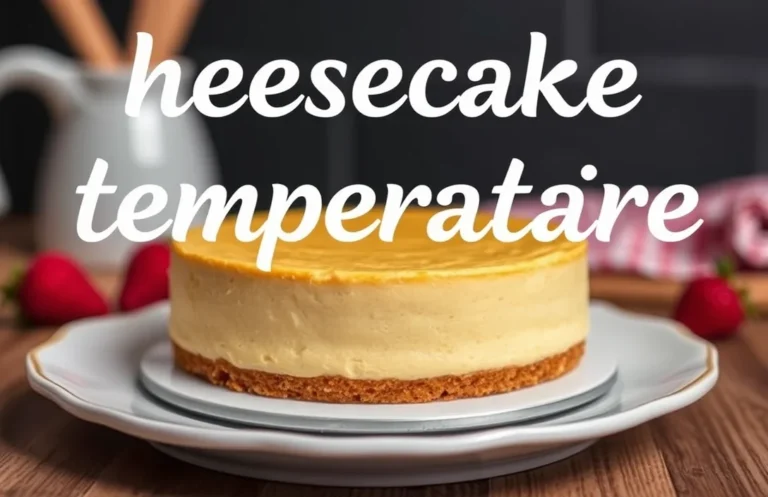
Make Cheesecake Base Ahead: Best Storage Tips & Timing Explained
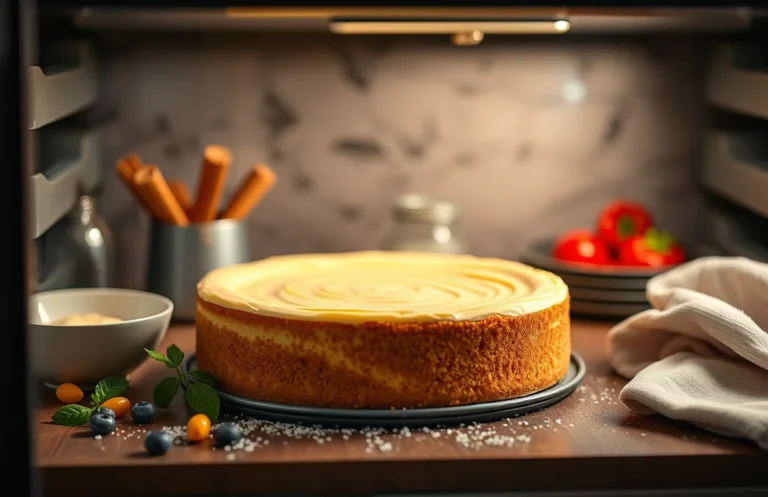
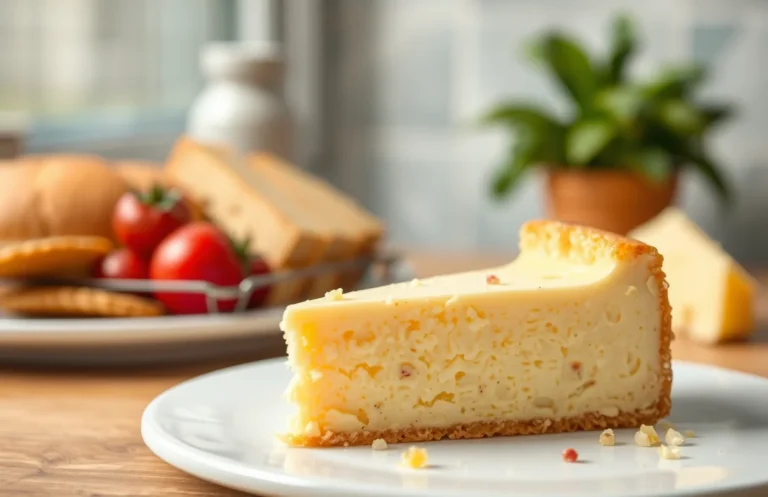
Cheesecake is one of those desserts that feels like a warm hug, with its creamy texture and rich flavors. Whether it’s a special occasion, a cozy dinner, or just because you deserve a treat, a well-made cheesecake can elevate any moment. Imagine cutting into that velvety slice, the buttery crust giving way to the luscious filling—pure bliss!
Make your cheesecake base ahead of time for ultimate convenience! This guide covers how far in advance you can prepare it, including storage tips to maintain flavor and texture. Total time: 30 minutes prep, 10 minutes cook, and up to 2 days in the fridge.
| Prep Time | Cook Time | Total Time | Servings | Difficulty |
|---|---|---|---|---|
| 30 minutes | 10 minutes | Up to 2 days in advance | 10 slices | Easy |
Cheesecake Base Origins
The cheesecake base has a rich history that reflects its cultural significance across various traditions. Understanding its origins can help home cooks appreciate the depth of flavor and texture that a well-prepared cheesecake base brings to the table.
- Ancient Roots: The earliest recorded cheesecake dates back to ancient Greece, where it was served to athletes during the first Olympic Games in 776 B.C. This simple mixture of cheese, flour, and honey was believed to provide energy and sustenance.
- Roman Influence: As the Romans conquered Greece, they adapted the cheesecake recipe, adding their own ingredients and techniques. They spread the dish throughout Europe, celebrating it during festive occasions, which highlighted its significance in communal gatherings.
- Regional Variations: Different cultures have their own twists on the cheesecake base. For instance, the New York-style cheesecake, known for its dense and creamy texture, contrasts sharply with the lighter, fluffier styles found in Italy, such as ricotta-based cheesecakes. Each variation reflects local ingredients and culinary traditions.
- Serving Occasions: Cheesecake is often reserved for special celebrations, such as birthdays, weddings, and holidays. Its presence on the dessert table signifies indulgence and festivity, making it a beloved choice for memorable moments.
The importance of a well-crafted cheesecake base cannot be overstated. It’s the foundation that determines not only the flavor but also the overall experience of enjoying this classic dessert. Understanding its cultural background enriches the baking process and encourages cooks to honor traditional methods while exploring their own creativity.
Ingredients for Cheesecake Base
In this section, you’ll find a detailed list of ingredients needed for a delicious cheesecake base. Understanding the right measurements is crucial, especially if you’re planning to prepare it in advance, as storage affects both flavor and texture.
| Item | Amount/Specification | Notes |
|---|---|---|
| Graham cracker crumbs | 1 ½ cups (150g) | For a classic crust; can substitute with gluten-free crumbs. |
| Granulated sugar | ¼ cup (50g) | Adjust according to taste; helps to enhance flavor. |
| Unsalted butter | ½ cup (113g), melted | Can use salted butter for a richer flavor. |
| Cream cheese | 24 oz (680g), softened | Allow to sit at room temperature for easier mixing. |
| Sour cream | 1 cup (240g) | Adds creaminess; can substitute with Greek yogurt. |
| Granulated sugar (for filling) | 1 cup (200g) | Sweetens the filling; adjust according to preference. |
| Vanilla extract | 1 teaspoon (5ml) | Enhances flavor; use pure vanilla for best taste. |
| Eggs | 3 large | Room temperature for better incorporation. |
- For best results, prepare your cheesecake base up to 2 days in advance and store it covered in the refrigerator.
- A cheesecake base can also be frozen for up to 2 months; wrap it tightly in plastic wrap and then foil to prevent freezer burn.
- Thaw in the refrigerator overnight before using for optimal texture.
- To avoid cracks, bake the cheesecake in a water bath or avoid overmixing the filling.
Essential Equipment and Prep
Preparing your cheesecake base requires specific tools and a bit of prep work to ensure everything goes smoothly. This section outlines the necessary baking pans and how to properly prep your crust, which affects how far in advance you can make your cheesecake base.
- Baking Pan: Choose a 9-inch (23 cm) springform pan for an easy release of your cheesecake. The springform design allows you to remove the sides once the cheesecake is set, preventing any cracks. If you don’t have a springform pan, a regular 9-inch round cake pan can work, but be sure to line it with parchment paper for easier removal.
- Prepping the Crust: For a classic graham cracker crust, you’ll need 1 ½ cups of crushed graham crackers (about 150g) and ½ cup (100g) of granulated sugar. Mix these with ½ cup (115g) of melted unsalted butter until fully combined. The mixture should feel wet but crumbly, resembling wet sand.
- Pressing the Crust: After mixing, pour the crust mixture into the bottom of the springform pan. Use the bottom of a measuring cup to press it down firmly and evenly. This creates a solid base that can hold up well when stored. Pre-bake the crust at 350°F (175°C) for 10 minutes until lightly golden, which helps it set and prevents sogginess.
- Cooling: Allow the crust to cool completely before adding the cheesecake filling. This step is crucial as a hot crust can affect the texture and stability of the filling. Let it sit at room temperature for about 30 minutes or refrigerate if you’re making it in advance.
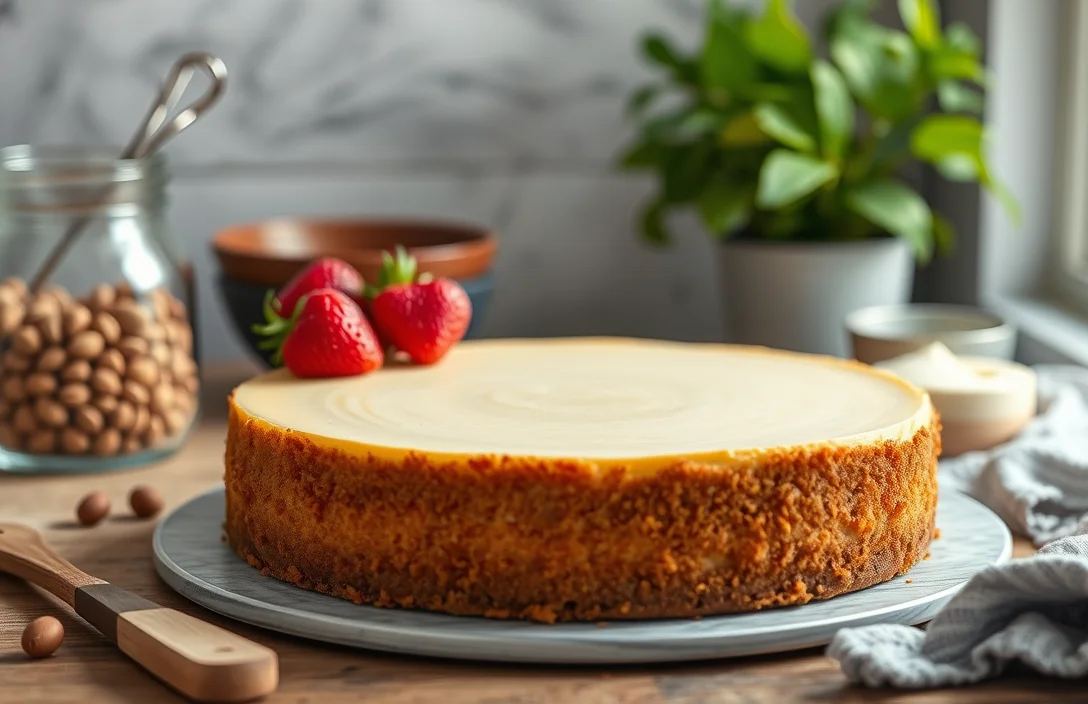
Making the Cheesecake Base
Preparing the cheesecake base is crucial for the texture and flavor of your final dessert. Knowing how far in advance you can make this base will help you plan your baking and ensure a delicious outcome. Below are step-by-step instructions for mixing and baking your cheesecake crust, along with tips on how to store it properly.
- Gather your ingredients: For a standard cheesecake base, you will need 1 ½ cups (150g) of graham cracker crumbs, ½ cup (100g) of granulated sugar, and ½ cup (115g) of unsalted butter, melted. If you have a gluten allergy, you can substitute graham cracker crumbs with gluten-free cookie crumbs.
- Mix the crust: In a medium mixing bowl, combine the graham cracker crumbs and sugar. Pour in the melted butter and stir until the mixture resembles wet sand. It should clump together when pressed between your fingers, indicating that it’s ready.
- Press the crust into the pan: Preheat your oven to 350°F (175°C). Transfer the crumb mixture to a 9-inch (23cm) springform pan. Using the bottom of a measuring cup, firmly press the mixture into the bottom of the pan and slightly up the sides. This will create a sturdy base for your cheesecake.
- Bake the crust: Bake the crust in the preheated oven for 8-10 minutes until it is lightly golden and fragrant. Keep an eye on it to avoid burning; it should smell toasty but not dark. Allow it to cool completely before adding the cheesecake filling.
- Storage tips: If you’re making the base in advance, let it cool completely, then wrap it tightly in plastic wrap and refrigerate for up to 3 days. Alternatively, you can freeze the crust for up to 2 months. Just be sure to thaw it in the refrigerator before using.
Storage Tips for Cheesecake Base
Knowing how to properly store your cheesecake base is crucial for maintaining its flavor and texture when prepared in advance. This section will guide you through refrigeration and freezing techniques, ensuring your cheesecake base stays delicious for longer.
- Refrigeration Guidelines: Once your cheesecake base is fully prepared, allow it to cool completely at room temperature for about 30 minutes. Then, wrap it tightly in plastic wrap or place it in an airtight container. Properly stored, your cheesecake base can last in the refrigerator for up to 5 days. However, keep in mind that the longer it sits, the more it may absorb odors from the fridge, which could alter its flavor.
- Freezing Instructions: If you want to prepare your cheesecake base further in advance, freezing is an excellent option. To freeze, first let the base cool completely, then wrap it tightly in plastic wrap followed by aluminum foil to prevent freezer burn. You can freeze the cheesecake base for up to 3 months. When you’re ready to use it, simply transfer it to the refrigerator to thaw overnight. Avoid defrosting it in the microwave, as this can affect the texture.
Chef’s tip: If you notice any frost or ice crystals on your frozen cheesecake base, gently pat them dry with a paper towel before using to maintain its texture.
Maintaining Quality Over Time
Understanding how the taste and texture of your cheesecake base can change over time is critical for achieving the perfect dessert. By knowing these nuances, you can better plan when to make your cheesecake base to ensure it tastes fresh and delightful.
- Flavor Shifts: As your cheesecake base sits, the flavors may mellow or change subtly. For instance, a base made with vanilla or citrus zest may lose some of its potency after a few days in the fridge. To combat this, consider adding an extra splash of vanilla extract or lemon juice just before baking if the base has been prepared in advance.
- Texture Changes: The texture of your cheesecake base can also evolve over time. If left in the fridge for more than a few days, the crust can become softer due to moisture absorption. To maintain a firmer texture, store the base in an airtight container and place a piece of parchment paper between the crust and the container to absorb excess moisture.
- Timing Matters: Ideally, you should aim to use your cheesecake base within 3 to 5 days of preparation for the best quality. If you plan to make it further in advance, consider freezing it. Wrap the base tightly in plastic wrap and then in aluminum foil to prevent freezer burn, allowing it to maintain its original taste and texture when thawed. It can be frozen for up to 3 months.
- Common Mistakes: One common mistake is not allowing the base to cool completely before storage. This can trap steam and moisture, leading to undesirable texture changes. Ensure your cheesecake base is completely cooled and set before wrapping and storing it.
Variations and Dietary Options
When making a cheesecake base, accommodating different dietary preferences is essential for ensuring everyone can enjoy this delicious dessert. Below, we’ll explore gluten-free and vegan options that allow you to prepare a cheesecake base in advance while maintaining its delightful taste and texture.
Gluten-Free Options
For a gluten-free cheesecake base, substitute traditional graham crackers with gluten-free alternatives. Here’s a simple recipe for a gluten-free crust:
- 1 ½ cups gluten-free graham cracker crumbs (150g)
- ⅓ cup granulated sugar (67g)
- ½ cup unsalted butter, melted (115g)
- Preheat your oven to 350°F (175°C).
- In a mixing bowl, combine gluten-free graham cracker crumbs and sugar. Pour in melted butter and mix until the crumbs are evenly coated.
- Press the mixture into the bottom of a 9-inch springform pan. Bake for 10 minutes until lightly golden. Let cool before adding the filling.
Vegan Substitutions
If you’re looking to create a vegan cheesecake base, you can easily replace dairy ingredients with plant-based alternatives:
- Use 1 cup of raw cashews, soaked for 4 hours, blended until smooth instead of cream cheese.
- For the crust, use 1 ½ cups of vegan graham cracker crumbs (150g) and replace butter with ½ cup of coconut oil, melted (115g).
Chef’s tip: To ensure the best texture, let your vegan cheesecake base chill in the refrigerator for at least 4 hours before serving. This allows the flavors to meld beautifully.
By planning ahead and using these variations, you can make a cheesecake base up to 2-3 days in advance without sacrificing quality or flavor. Just remember to store it properly in the refrigerator, covered tightly to prevent drying out.
Serving and Pairing Suggestions
Once your cheesecake base is made, the way you serve and pair it can elevate the experience significantly. Whether you’re preparing for a gathering or a quiet evening at home, thoughtful garnishes and beverage pairings can enhance the flavors and presentation of your cheesecake.
Garnishes
Adding garnishes not only improves the visual appeal but also complements the rich flavors of the cheesecake. Here are some delicious options:
- Fresh berries: Strawberries, blueberries, and raspberries add a bright burst of flavor. Use about 1 cup mixed berries for a standard 9-inch cheesecake.
- Chocolate shavings: For a decadent touch, sprinkle ¼ cup of dark chocolate shavings on top.
- Citrus zest: A teaspoon of lemon or orange zest adds a refreshing contrast to the creamy texture.
- Whipped cream: A dollop of freshly whipped cream (1 cup heavy cream whipped with 2 tablespoons of sugar) can lighten the dish.
Beverage Pairings
The right drink can complement your cheesecake beautifully. Here are some suggestions:
| Beverage | Flavor Profile |
|---|---|
| Sweet dessert wine (e.g., Sauternes) | Enhances sweetness while balancing richness |
| Espresso or coffee | Rich, bold flavors contrast with creamy cheesecake |
| Herbal tea (e.g., chamomile) | Light and soothing option that won’t overpower |
Remember, if your cheesecake base has been made in advance and stored properly, the flavors will develop over time, enhancing your serving experience. Enjoy crafting the perfect plate that delights the senses!
Quick Summary
| Prep Time | 20 minutes |
|---|---|
| Cook Time | 1 hour |
| Total Time | 1 hour 20 minutes |
| Servings | 8 |
- Prepare your crust: Use crushed graham crackers and melted butter.
- Mix the cream cheese: Beat until smooth, about 3-4 minutes.
- Incorporate eggs: Add them one at a time to avoid lumps.
- Bake at 325°F: For 55-60 minutes until slightly jiggly.
- Chill thoroughly: Refrigerate for at least 4 hours before serving.
- Tip 1: Make the cheesecake base a day in advance for best flavor.
- Tip 2: Let ingredients come to room temperature for easier blending.
- Tip 3: Avoid overmixing to keep the texture creamy and smooth.
Frequently Asked Questions
Can I make this ahead of time? How to store and reheat?
You can make the cheesecake base up to 2-3 days in advance. Store it in an airtight container in the refrigerator and do not reheat it; just let it come to room temperature before using.
What can I substitute for cream cheese?
You can substitute mascarpone cheese for cream cheese to achieve a similar creamy texture. Alternatively, a blend of cottage cheese and sour cream can work in a pinch.
How do I know when it’s done?
Your cheesecake base is done when the edges are set and the center still has a slight jiggle, indicating it will firm up as it cools. It should look smooth and slightly puffed, not cracked.
Can I freeze this? How long does it last?
Yes, you can freeze the cheesecake base for up to 2 months. Wrap it tightly in plastic wrap and aluminum foil to prevent freezer burn before storing it in an airtight container.
What if I don’t have a springform pan?
If you don’t have a springform pan, you can use a standard round cake pan lined with parchment paper for easy removal. Just be sure to let it cool completely before carefully lifting it out with the parchment.

- Top 10 Ecm Mechanika Max Espresso Machine 2026 - July 29, 2026
- Top 10 De Longhi Espresso & Cappuccino Machine 2026 - July 29, 2026
- Top 10 Best Water For Espresso Machine 2026 - July 29, 2026