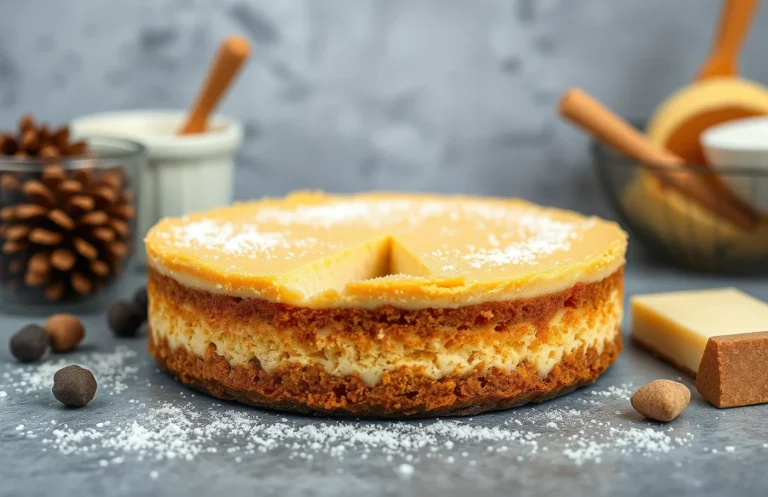
Does Cheesecake Contain Cheese? Discover Types and Variations!
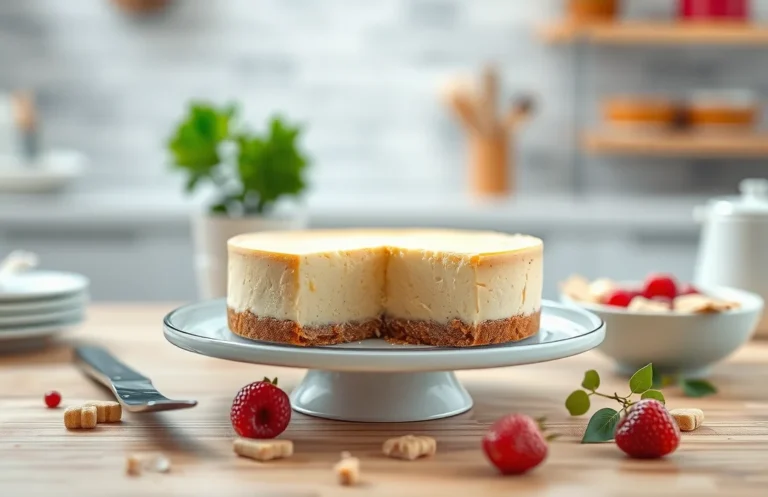
Cheesecake is that dream dessert that strikes the perfect balance between creamy and sweet, making it a go-to for special occasions or simply indulging after a long day. With its velvety texture and rich flavor, it’s no wonder cheesecake has earned its spot as a crowd-pleaser at every gathering!
If you’re wondering whether cheesecake contains cheese, you’re in the right place! This article will clarify the key ingredients, including the types of cheese typically used, and provide reliable recipes and tips to ensure your cheesecake turns out perfectly every time. Get ready for a delicious adventure!
| Prep Time | 20 minutes |
|---|---|
| Cook Time | 50 minutes |
| Total Time | 1 hour 10 minutes |
| Servings | 8 slices |
| Difficulty | Medium |
Cheesecake Origins
Cheesecake has a rich history that dates back to ancient times, leading to the delicious dessert we enjoy today. Understanding its origins helps clarify why cheese is a key ingredient in many traditional cheesecake recipes.
- Historical Background: The earliest known cheesecakes were made by the ancient Greeks around 2000 B.C., using simple ingredients like cheese, flour, and honey. Roman soldiers later introduced this concept to Europe, where various cultures adapted it, incorporating local ingredients and tastes.
- Cultural Importance: Cheesecake has become a beloved dessert worldwide, featuring prominently in celebrations and gatherings. In the United States, for instance, New York-style cheesecake, made with cream cheese, has become a culinary icon, representing the fusion of diverse culinary traditions.
- Types of Cheese Used: Traditional cheesecakes often utilize cream cheese, ricotta, or mascarpone. These cheeses provide the creamy texture and rich flavor that characterize a good cheesecake, making it a delightful treat for any occasion.
As we can see, cheesecake truly does contain cheese, which is integral to its identity. The selection of cheese can vary, giving rise to numerous variations that cater to different tastes and preferences.
Main Ingredients Explained
This section outlines the key ingredients used in cheesecake, focusing on the types of cheese and other essential components that make this dessert so rich and creamy. Understanding these ingredients will help you appreciate the nuances of cheesecake and guide you in making the perfect version at home.
| Item | Amount/Specification | Notes |
|---|---|---|
| Cream Cheese | 16 oz (450g) | Full-fat for creaminess. |
| Sour Cream | 1 cup (240ml) | Adds tanginess and moisture. |
| Granulated Sugar | 1 cup (200g) | Sweetens the filling. |
| Vanilla Extract | 1 teaspoon (5ml) | Enhances flavor. |
| Eggs | 3 large | Helps bind the filling. |
| Graham Cracker Crumbs | 1 ½ cups (150g) | Base for crust. |
| Unsalted Butter | ½ cup (113g) | Melted, for crust binding. |
- If you prefer a lighter cheesecake, consider substituting half of the cream cheese with ricotta cheese.
- For a gluten-free version, use almond flour or gluten-free graham cracker crumbs for the crust.
- Ensure all dairy ingredients are at room temperature for smoother blending.
Essential Kitchen Tools
Creating a delicious cheesecake requires the right tools to ensure a smooth process and a perfect final product. Each piece of equipment plays a crucial role in achieving that creamy texture and rich flavor we all love in cheesecake.
- Springform Pan: A good-quality 9-inch springform pan is essential for cheesecakes. Its removable sides allow for easy release after baking, ensuring your cheesecake maintains its shape. Make sure to grease the bottom and sides lightly with butter to prevent sticking.
- Mixing Bowls: Have a set of mixing bowls handy, preferably one large bowl for the cream cheese mixture and another for the crust. Use a glass or stainless steel bowl to make it easier to see the mixture’s consistency as you blend.
- Electric Mixer: A hand mixer or stand mixer is ideal for beating the cream cheese until smooth. Aim for a silky, lump-free texture; this will ensure your cheesecake is creamy. Mix on medium speed for about 2-3 minutes until fluffy.
- Rubber Spatula: Use a rubber spatula for folding in ingredients like whipped cream or sour cream. This helps maintain the lightness of the mixture. Be gentle to avoid deflating the whipped cream.
- Measuring Cups and Spoons: Accurate measurements are key to successful baking. Invest in a set of dry and liquid measuring cups, as well as measuring spoons to ensure you add the right amount of each ingredient.
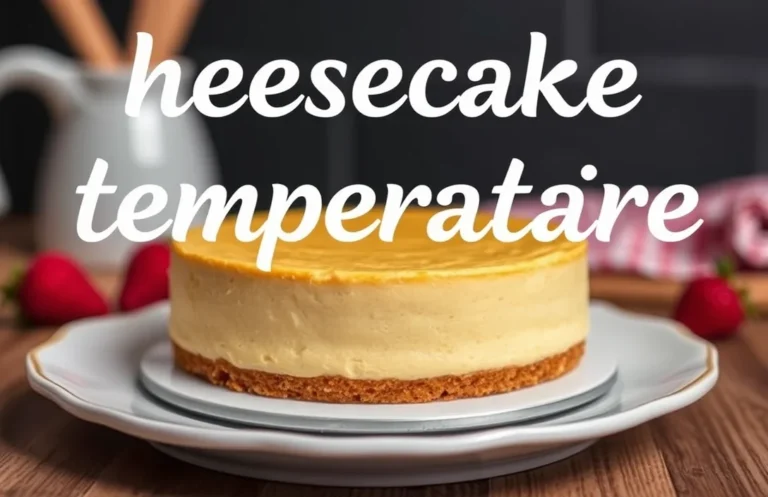
- Oven Thermometer: Ovens can be off by as much as 25°F (14°C). Use an oven thermometer to ensure your cheesecake bakes at the correct temperature of 325°F (163°C). This is crucial for avoiding cracks in your cheesecake.
Cooking Instructions
This section will guide you through the preparation and baking process for a traditional cheesecake, emphasizing the role of cheese in this beloved dessert. Understanding these steps will help you create a creamy, delicious cheesecake that showcases the cheese’s flavors beautifully.
Preparation Steps
- Preheat your oven to 325°F (160°C). This temperature is essential for ensuring the cheesecake bakes evenly without cracking. Allow the oven to fully preheat before placing your cheesecake inside.
- In a mixing bowl, combine 1 ½ cups (150g) of graham cracker crumbs with ½ cup (100g) of granulated sugar and ½ cup (115g) of melted unsalted butter. Mix until the crumbs are well coated, and the mixture resembles wet sand. This will form the crust.
- Press the crumb mixture firmly into the bottom of a 9-inch (23cm) springform pan. Ensure the crust is evenly distributed and compact. This step is crucial for a sturdy foundation for your cheesecake.
- Bake the crust for 10 minutes until lightly golden. You will know it’s ready when the edges start to firm up and the center looks dry. Remove it from the oven and allow it to cool slightly while preparing the filling.
Baking Process
- In a large mixing bowl, beat 24 ounces (680g) of cream cheese at room temperature until smooth and creamy. This should take about 2-3 minutes on medium speed. Scrape down the sides of the bowl to ensure all the cheese is incorporated.
- Add 1 cup (200g) of granulated sugar, 1 teaspoon of vanilla extract, and 3 large eggs, one at a time, mixing well after each addition. The mixture should be smooth and glossy, with no lumps remaining.
- Pour the filling over the cooled crust in the springform pan. Gently tap the pan on the counter to release any air bubbles that may have formed. The filling should be level and smooth.
- Bake the cheesecake in the preheated oven for 55-60 minutes, or until the edges are set and the center is slightly jiggly. A slight jiggle indicates that the cheesecake will firm up as it cools. Do not open the oven door during the first 40 minutes to prevent cracking.
- Once baked, turn off the oven and crack the door open, allowing the cheesecake to cool gradually for about 1 hour. This helps prevent cracks from forming due to temperature changes.
Expert Tips & Mistakes
This section focuses on common pitfalls and expert advice when making cheesecake, particularly regarding the cheese component. Understanding these tips can enhance your cheesecake-making experience and ensure a delicious outcome every time.
- Choosing the Right Cheese: Traditional cheesecakes use cream cheese for a rich, creamy texture. Make sure to use full-fat cream cheese for the best flavor and consistency. Low-fat alternatives may result in a drier cheesecake.
- Room Temperature Ingredients: For a smooth batter, allow your cream cheese and eggs to reach room temperature (around 70°F or 21°C). This helps to prevent lumps and ensures a uniform mixture, leading to a creamier cheesecake.
- Don’t Overmix: When incorporating ingredients, mix just until combined. Overmixing can introduce too much air, leading to cracks during baking. Aim for a smooth batter that is well-blended but not overly whipped.
- Watch the Baking Time: Cheesecakes should be gently set with a slight jiggle in the center when done. If you overbake, they can become dry and cracked. Start checking for doneness at the 50-minute mark, baking at 325°F (160°C).
- Cooling Properly: After baking, turn off the oven and crack the door open, allowing the cheesecake to cool slowly for at least an hour. This helps to prevent sudden temperature changes that can cause cracks.
- Chill Before Serving: For best flavor and texture, chill your cheesecake in the refrigerator for at least 4 hours, preferably overnight. This resting period allows the flavors to meld beautifully.
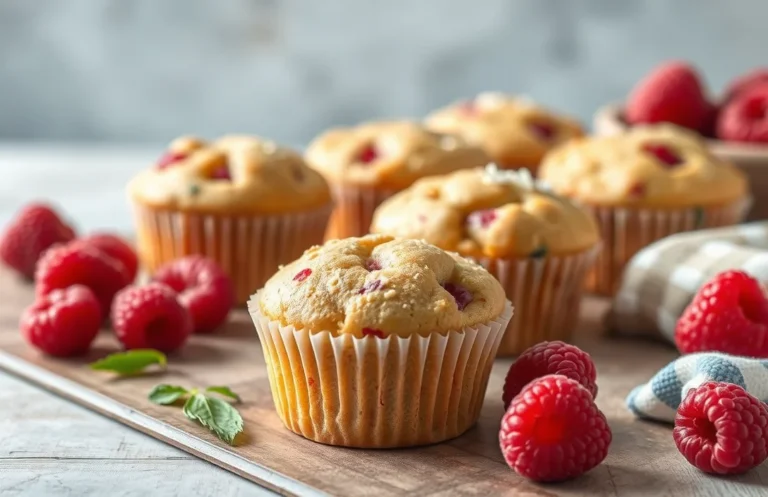
Cheesecake Variations
Cheesecake is traditionally made with cream cheese, which gives it that luscious texture and rich flavor. However, there are numerous variations and substitutions that cater to different dietary needs and preferences, allowing everyone to enjoy this classic dessert. Here, we’ll explore gluten-free options and vegan alternatives to traditional cheesecake.
Gluten-Free Options
For those avoiding gluten, creating a gluten-free cheesecake is simple! The key lies in using the right crust and ensuring all ingredients are certified gluten-free.
- Crust: Substitute regular graham crackers with gluten-free graham cracker crumbs or crushed gluten-free cookies. You’ll need about 1 ½ cups (150g) of crumbs.
- Binding: Use ⅓ cup (75g) of melted butter or coconut oil to help the crust hold together.
Vegan Alternatives
If you’re looking for a vegan version, you can make a delicious cheesecake without any dairy. Here’s a quick overview of how to achieve that creamy texture:
- Base: Replace cream cheese with 1 ½ cups (360g) of soaked cashews or silken tofu blended until smooth.
- Sweetness: Use ¾ cup (150g) of maple syrup or agave nectar for sweetness.
- Flavor: Add 2 teaspoons of vanilla extract and the juice of 1 lemon for a tangy flavor.
Chef’s tip: Always soak cashews for at least 4 hours for a smoother texture in vegan cheesecakes.
| Ingredient | Traditional Cheesecake | Gluten-Free Option | Vegan Alternative |
|---|---|---|---|
| Crust | Graham crackers | Gluten-free graham crackers | N/A |
| Creamy Base | Cream cheese | Cream cheese | Soaked cashews or silken tofu |
| Sweetener | Granulated sugar | Granulated sugar | Maple syrup or agave nectar |
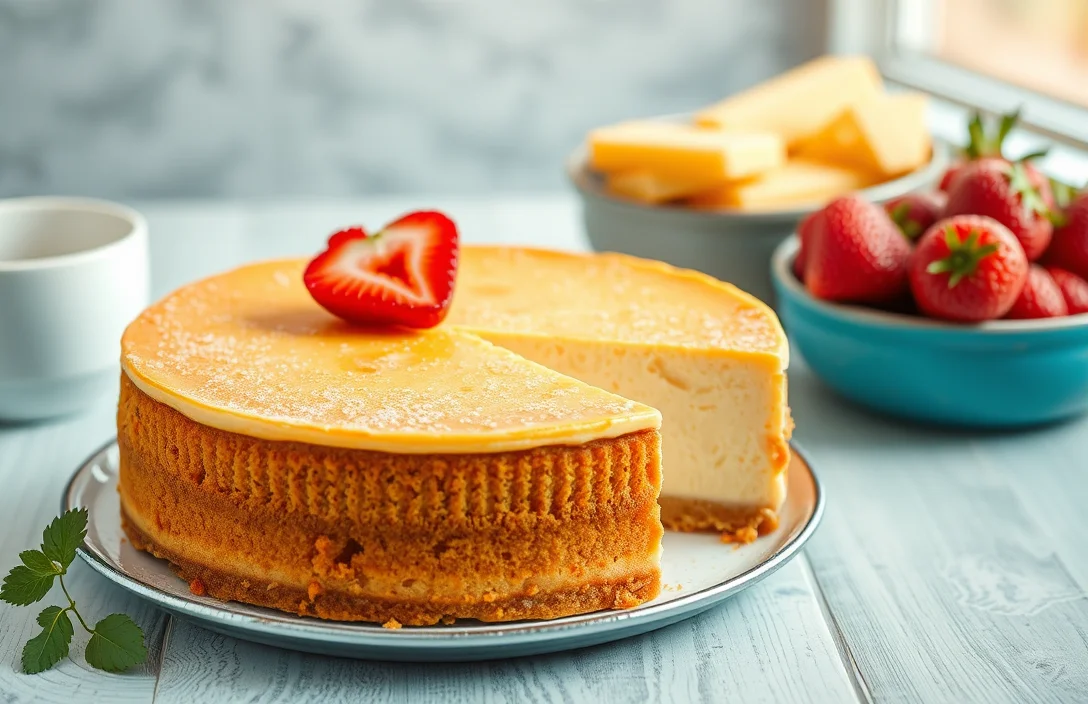
Serving Suggestions
Serving cheesecake can elevate your dessert experience, making it a delightful centerpiece for any gathering. Whether you’re preparing a classic New York cheesecake or a fruity variation, presentation and pairing can enhance its creamy texture and rich flavor.
Presentation Tips
- Chill your cheesecake in the refrigerator for at least 4 hours before serving to ensure a clean slice. A well-chilled cheesecake will hold its shape better and look more appealing.
- Use a sharp, non-serrated knife to cut clean slices. Dip the knife in hot water and wipe it dry before each cut to keep edges smooth.
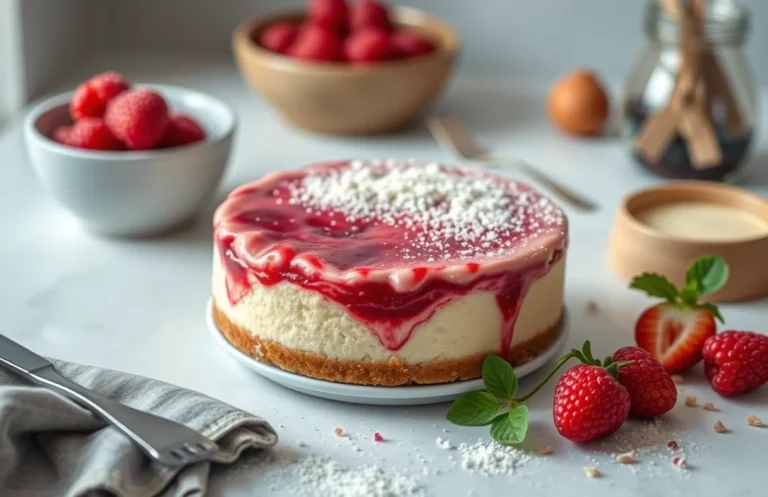
- Garnish with fresh fruit like berries, a sprinkle of powdered sugar, or a drizzle of chocolate or caramel sauce for added visual appeal.
- Serve each slice on a decorative plate with a dollop of whipped cream or a scoop of ice cream on the side for a decadent touch.
Pairing Suggestions
Pair your cheesecake with complementary flavors to enhance the tasting experience. Here are some popular combinations:
| Cheesecake Type | Suggested Pairing |
|---|---|
| Classic New York | Fresh strawberries or raspberry coulis |
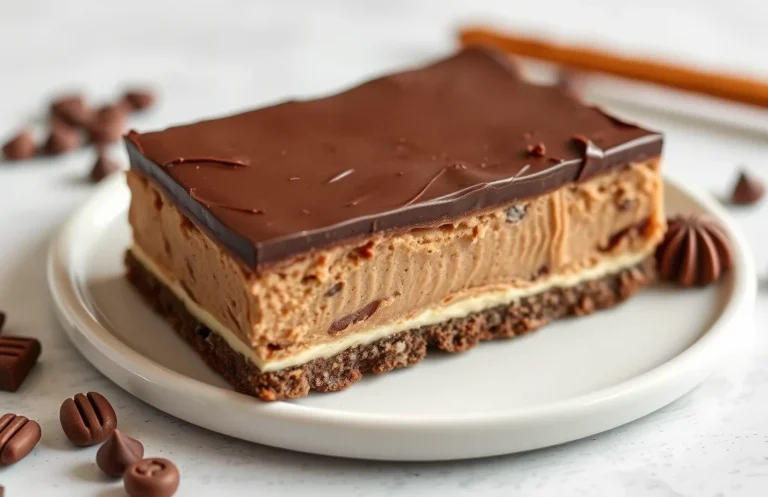
| Chocolate | Mint leaves or espresso |
| Lemon | Blueberries or a ginger snap crust |
| Pumpkin | Cinnamon whipped cream or pecan topping |
Chef’s tip: Serve cheesecake with a glass of dessert wine or a rich coffee to complement the flavors beautifully.
By thoughtfully presenting and pairing your cheesecake, you can create a memorable dessert experience for you and your guests!
Quick Summary
| Prep Time | 20 minutes |
|---|---|
| Cook Time | 60 minutes |
| Total Time | 1 hour 20 minutes |
| Servings | 8 |
- Use cream cheese: Traditional cheesecakes are made with cream cheese for a rich texture.
- Bake at 325°F: Ensure even cooking and prevent cracks by baking at this temperature.
- Cool slowly: Turn off the oven and let the cheesecake cool inside to avoid sudden temperature changes.
- Chill for at least 4 hours: This allows the flavors to meld and the texture to set perfectly.
- Use a water bath: This helps maintain moisture and prevents cracking during baking.
Frequently Asked Questions
Can I make this cheesecake ahead of time? How do I store and reheat it?
You can definitely make cheesecake ahead of time; it actually tastes better after chilling for at least 4 hours or overnight. Store it in the refrigerator, covered tightly with plastic wrap, and it will keep well for up to a week.
What can I substitute for cream cheese?
If you’re looking for a substitute, you can use mascarpone cheese or a vegan cream cheese for a similar texture and flavor. Keep in mind that this may slightly alter the taste of your cheesecake.
How do I know when my cheesecake is done?
Your cheesecake is done when the edges are set, but the center still has a slight jiggle — it should look shiny and not cracked. It will continue to firm up as it cools, so don’t overbake it!
Can I freeze this cheesecake? How long does it last?
You can freeze cheesecake for up to 2-3 months if wrapped tightly in plastic wrap and then aluminum foil. To thaw, simply place it in the refrigerator overnight before serving.
Why did my cheesecake turn out too dense?
If your cheesecake is too dense, it may be due to overmixing the batter or baking it at too high a temperature. Make sure to mix just until combined and bake at a low temperature (around 325°F) for a smooth, creamy texture.

- Decadent Peanut Butter No-Bake Cheesecake: Easy Recipe to Indulge - April 3, 2026
- Delicious Mango No-Bake Cheesecake: Step-by-Step Recipe - April 3, 2026
- Decadent Raspberry No-Bake Cheesecake: Easy Step-by-Step Recipe - April 3, 2026