Cheesecake Protein Facts: Boost Your Dessert with High-Protein Recipes
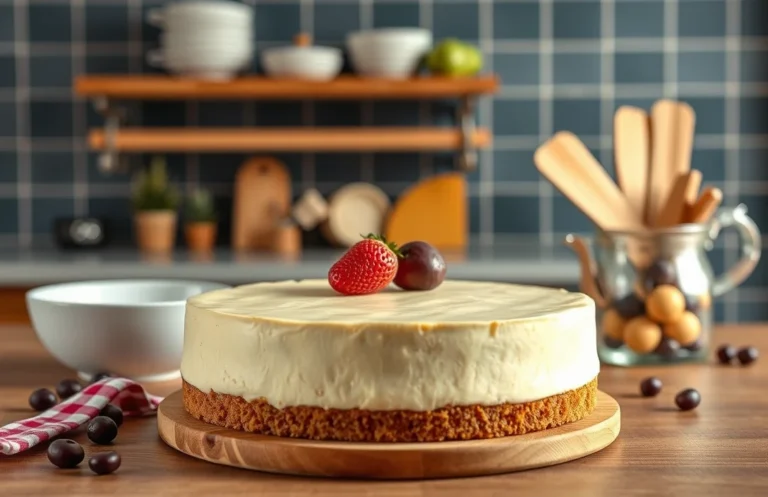
Cheesecake has a special place in my heart—it’s that creamy, dreamy dessert that feels like a warm hug after a long day. Whether it’s for a family gathering or just a cozy weeknight treat, a slice of cheesecake is sure to please any crowd. You can’t help but crave that luscious texture and rich flavor!
In this guide, you’ll learn about the protein content in cheesecake and find 2-3 tested high-protein cheesecake recipes that you can easily make at home. Expect to see exact measurements, cooking temperatures, and timing to achieve the perfect cheesecake.
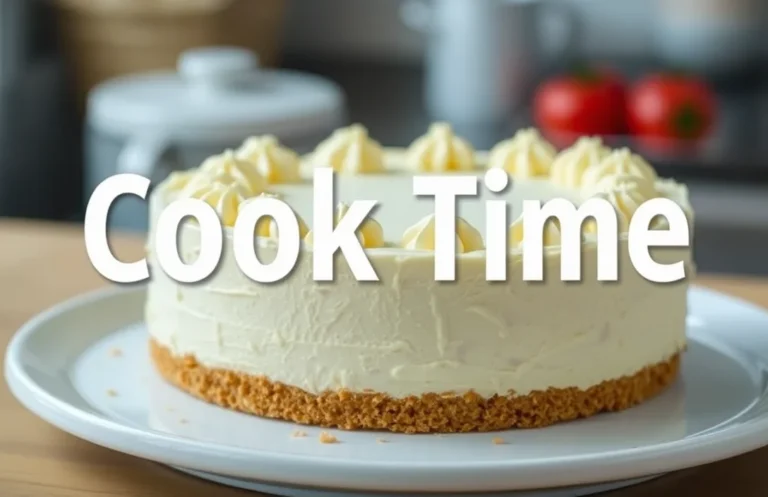
| Prep Time | Cook Time | Total Time | Servings | Difficulty |
|---|---|---|---|---|
| 15 minutes | 60 minutes | 75 minutes | 8 servings | Medium |
Cheesecake Origins and Specialties
Cheesecake has a rich history that dates back thousands of years, originating in ancient Greece. Its unique texture and flavor have evolved over time, making it a beloved dessert around the world. Understanding its origins and specialties not only highlights its cultural significance but also informs us about the potential nutritional benefits, such as protein content.
History of Cheesecake
The earliest known cheesecake recipe comes from ancient Greece, where it was served to athletes during the first Olympic Games in 776 B.C. This simple cake was made with fresh cheese, flour, and honey. Over the centuries, the recipe has undergone numerous adaptations:
- Roman adaptations introduced eggs and a richer cheese blend.
- The introduction of cream cheese in the United States in the late 19th century led to the creamy texture we associate with modern cheesecakes.
- Today, cheesecake varies globally, with styles ranging from the dense New York cheesecake to light and fluffy Japanese cotton cheesecake.
What Makes Cheesecake Special
Cheesecake stands out among desserts due to its creamy texture and versatility in flavors. Here are some unique aspects:
- Texture: The combination of cheese and eggs creates a rich, velvety texture.
- Flavor Variations: Cheesecake can be flavored with fruits, chocolate, or spices, making it customizable for any occasion.
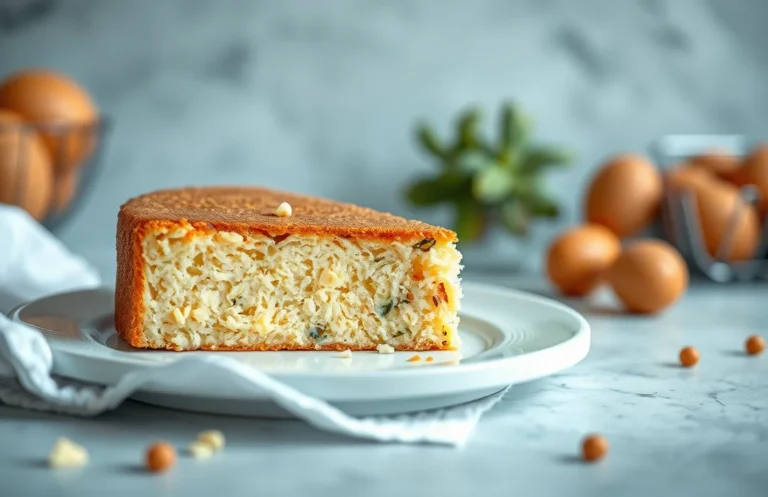
- Protein Content: Traditional cheesecakes made with cream cheese or ricotta contain protein, making them more substantial compared to other desserts.
Chef’s tip: To increase the protein content, consider using Greek yogurt or cottage cheese as substitutes for standard cream cheese in your cheesecake recipes.
Cheesecake not only satisfies a sweet tooth but can also provide a notable amount of protein, especially when made with high-protein ingredients. This makes it a dessert that can fit into a balanced diet, especially if you’re mindful of the ingredients used.
Ingredients for Protein-Packed Cheesecake
In this section, we’ll outline the specific ingredients you need to make a delicious protein-packed cheesecake. These ingredients not only enhance the cheesecake’s creaminess but also significantly boost its protein content, making it a perfect dessert for those looking to indulge while staying health-conscious.
| Item | Amount/Specification | Notes |
|---|---|---|
| Cream Cheese | 16 oz (450g) | Softened, full-fat or low-fat options |
| Greek Yogurt | 1 cup (240g) | Plain, unsweetened, adds creaminess and protein |
| Protein Powder | 1/2 cup (60g) | Vanilla or unflavored, for extra protein boost |
| Sugar | 1/2 cup (100g) | Can substitute with honey or a sugar alternative |
| Eggs | 3 large | Room temperature for better mixing |
| Vanilla Extract | 1 teaspoon (5ml) | For flavor enhancement |
| Graham Cracker Crust | 1 prepared crust (9-inch) | Store-bought or homemade |
- Tip: If you’re lactose intolerant, consider using lactose-free cream cheese and yogurt.
- For a gluten-free option, use a gluten-free crust or make one from almond flour.
- Be cautious with the protein powder; too much can alter the texture, so stick to the recommended amount.
Essential Kitchen Equipment
Before you dive into making a delicious protein-packed cheesecake, having the right kitchen equipment is crucial for achieving the perfect texture and flavor. This section outlines the essential tools you’ll need and how to prepare them for a smooth and successful cheesecake-making experience.
- Mixing Bowls: Use at least two mixing bowls: a large one for the cream cheese mixture and a smaller one for the dry ingredients. A glass or stainless steel bowl works best since they are non-reactive. Make sure they’re clean and dry to prevent any unwanted moisture from affecting the cheesecake batter.
- Springform Pan: A 9-inch springform pan is ideal for cheesecakes as it allows for easy removal after baking. Before using, lightly grease the bottom and sides with butter or non-stick spray. This will help ensure that the cheesecake releases cleanly and maintains its shape.
- Oven Preparation: Preheat your oven to 325°F (160°C) before mixing your ingredients. This temperature is perfect for baking cheesecakes, allowing them to set evenly without cracking. Make sure to place an oven-safe dish filled with water on the bottom rack; this creates steam, which helps keep the cheesecake moist during baking.
Chef’s tip: Always use room temperature ingredients, especially cream cheese, to prevent lumps in your batter and achieve a smooth, creamy texture.
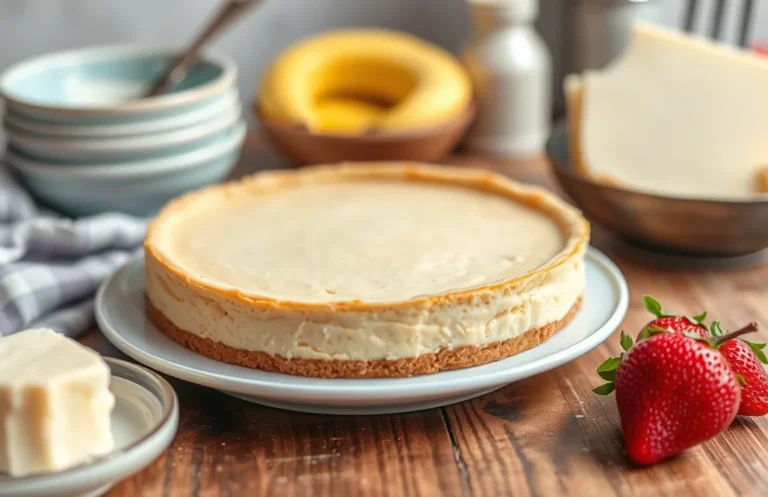
Step-by-Step Cheesecake Recipe
This section will guide you through the crucial steps of mixing the base, baking the cheesecake, and the cooling process. Understanding these steps is essential not only for achieving the perfect texture but also for maximizing the protein content of your cheesecake, especially if you’re looking to adjust the recipe to fit your dietary needs.
- Mixing the Base: Start by preheating your oven to 350°F (175°C). In a medium bowl, combine 1 ½ cups (150g) of graham cracker crumbs, ⅓ cup (65g) of granulated sugar, and ½ cup (115g) of melted unsalted butter. Mix until the crumbs are evenly coated and have a sandy texture. Press this mixture firmly into the bottom of a 9-inch (23cm) springform pan to create an even layer.
- Baking the Cheesecake: Next, in a large mixing bowl, beat 24 ounces (680g) of cream cheese at room temperature until smooth. Gradually add 1 cup (200g) of granulated sugar and 1 teaspoon of vanilla extract, mixing until well combined. Then, add 3 large eggs, one at a time, beating well after each addition. Pour the cream cheese mixture over the crust in the springform pan. Bake in the preheated oven for 55-60 minutes, or until the edges are set and the center is slightly jiggly. You’ll know it’s done when it looks slightly puffed and has a light golden color on the edges.
- Cooling Process: Once baked, turn off the oven and crack the door open, allowing the cheesecake to cool slowly for about 1 hour. This helps prevent cracking. After the hour, remove it from the oven and let it cool to room temperature. Then, cover it in plastic wrap and refrigerate for at least 4 hours, preferably overnight. It should feel firm to the touch and have a smooth, creamy surface when fully chilled.
| Ingredient | Amount |
|---|---|
| Graham cracker crumbs | 1 ½ cups (150g) |
| Granulated sugar | 1 ⅓ cups (265g) |
| Melted unsalted butter | ½ cup (115g) |
| Cream cheese | 24 ounces (680g) |
| Large eggs | 3 |
Chef’s tip: For a higher protein cheesecake, consider using Greek yogurt or cottage cheese in place of half the cream cheese. This makes the texture a bit different but boosts the protein content significantly!
Pro Tips for Perfect Cheesecake
Creating a flawless cheesecake not only enhances its flavor but also boosts its protein content, making it a healthier dessert option. Here are essential tips to avoid common pitfalls and ensure your cheesecake is perfectly baked every time.
Avoiding Cracks
- Use room temperature ingredients: Make sure your cream cheese, eggs, and sour cream are at room temperature. This helps create a smooth batter that incorporates air evenly, reducing the chance of cracks.
- Don’t overmix: While it’s important to mix well, overmixing can introduce too much air, leading to cracks as the cheesecake cools. Mix just until combined to maintain a creamy texture.
- Water bath method: Bake your cheesecake in a water bath to regulate temperature and moisture. Wrap the springform pan in aluminum foil and place it in a larger pan filled with hot water. This prevents the top from drying out and cracking.
Baking Time Adjustments
- Check for doneness: The cheesecake should be set around the edges but slightly jiggly in the center when you take it out of the oven. It will continue to firm as it cools, so avoid overbaking.
- Cool gradually: After baking, turn off the oven and crack the door open, letting the cheesecake cool inside for an hour. This gradual temperature change helps prevent cracks from forming.
- Chill before serving: For the best flavor and texture, refrigerate your cheesecake for at least 4 hours, ideally overnight. This resting time allows the flavors to meld and ensures a creamy consistency.
High-Protein Cheesecake Variations
For those seeking to boost their protein intake while enjoying a delicious dessert, high-protein cheesecake variations are a fantastic option. Whether you have dietary restrictions or simply want to experiment in the kitchen, these alternatives can cater to gluten-free or vegan diets without sacrificing flavor or texture.
Gluten-Free Options
- Crust: Use almond flour instead of traditional flour. Combine 2 cups almond flour with ¼ cup melted coconut oil and 2 tablespoons honey, then press into the bottom of a 9-inch springform pan.
- Filling: Use gluten-free cream cheese (8 oz) and Greek yogurt (1 cup) to create a creamy filling. This combination adds protein and keeps it gluten-free.
- Sweetener: Substitute regular sugar with coconut sugar or a sugar substitute like stevia for a healthier option.
Vegan Alternatives
- Crust: Combine 1 ½ cups of crushed gluten-free graham crackers with ¼ cup coconut oil and 2 tablespoons maple syrup.
- Filling: Blend 2 cups soaked cashews, 1 cup silken tofu, ½ cup almond milk, and ½ cup maple syrup until smooth for a protein-rich, creamy texture.
- Flavoring: For added flavor, mix in 1 teaspoon of vanilla extract or cocoa powder for a chocolate version.
Chef’s tip: Always soak cashews for at least 4 hours to achieve a smooth consistency.
| Ingredient | Amount | Protein (g) |
|---|---|---|
| Greek Yogurt | 1 cup | 20 |
| Vegan Tofu | 1 cup | 20 |
| Almond Flour | 2 cups | 12 |
By following these variations, you can enjoy a cheesecake that not only satisfies your sweet tooth but also aligns with your dietary needs while packing in protein.
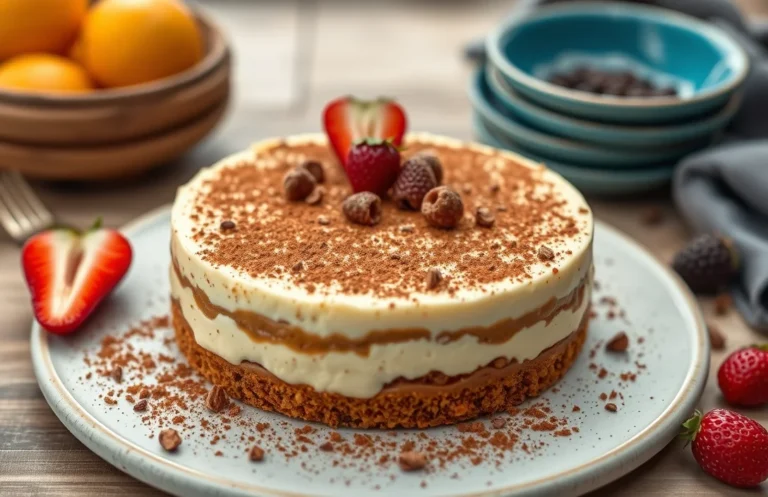
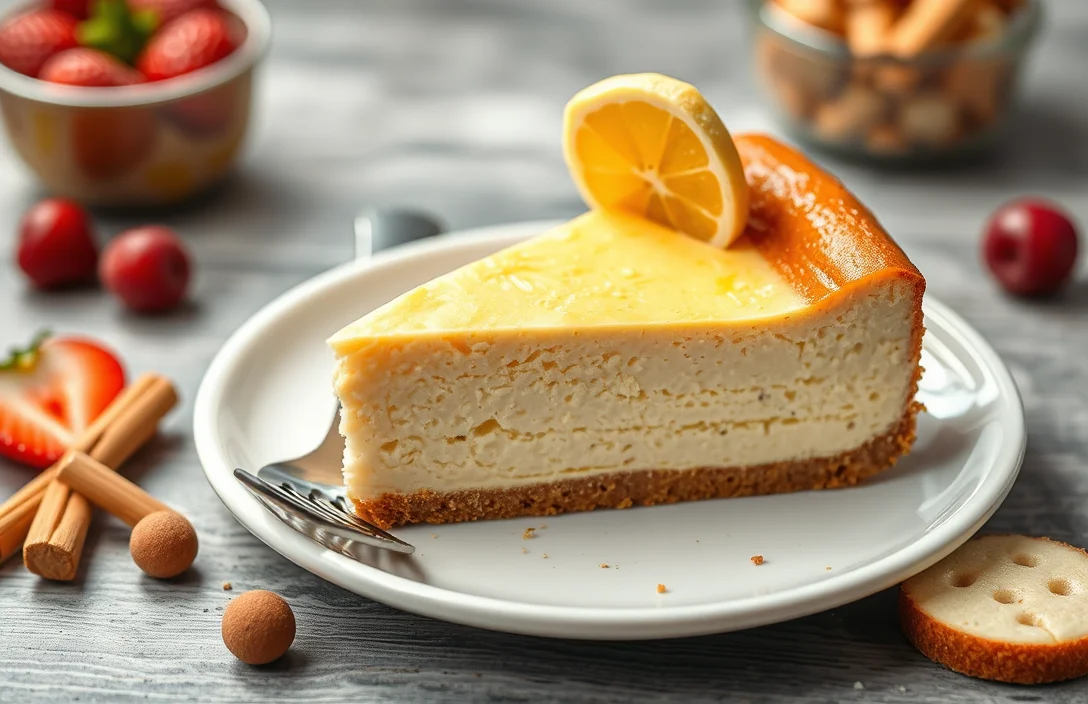
Serving and Plating Suggestions
Presenting your cheesecake beautifully can enhance not only its visual appeal but also the overall dining experience. Whether you’re serving a classic or a high-protein variation, thoughtful garnishes and drink pairings can elevate the dish and impress your guests.
Garnishes
- Fresh Berries: Top your cheesecake with a handful of mixed berries like strawberries, blueberries, or raspberries for a pop of color and a hint of tartness. Aim for about ½ cup (75g) of berries for a 9-inch cheesecake.
- Mint Leaves: A few fresh mint leaves can add a refreshing touch. Use about 5-6 leaves, placed strategically around the edges.
- Drizzle of Honey or Chocolate Sauce: A light drizzle (about 2 tablespoons) of honey or chocolate sauce can add sweetness and visual appeal. Make sure it contrasts nicely with the cheesecake.
- Whipped Cream: A dollop of whipped cream (about ¼ cup) on top can provide a creamy texture. Consider using a piping bag for a decorative touch.
Pairing Drinks
Choosing the right drink can enhance the flavors of your cheesecake. Here are some great options:
| Drink | Flavor Profile |
|---|---|
| Coffee | The rich, bold flavors complement the creaminess. |
| Sweet Dessert Wine | Enhances sweetness while balancing richness. |
| Herbal Tea | A light option that refreshes the palate. |
Chef’s tip: Chill your cheesecake for at least 4 hours before serving for the best texture and flavor.
By adding these thoughtful garnishes and pairing with complementary drinks, your cheesecake will not only taste great but look inviting and sophisticated on the table!
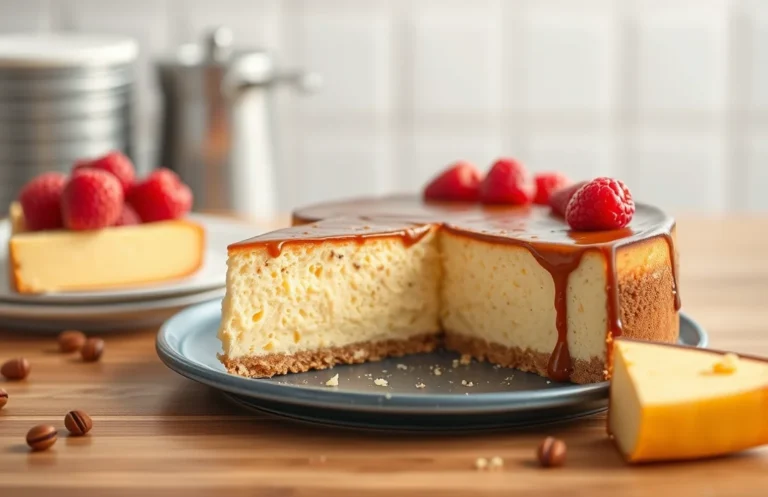
Quick Summary
| Prep Time | Cook Time | Total Time | Servings |
|---|---|---|---|
| 20 minutes | 60 minutes | 1 hour 20 minutes | 8 servings |
- Choose ingredients wisely: Use cream cheese for higher protein content.
- Pre-bake crust: Bake the graham cracker crust at 350°F for 10 minutes.
- Mix thoroughly: Beat cream cheese until smooth to avoid lumps.
- Temperature control: Bake at 325°F for even cooking.
- Cool properly: Let cheesecake cool in the oven to prevent cracks.
- Tip for texture: Use room temperature ingredients for a creamy consistency.
- Protein boost: Consider adding Greek yogurt for extra protein.
Frequently Asked Questions
Can I make this ahead of time? How to store and reheat?
Yes, you can make cheesecake up to 2 days in advance. Store it in the refrigerator, covered tightly with plastic wrap, and it’s best enjoyed cold or at room temperature.
What can I substitute for cream cheese?
You can substitute cream cheese with an equal amount of Greek yogurt or mascarpone cheese for a similar texture and flavor. However, keep in mind that these substitutes may slightly alter the cheesecake’s creaminess.
How do I know when it’s done?
Your cheesecake is done when the edges are set, but the center still has a slight jiggle, which usually takes about 50-60 minutes at 325°F (163°C). It will continue to firm up as it cools, so don’t overbake!
Can I freeze this? How long does it last?
Yes, you can freeze cheesecake for up to 3 months, but make sure to wrap it tightly in plastic wrap and aluminum foil to prevent freezer burn. Thaw it overnight in the refrigerator before serving for the best texture.
Why did my cheesecake turn out cracked?
Your cheesecake may crack due to rapid temperature changes or overmixing the batter. To avoid this, bake it in a water bath and mix just until combined, keeping an eye on the baking time.

- Decadent Peanut Butter No-Bake Cheesecake: Easy Recipe to Indulge - April 3, 2026
- Delicious Mango No-Bake Cheesecake: Step-by-Step Recipe - April 3, 2026
- Decadent Raspberry No-Bake Cheesecake: Easy Step-by-Step Recipe - April 3, 2026