Fluffy Chiffon Cake Recipe: Tips for Perfect Nonstick Baking
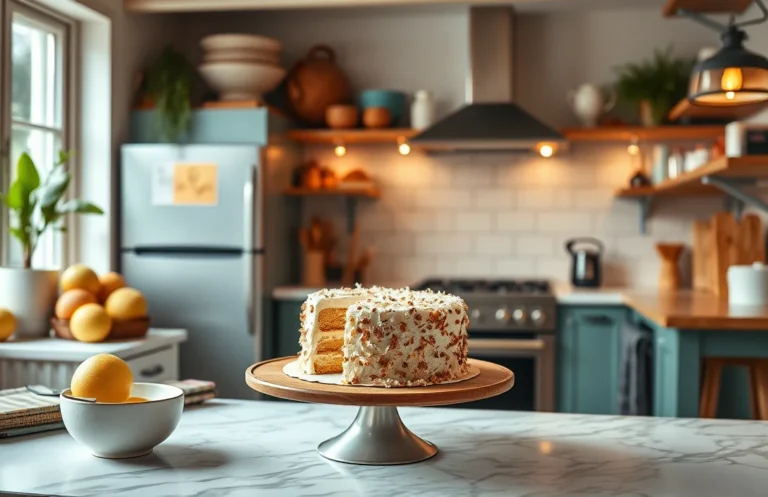
Chiffon cake is an absolute delight, combining the lightness of a sponge with the richness of a butter cake. Its airy texture and subtle flavor make it perfect for any occasion, whether it’s a cozy weeknight dessert or the star of a weekend gathering. Just imagine slicing into a tall, fluffy cake that practically melts in your mouth!
Get ready to bake a delicious nonstick chiffon cake with a prep time of 20 minutes, a cook time of 50 minutes, and a total time of 1 hour and 10 minutes. This recipe serves 8 to 10 people and is rated intermediate in difficulty.
| Prep Time | Cook Time | Total Time | Servings | Difficulty |
|---|---|---|---|---|
| 20 minutes | 50 minutes | 1 hour 10 minutes | 8 to 10 | Intermediate |
Chiffon Cake Origins
Understanding the origins of chiffon cake provides insight into its unique texture and flavor, which make it a favorite among home bakers. This light and airy cake is not just delicious, but it also has an interesting history that sets it apart from other cakes.
Historical Background
Chiffon cake was invented in the 1920s by a California salesman named Harry Baker. It became popular in the culinary world after he sold the recipe to General Mills in the 1940s. The cake is distinguished by its use of vegetable oil instead of butter, which contributes to its moistness and tender crumb.
- Invented: 1920s
- Popularized: 1940s
- Key Ingredient: Vegetable oil for moisture
Why It’s Special
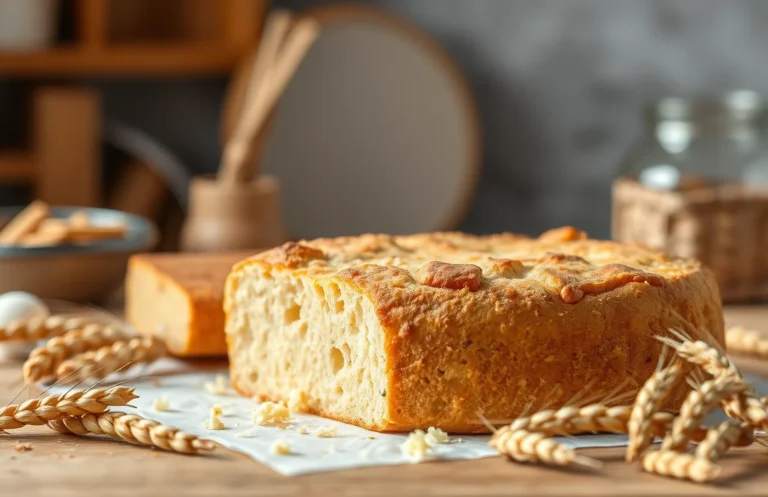
The chiffon cake’s unique texture results from the combination of whipped egg whites and a rich batter, creating a cake that is both fluffy and flavorful. This cake is often praised for its ability to stay moist for days, making it an excellent choice for celebrations and gatherings.
When to Serve
Chiffon cake is versatile and can be served for various occasions:
- Birthdays
- Weddings
- Tea parties
- Holiday celebrations
Chef’s tip: Serve chiffon cake with fresh fruit or a light glaze to enhance its delicate flavor.
As we move on to the recipe, using nonstick bakeware is essential for achieving the perfect chiffon cake without the risk of sticking. This ensures that the cake rises beautifully and releases cleanly from the pan.
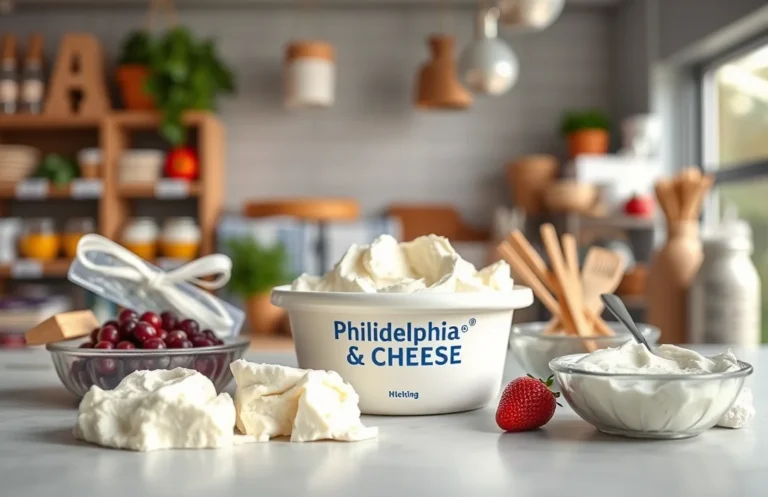
Ingredients for Chiffon Cake
In this section, we’ll cover all the essential ingredients needed to create a light and airy chiffon cake, with specific measurements that guarantee success. Using nonstick bakeware is crucial to ensure your cake releases easily, so we’ll also touch on ingredient choices that complement this method.
| Item | Amount/Specification | Notes |
|---|---|---|
| All-purpose flour | 2 cups (240g) | For structure and texture |
| Sugar | 1 cup (200g) | Use granulated sugar for sweetness |
| Baking powder | 2 teaspoons | Ensures a light rise |
| Salt | ½ teaspoon | Enhances flavor |
| Vegetable oil | ½ cup (120ml) | Adds moisture; can substitute with canola oil |
| Eggs | 5 large, separated | Yolks for richness, whites for lift |
| Water | ½ cup (120ml) | Helps to hydrate the batter |
| Vanilla extract | 1 teaspoon | Adds flavor; almond extract is a tasty alternative |
- For best results, use room temperature eggs; they whip better and incorporate more air.
- If you’re sensitive to gluten, you can substitute the all-purpose flour with a gluten-free blend.
- Ensure your nonstick bakeware is clean and free of scratches to prevent sticking.
- Always sift your dry ingredients together; this helps to aerate them and eliminates lumps.
Required Kitchen Equipment
To bake a successful chiffon cake, having the right kitchen equipment is essential. This section will detail the tools you’ll need, specifically focusing on nonstick bakeware, which is crucial for achieving that perfect rise and preventing sticking.
| Item | Amount/Specification | Notes |
|---|---|---|
| Nonstick Chiffon Cake Pan | 10-inch (25 cm) | Choose a pan with a removable bottom for easy cake release. |
| Mixing Bowls | 2 medium-sized | One for dry ingredients, one for wet ingredients. |
| Hand Mixer or Stand Mixer | 1 | A hand mixer is sufficient, but a stand mixer will make it easier to whip egg whites. |
| Spatula | 1 | Silicone or rubber spatula for folding ingredients gently. |
| Measuring Cups | 1 set | For precise measurements of liquids and dry ingredients. |
| Measuring Spoons | 1 set | For exact measurements of small quantities. |
- Tip: Ensure your nonstick pan is in good condition; any scratches can lead to sticking.
- Always preheat your oven to 350°F (175°C) before beginning to mix your batter.
- Keep your mixing bowls clean and dry, especially when whipping egg whites for the best volume.
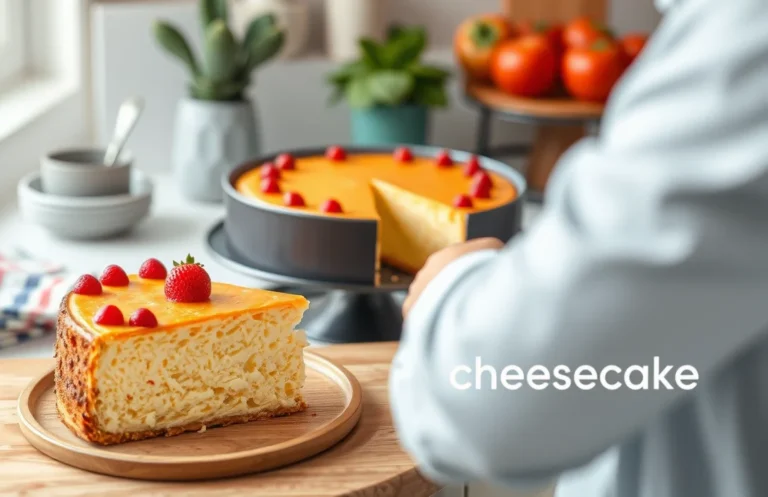
Step-by-Step Baking Instructions
This section provides a detailed guide to baking your chiffon cake using nonstick bakeware. Following these precise steps will help you achieve a light, airy texture while preventing your cake from sticking to the pan.
- Preheat the Oven: Begin by preheating your oven to 350°F (175°C). This temperature is critical for achieving that perfect rise and golden color. Allow your oven to preheat for at least 15 minutes to ensure even heat distribution.
- Prepare the Nonstick Bakeware: While the oven is preheating, grab your 10-inch nonstick tube pan. There’s no need to grease it, as nonstick pans are designed to release the cake without added fats. However, make sure to check for any scratches or wear that may affect performance.
- Mix the Batter: In a large mixing bowl, sift together 2 cups (240g) of all-purpose flour, 1 ½ cups (300g) of granulated sugar, 1 tablespoon of baking powder, and ½ teaspoon of salt. In a separate bowl, whisk ½ cup (120ml) of vegetable oil, 6 large egg yolks, ¾ cup (180ml) of water, and 2 teaspoons of vanilla extract until well combined. Slowly combine the wet ingredients into the dry mix, stirring gently until just combined; be cautious not to over-mix. The batter should be smooth and slightly thick.
- Beat Egg Whites: In a clean, dry bowl, beat 6 large egg whites with a pinch of cream of tartar until soft peaks form, about 3-4 minutes. Gradually add ½ cup (100g) of granulated sugar, continuing to beat until stiff peaks form. The egg whites should appear glossy and hold their shape.
- Fold in Egg Whites: Gently fold the beaten egg whites into the batter in three additions. Use a spatula to lift the batter from the bottom and fold it over the egg whites, being careful not to deflate them. The final mixture should look light and fluffy with no visible streaks of egg whites.
- Bake the Cake: Pour the batter into the prepared nonstick tube pan. Bake in the preheated oven for 55-60 minutes, or until a toothpick inserted in the center comes out clean. The cake should be golden brown and spring back when gently pressed in the center. Do not open the oven door during the first 30 minutes of baking to maintain a stable temperature.
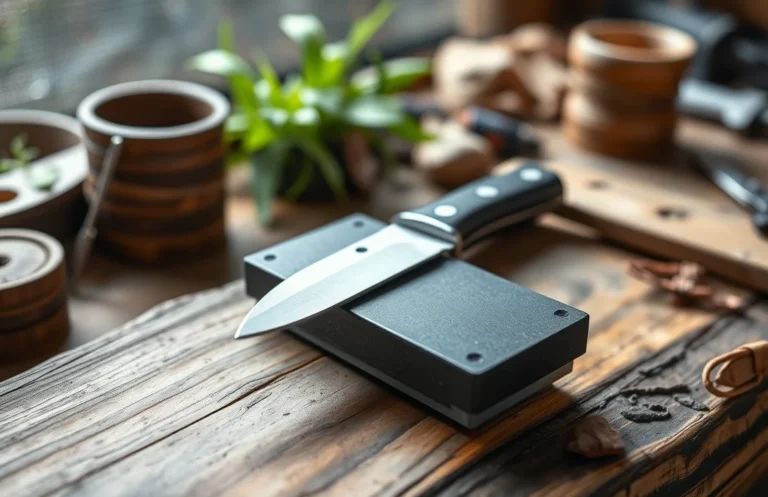
- Cool the Cake: Once baked, remove the cake from the oven and immediately invert the pan onto a wire rack. This will help the cake cool evenly and prevent it from collapsing. Allow the cake to cool for at least 1 hour before removing it from the pan. To release the cake, gently run a knife around the edges.
Pro Tips and Common Mistakes
Making a chiffon cake in nonstick bakeware can be a delightful experience, but there are specific techniques and common pitfalls to watch for. By following these expert tips, you can ensure your cake rises beautifully and releases effortlessly from the pan.
- Avoiding Sticking: Always use a nonstick pan specifically designed for chiffon cakes. Even if your pan is nonstick, gently greasing the sides with a thin layer of vegetable oil can help. After baking, allow the cake to cool upside down in the pan for 1 hour to prevent collapse and sticking.
- Mixing Techniques: Properly whipping the egg whites is crucial. Use a clean, dry bowl and ensure no yolk gets into the whites. Beat until stiff peaks form, which should look glossy and hold their shape. Gently fold the whipped egg whites into the batter using a spatula, being careful not to deflate them, as this helps your cake rise light and fluffy.
- Baking Time Adjustments: Every oven is different, so start checking your cake at 30 minutes. It should be golden brown and spring back when lightly touched. If the top looks too dark, cover it loosely with aluminum foil to prevent burning while it continues to bake. Always use a toothpick to test for doneness; it should come out clean or with a few moist crumbs.
Flavor Variations and Substitutions
Chiffon cake is wonderfully versatile, allowing you to customize flavors and accommodate dietary preferences. Here are some delicious variations and substitutions to consider that will keep your chiffon cake delightful and unique!
Chocolate Chiffon
For a rich chocolate version of your chiffon cake, simply replace some of the flour with cocoa powder. Here’s how to do it:
- Replace ½ cup (60g) of all-purpose flour with ½ cup (50g) unsweetened cocoa powder.
- Add an additional ½ cup (100g) of granulated sugar to balance the bitterness of the cocoa.
- Ensure you sift the cocoa powder with the flour to avoid lumps.
Fruit Add-Ins
Fresh fruits can elevate your chiffon cake and add natural sweetness. Consider these options:
- Fold in 1 cup (150g) of finely chopped strawberries or raspberries into the batter before baking.
- Use 1 cup (150g) of mashed bananas, which will also add moisture to the cake.
Just be cautious with the amount of liquid in the batter; too much might affect the rise. You may want to reduce the liquid ingredients slightly if adding fruit.
Gluten-Free Options
If you’re catering to gluten-free diets, you can substitute the all-purpose flour:
- Use 1¾ cups (210g) of a gluten-free all-purpose flour blend. Ensure it contains xanthan gum for proper structure.
- Follow the same measurements for the wet ingredients as in the original recipe.
Chef’s tip: Gluten-free cakes can sometimes be denser; consider adding an extra egg white to lighten the texture.
| Ingredient | Measurement |
|---|---|
| All-purpose flour | 1 ½ cups (180g) |
| Cocoa powder (for chocolate chiffon) | ½ cup (50g) |
| Fruit (optional) | 1 cup (150g) |
| Gluten-free flour blend | 1¾ cups (210g) |
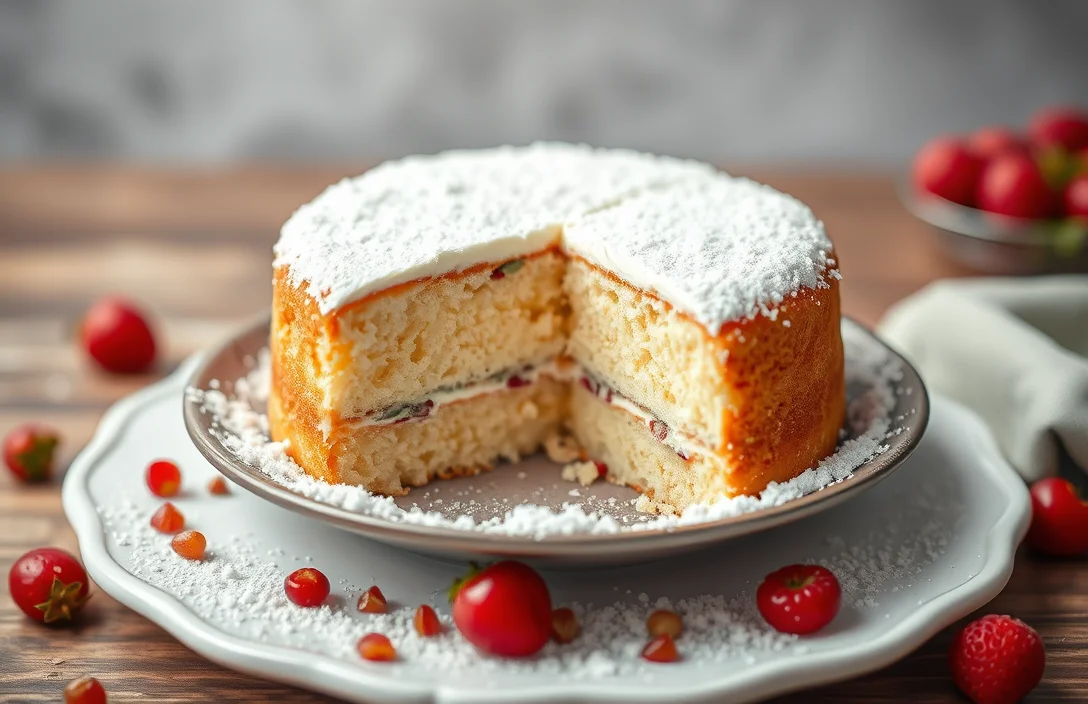
Serving and Plating Suggestions
Presenting your chiffon cake beautifully can elevate your dessert experience. With a light and airy texture, chiffon cake can be garnished and paired with various accompaniments that complement its flavor and enhance its visual appeal.
Garnishing Ideas
- Dust with powdered sugar: Use a fine mesh sieve to lightly sprinkle powdered sugar over the cake just before serving for a touch of sweetness.
- Fresh fruits: Top with berries like strawberries, raspberries, or blueberries for a burst of color and freshness.
- Citrus zest: Grate some lemon or orange zest over the cake to add a pop of flavor and brightness.
- Whipped cream: Serve with a dollop of freshly whipped cream, sweetened with a touch of vanilla for an indulgent touch.
Pairing with Beverages
Chiffon cake pairs well with a variety of beverages. Here are some suggestions:
- Tea: A light herbal or green tea complements the airy texture of the cake.
- Coffee: Brew a medium roast coffee for a delightful contrast to the sweetness.
- Champagne: For special occasions, a glass of bubbly adds a festive touch.
Serving Size Recommendations
For serving, aim for slices that are about 1 inch thick. A standard chiffon cake typically serves 8-10 people, depending on the size of the slices. If you’re serving at a party or gathering, consider offering smaller portions alongside other desserts for a varied selection.
Pro tip: If you’re left with leftover chiffon cake, wrap it tightly in plastic wrap and store it in the refrigerator. It will stay fresh for up to 3 days!
Quick Summary
| Prep Time | 30 minutes |
|---|---|
| Cook Time | 50 minutes |
| Total Time | 1 hour 20 minutes |
| Servings | 10 |
- Preheat Oven: Set to 325°F (163°C) for optimal baking.
- Whip Egg Whites: Beat until stiff peaks form for a light texture.
- Mix Dry Ingredients: Combine flour, sugar, baking powder, and salt thoroughly.
- Fold Gently: Incorporate egg whites into batter without deflating.
- Cool Upside Down: Invert cake pan to maintain height and prevent collapsing.
- Use Nonstick Pan: Ensure pan is truly nonstick for easy release.
- Room Temperature Ingredients: Use eggs and liquids at room temperature for better emulsification.
- Don’t Overmix: Gently combine to keep the batter airy and fluffy.
Frequently Asked Questions
Can I make this ahead of time? How to store and reheat?
You can absolutely make chiffon cake ahead of time! Store it in an airtight container at room temperature for up to 3 days, or refrigerate for up to 1 week; to reheat, warm it in the oven at 300°F for about 10 minutes.
What can I substitute for eggs in this recipe?
If you need an egg substitute, you can use 1/4 cup of unsweetened applesauce or 1/4 cup of silken tofu blended until smooth for each egg. This helps maintain the moisture and fluffiness of the chiffon cake.
How do I know when it’s done?
Your chiffon cake is done when it springs back slightly when pressed and a toothpick inserted into the center comes out clean or with just a few crumbs. It should also have a light golden color on top, indicating a nice rise and a fluffy texture.
Can I freeze this? How long does it last?
You can freeze chiffon cake for up to 2 months if wrapped tightly in plastic wrap and then in aluminum foil. When you’re ready to enjoy it, thaw it in the refrigerator overnight for the best texture.
What if I don’t have a nonstick pan?
If you don’t have a nonstick pan, you can use a standard tube pan and make sure to grease and flour it well to prevent sticking. Just remember to let the cake cool upside down to help it release more easily.

- Decadent Peanut Butter No-Bake Cheesecake: Easy Recipe to Indulge - April 3, 2026
- Delicious Mango No-Bake Cheesecake: Step-by-Step Recipe - April 3, 2026
- Decadent Raspberry No-Bake Cheesecake: Easy Step-by-Step Recipe - April 3, 2026