Freeze Cheesecake Perfectly: Tips for Texture and Flavor Preservation
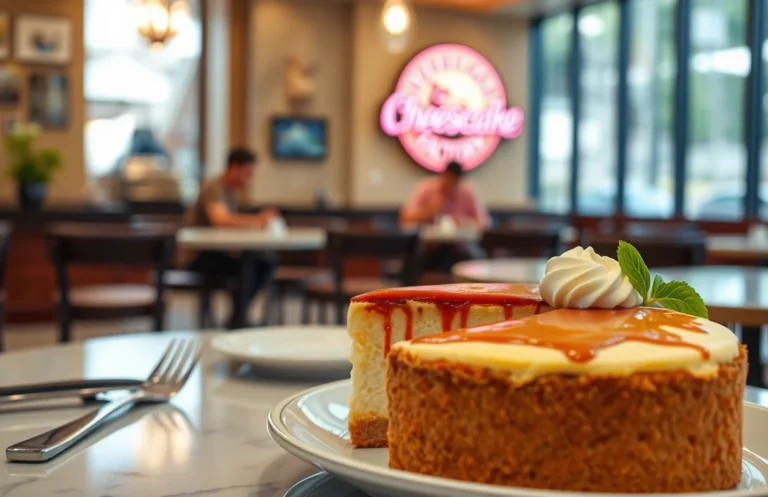
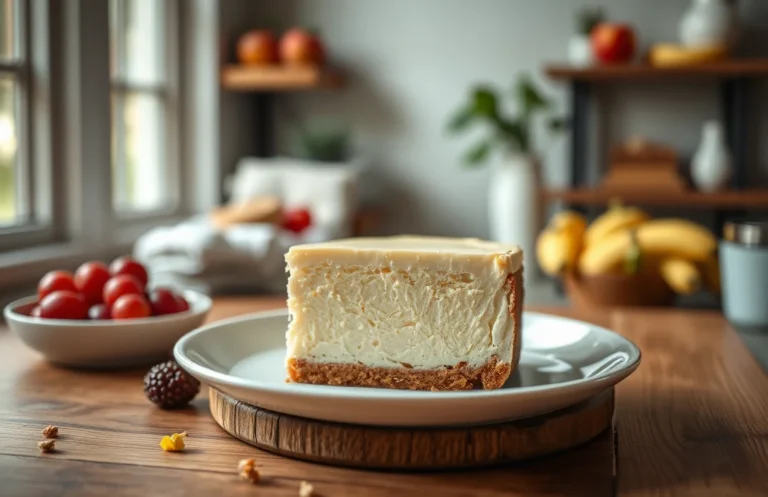
There’s nothing quite like a creamy, rich cheesecake to satisfy your dessert cravings. Imagine cutting into a perfectly chilled slice, the velvety filling melting on your tongue, and the buttery crust providing just the right crunch. Cheesecake isn’t just a treat; it’s a celebration of flavor, making it perfect for any occasion.
Ready to learn how to freeze your homemade cheesecake? You’ll discover the best methods to maintain its texture and flavor, along with practical steps for thawing and serving it. Total time: 4 hours, Difficulty: Easy, Servings: 8.
| Prep Time | 20 minutes |
|---|---|
| Cook Time | 1 hour |
| Total Time | 4 hours |
| Servings | 8 |
| Difficulty | Easy |
Cheesecake Origins and Appeal
Cheesecake has a rich history that dates back to ancient Greece, where it was served to athletes during the first Olympic Games. Over the centuries, this creamy dessert has evolved into countless variations, making it a beloved treat across cultures. Understanding its origins and unique qualities helps us appreciate why cheesecake is not just a dessert but a cherished tradition, often served at celebrations and holidays.
- Ancient Greek Roots: The earliest known cheesecake recipe comes from Greece, made with simple ingredients like cheese, flour, and honey.
- Roman Influence: The Romans adopted and adapted the cheesecake, introducing it to various regions in Europe.
- Modern Variations: Today, cheesecake comes in numerous forms, including New York-style, Italian ricotta, and Japanese soufflé.
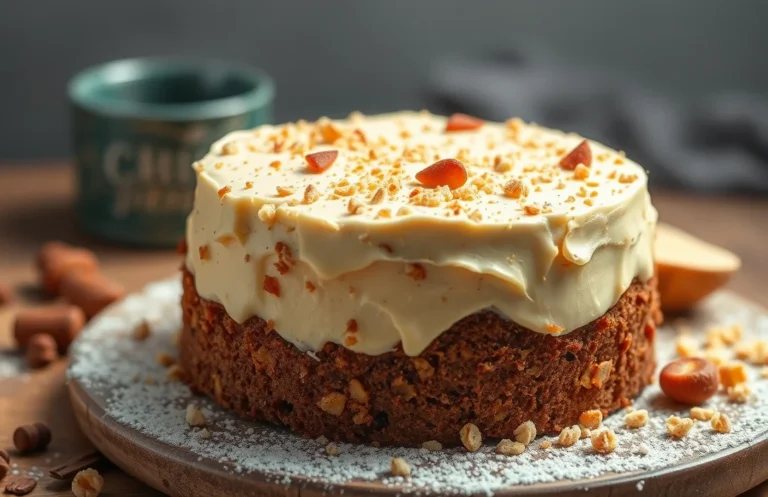
Cheesecake is celebrated for its creamy texture and rich flavor, making it a perfect choice for various occasions. It’s often a centerpiece at birthdays, weddings, and holiday gatherings, showcasing its versatility.
“Chef’s tip: Freeze your cheesecake for a delectable, chilled treat that’s perfect for hot days or as a make-ahead dessert.”
Freezing cheesecake can be an excellent way to preserve its freshness and extend its shelf life. The key to successfully freezing cheesecake lies in the method used, as well as how it’s thawed and served later. This ensures that the texture remains smooth and the flavor intact, allowing you to enjoy this delicious dessert even after some time has passed.
Ingredients for Freezing Cheesecake
When preparing to freeze your cheesecake, it’s crucial to ensure you have the right ingredients measured out properly. This not only maintains the texture and flavor of your cheesecake but also makes the freezing process smoother. Below is a complete list of ingredients you’ll need for a classic cheesecake that freezes beautifully.
| Item | Amount/Specification | Notes |
|---|---|---|
| Graham cracker crumbs | 1 ½ cups (150g) | For the crust; use gluten-free crackers if needed. |
| Granulated sugar | ¾ cup (150g) | Adjust if using sweetened toppings later. |
| Unsalted butter | ½ cup (115g) | Melted for the crust; can substitute with coconut oil. |
| Cream cheese | 4 packages (8 oz each; 900g total) | Make sure it’s softened for easy blending. |
| Sour cream | 1 cup (240g) | For creaminess; can substitute with Greek yogurt. |
| Vanilla extract | 2 teaspoons | Use pure extract for best flavor. |
| Eggs | 4 large | At room temperature for best mixing. |
- Make sure all your ingredients are at room temperature before starting to prevent lumps.
- For a richer flavor, consider adding a tablespoon of lemon juice to the filling.
- Wrap your cheesecake securely in plastic wrap and aluminum foil to avoid freezer burn.
- If you’re nervous about texture changes, freeze a small slice first to test before freezing the whole cake.
Essential Kitchen Tools
Having the right kitchen tools is essential for preparing and freezing cheesecake successfully. This section outlines the necessary equipment to ensure your cheesecake maintains its delicious flavor and creamy texture through the freezing process.
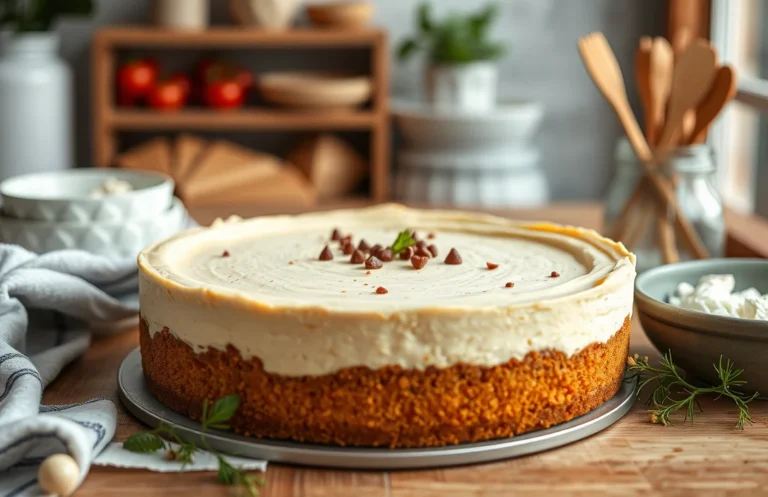
- Springform Pan: A 9-inch (23 cm) springform pan is ideal for cheesecake as it allows for easy removal without damaging the sides. Ensure it has a tight seal to prevent leaks during baking.
- Mixing Bowls: Use at least two mixing bowls: a large bowl for the cheesecake batter and a medium bowl for beating eggs or mixing other ingredients. Choose glass or stainless steel bowls, which are easier to clean and won’t retain odors.
- Electric Mixer: A hand or stand mixer will help achieve a smooth, creamy batter. Mix on medium speed until all ingredients are well combined and fluffy, usually about 3-5 minutes.
- Rubber Spatula: This tool is perfect for folding ingredients together without overmixing. Use it to scrape down the sides of the bowl and ensure everything is evenly incorporated.
- Plastic Wrap and Aluminum Foil: After baking, use plastic wrap to cover the cheesecake tightly before freezing. Then, wrap it in aluminum foil for extra protection against freezer burn.
- Sharp Knife: A sharp knife is critical for slicing the cheesecake cleanly, both before freezing and once it’s thawed. Clean the knife between cuts for neat slices.
- Freezer-Safe Container: If you prefer to cut the cheesecake before freezing, use an airtight, freezer-safe container to store individual slices. This prevents them from sticking together.
Freezing Cheesecake Step-by-Step
Freezing cheesecake is a fantastic way to preserve its creamy texture and rich flavor for future indulgence. By following these detailed steps, you can ensure that your cheesecake remains delicious and maintains its quality even after being frozen.
- Cool the Cheesecake: After baking your cheesecake, let it cool in the pan for about 1 hour at room temperature. This helps to prevent condensation from forming, which can make the crust soggy. Once it’s cool, refrigerate it for at least 4 hours, or ideally overnight, until fully set.
- Prepare for Freezing: Remove the cheesecake from the pan carefully. If you used a springform pan, gently loosen the sides with a knife before releasing the clasp. Place the cheesecake on a cutting board or a flat surface to make it easier to wrap.
- Wrap the Cheesecake: Use plastic wrap to cover the cheesecake tightly. Make sure to wrap it in at least two layers to prevent freezer burn. For added protection, you can also place it in an airtight freezer bag or a rigid freezer-safe container.
- Label and Freeze: Write the date and type of cheesecake on the wrapping or container. Place it in the freezer, where it can be stored for up to 3 months without losing flavor or texture. Remember, the sooner you consume it, the better it will taste!
- Thawing the Cheesecake: To thaw, transfer the cheesecake from the freezer to the refrigerator and let it sit for about 8 hours or overnight. This gradual thawing helps maintain its creamy texture. If you’re in a hurry, you can leave it at room temperature for about 2 hours, but be cautious to not let it sit out too long.
Expert Tips for Perfect Cheesecake
Freezing cheesecake can be a great way to preserve its deliciousness for later enjoyment. However, to maintain the creamy texture and rich flavor, there are some key practices to follow. Here are essential tips to ensure your frozen cheesecake is just as delightful when you’re ready to indulge.
- Wrap it tightly: After your cheesecake has cooled completely, wrap it securely in plastic wrap. This prevents freezer burn and keeps the moisture locked in. For an extra layer of protection, place the wrapped cheesecake in an airtight container or a freezer bag.
- Freeze in slices: If you prefer to serve individual portions, consider cutting the cheesecake into slices before freezing. This allows you to thaw only what you need, ensuring the rest remains frozen and fresh. Use a sharp knife to slice and wrap each piece separately.
- Label and date: Clearly label your cheesecake with the date it was frozen. Cheesecake can be stored in the freezer for up to 3 months, but it’s best enjoyed within the first month for optimal flavor and texture.
- Thaw slowly: To maintain the creamy consistency, thaw your cheesecake overnight in the refrigerator. Avoid thawing at room temperature, as this can cause condensation to form, leading to a soggy crust.
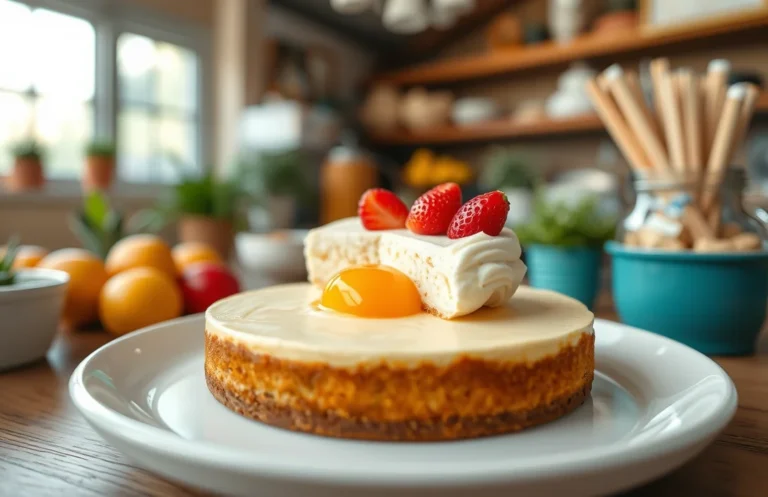
- Restore the topping: If your cheesecake has toppings, you may want to add fresh toppings after thawing. This can rejuvenate the appearance and enhance the flavor, making it taste freshly made.
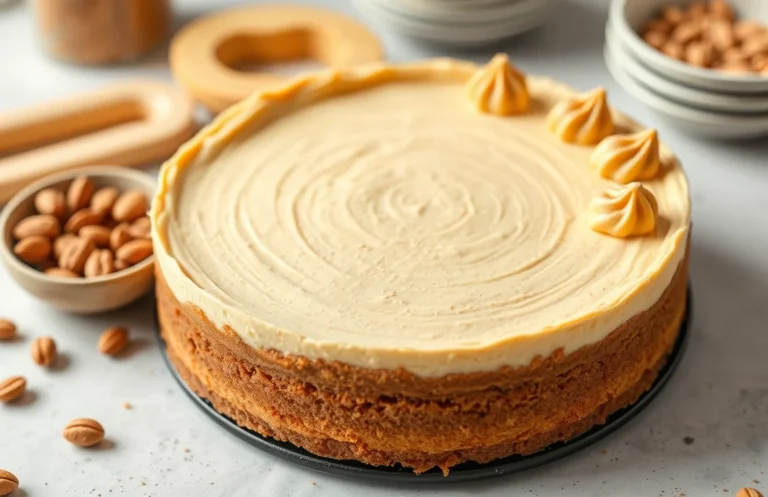
Cheesecake Variations for Freezing
Freezing cheesecake can be a delightful way to preserve various flavors and styles of this beloved dessert. Different cheesecake types may require unique freezing methods to maintain their texture and flavor, ensuring that every bite is as good as freshly made. Here’s how to freeze some popular variations effectively.
- Classic New York Cheesecake: Prepare your classic cheesecake and let it cool completely in the pan. Wrap it tightly in plastic wrap, ensuring there are no air pockets, then cover with aluminum foil. This method helps prevent freezer burn. To thaw, place it in the refrigerator for 6-8 hours before serving.
- Fruit-Topped Cheesecake: If your cheesecake has a fruit topping, it’s best to freeze the base separately from the topping. Freeze the unadorned cheesecake as mentioned above, and store the fruit topping in an airtight container. Thaw both in the refrigerator and add the topping just before serving for optimal freshness and texture.
- No-Bake Cheesecake: No-bake cheesecakes freeze exceptionally well. After setting in the fridge, wrap them in plastic wrap and then aluminum foil. They can be frozen for up to 2 months. To serve, thaw in the refrigerator overnight, and enjoy that creamy texture without compromising quality.
- Chocolate Cheesecake: Follow the same freezing method as the classic cheesecake. However, keep in mind that chocolate cheesecakes can sometimes develop a slight graininess due to the cocoa. Thawing slowly in the refrigerator will help maintain the silkiness of the texture.
- Mini Cheesecakes: These are perfect for freezing! Place them in a single layer on a baking sheet to freeze individually, then transfer to a freezer-safe bag. When ready to enjoy, simply grab a mini cheesecake and thaw it for about 1-2 hours at room temperature.
Chef’s tip: Always label your cheesecakes with the type and date frozen, so you can enjoy them at their best!
Serving Frozen Cheesecake
Once you’ve mastered freezing cheesecake, the next step is serving it to impress your friends and family. Properly thawed and paired with complementary flavors, your frozen cheesecake can be transformed into a delightful dessert experience.
Thawing Your Cheesecake
To ensure your cheesecake maintains its creamy texture, thaw it correctly:
- Remove the cheesecake from the freezer and take off any plastic wrap.
- Place it in the refrigerator for 6-8 hours or overnight. This slow thawing helps preserve the texture.
- If you’re short on time, you can thaw it at room temperature for about 1-2 hours. Just keep an eye on it to prevent it from becoming too soft.
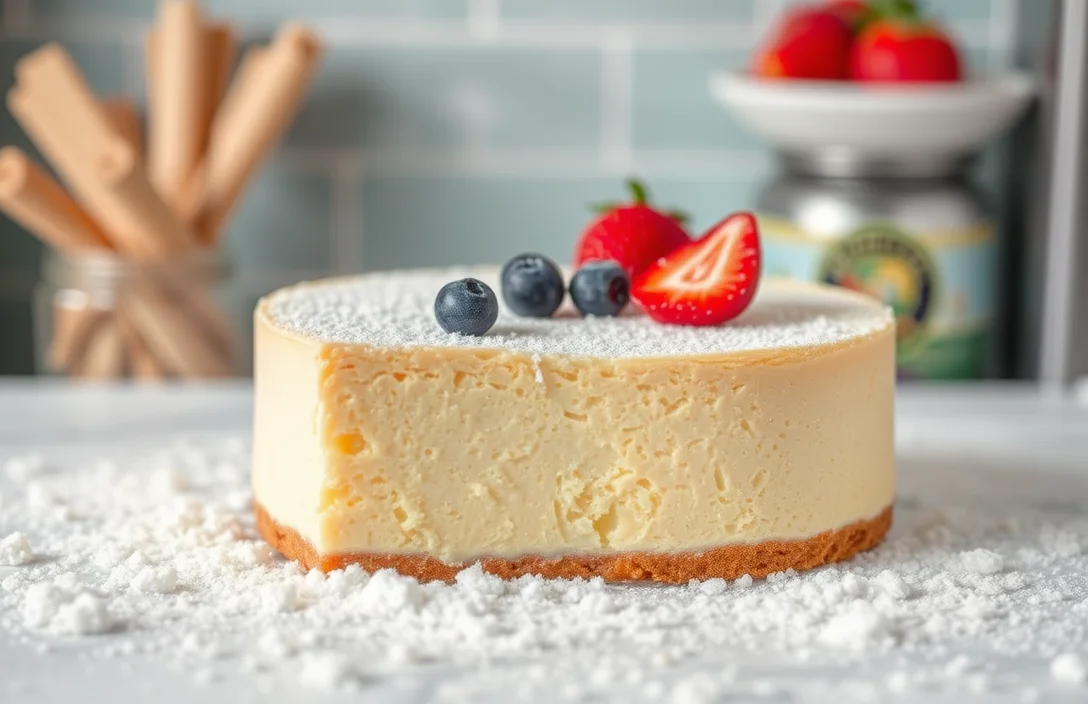
Serving Suggestions
When it comes to serving your cheesecake, consider these delightful pairing ideas:
- Top with fresh fruits like strawberries, blueberries, or raspberries for a burst of flavor and color.
- Drizzle with chocolate or caramel sauce for an indulgent touch.
- Serve with whipped cream or a dollop of crème fraîche to enhance creaminess.
Pro Tips
“Chef’s tip: For an elegant presentation, slice the cheesecake with a warm knife. Simply dip the knife in hot water, wipe it clean, and slice. This helps achieve clean edges!”
Quick Reference Guide
| Ingredient | Amount |
|---|---|
| Fresh Fruits | 1 cup |
| Chocolate Sauce | ½ cup |
| Whipped Cream | 1 cup |
By following these thawing and serving suggestions, you’ll create a memorable dessert that showcases your homemade cheesecake perfectly. Enjoy every delicious slice!
Quick Summary
| Prep Time | Cook Time | Total Time | Servings |
|---|---|---|---|
| 20 minutes | 60 minutes | 1 hour 20 minutes | 8 slices |
- Chill before freezing: Cool the cheesecake completely at room temperature before placing it in the freezer.
- Wrap tightly: Use plastic wrap followed by aluminum foil to prevent freezer burn.
- Freeze for up to 3 months: Ensure it’s well-wrapped to maintain flavor and texture.
- Thaw in the fridge: For best results, thaw the cheesecake overnight in the refrigerator before serving.
- Use a springform pan: This makes removing the cheesecake easier after freezing and thawing.
- Portion before freezing: Cut into slices before freezing for quick thawing and serving later.
Frequently Asked Questions
Can I make this ahead of time? How to store and reheat?
You can definitely make cheesecake ahead of time and store it in the refrigerator for up to 5 days. For reheating, simply let it sit at room temperature for about 30 minutes before serving to regain its creamy texture.
What can I substitute for cream cheese?
If you’re looking for a substitute, you can use mascarpone cheese for a similar creamy texture, or a mix of Greek yogurt and sour cream for a lighter option. Keep in mind that the flavor may slightly differ.
How do I know when it’s done?
Your cheesecake is done when the edges are set but the center still has a slight jiggle when you gently shake the pan. It will continue to firm up as it cools, so don’t overbake!
Can I freeze this? How long does it last?
Yes, you can freeze cheesecake for up to 3 months when properly wrapped. Make sure to wrap it tightly in plastic wrap and then in aluminum foil to prevent freezer burn.
What if I don’t have a springform pan?
If you don’t have a springform pan, you can use a regular cake pan lined with parchment paper, allowing for easy removal. Just be careful when slicing to avoid damaging the cheesecake.

- Decadent Peanut Butter No-Bake Cheesecake: Easy Recipe to Indulge - April 3, 2026
- Delicious Mango No-Bake Cheesecake: Step-by-Step Recipe - April 3, 2026
- Decadent Raspberry No-Bake Cheesecake: Easy Step-by-Step Recipe - April 3, 2026