Make Cheesecake Up to 3 Days Ahead: Storage Tips & Tricks
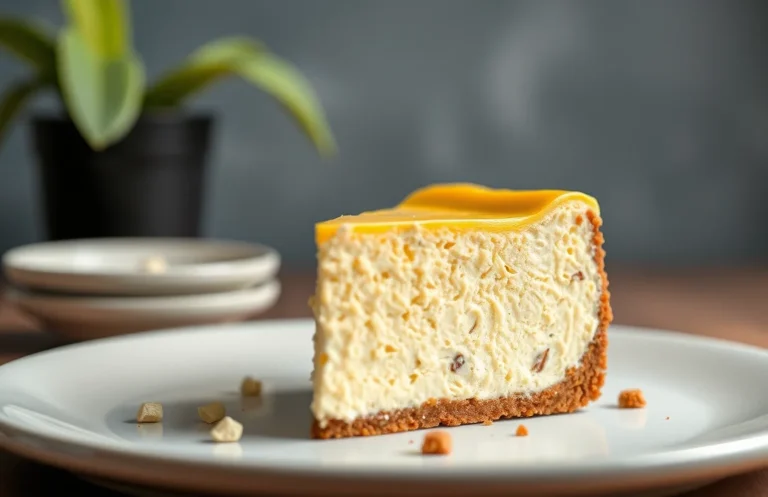
Cheesecake is one of those desserts that feels like a warm hug — creamy, rich, and utterly indulgent. Whether it’s a classic New York-style cheesecake or a fruity variation, it’s the go-to treat for celebrations or a cozy night in. Just imagine that velvety texture melting in your mouth, topped with fresh berries or a luscious chocolate drizzle!
Here’s what you need to know: you can make cheesecake 1-2 days in advance for optimal flavor and texture, or up to 3 months if you freeze it. This recipe serves 8 and is rated as moderate in difficulty.
| Prep Time | Cook Time | Total Time | Servings | Difficulty |
|---|---|---|---|---|
| 20 minutes | 60 minutes | 1 hour 20 minutes | 8 | Moderate |
Cheesecake Origins and Tradition
Cheesecake has a rich history that dates back thousands of years, representing various cultures and traditions around the world. Understanding its origins and significance can help you appreciate the nuances of preparing this beloved dessert, including its storage and preparation timeline.
- Ancient Roots: The earliest known cheesecake recipe comes from ancient Greece, where it was served to athletes during the first Olympic Games in 776 B.C. It was made with simple ingredients like cheese, honey, and flour, symbolizing nourishment and celebration.
- Cultural Significance: Throughout history, cheesecake has been favored for various celebrations, from weddings to holidays. Its creamy texture and sweet flavor make it a delightful centerpiece for gatherings, tying it deeply to family traditions and moments of joy.
- Modern Variations: Today, cheesecake comes in numerous styles—New York, no-bake, and even vegan alternatives. Each variation offers unique flavor profiles and textures, which can influence how you prepare and store them, particularly regarding when to make them ahead of time.
When considering how far in advance you can make a cheesecake, it’s important to know that most cheesecakes taste best after resting in the fridge for at least 24 hours. This resting period allows the flavors to meld beautifully and enhances the overall texture. A well-prepared cheesecake can be made up to a week in advance, so long as it’s properly stored in the refrigerator. Understanding these traditions and variations not only adds depth to your cheesecake-making experience but also helps you plan effectively for your next gathering.
Ingredients for Perfect Cheesecake
Understanding the ingredients for a cheesecake is essential not only for flavor but also for determining how far in advance you can prepare it. High-quality ingredients contribute to the richness and texture, which can affect how well the cheesecake holds up over time. Here’s a detailed list of what you’ll need.
| Item | Amount/Specification | Notes |
|---|---|---|
| Cream Cheese | 24 oz (680g), softened | Use full-fat for best results. |
| Sour Cream | 1 cup (240ml) | This adds creaminess and tang. |
| Granulated Sugar | 1 cup (200g) | Adjust according to sweetness preference. |
| Vanilla Extract | 1 teaspoon (5ml) | Pure vanilla extract is recommended. |
| Eggs | 3 large | Room temperature for better blending. |
| Graham Cracker Crumbs | 1 ½ cups (150g) | For the crust; can substitute with gluten-free crumbs. |
| Unsalted Butter | ½ cup (115g), melted | Combines with crumbs for crust. |
- Storage Tip: If making in advance, store the cheesecake in an airtight container in the refrigerator for up to 5 days.
- Flavor Tip: Cheesecake flavors often improve after a day in the fridge, so making it 1-2 days ahead can be beneficial.
- Texture Tip: Freezing is an option; wrap tightly and it can last for up to 2 months. Just make sure to thaw in the refrigerator overnight before serving.
Essential Kitchen Tools for Cheesecake
Creating the perfect cheesecake requires not just the right ingredients, but also the right tools. Having the proper equipment can significantly influence the outcome of your cheesecake, especially in terms of texture and flavor. Here’s a comprehensive list of essential tools you’ll need to prepare and bake your cheesecake effectively.
- Baking Pan: A 9-inch springform pan is ideal for cheesecakes. The removable sides allow for easy release, helping maintain the cheesecake’s shape. If using a standard cake pan, line it with parchment paper for easier removal.
- Mixing Bowls: Use at least two large mixing bowls—one for the crust and another for the filling. Choose bowls that are sturdy and can withstand vigorous mixing. Glass or stainless steel are great options as they won’t retain odors or stains.
- Electric Mixer: A stand mixer or hand mixer is essential for achieving a smooth, creamy filling. Mix on medium speed for about 2-3 minutes until the mixture is well combined and fluffy. Be careful not to overmix, which can incorporate too much air and lead to cracks.
- Rubber Spatula: Use a rubber spatula to scrape down the sides of the bowls and ensure all ingredients are fully incorporated. This tool is also perfect for spreading the filling evenly in the pan.
- Measuring Cups and Spoons: Accurate measurements are crucial for cheesecake success. Use dry measuring cups for flour and sugar, and liquid measuring cups for cream and liquids to ensure precision.
- Food Processor: If you’re making a crumb crust, a food processor can quickly pulse the graham crackers or cookies into fine crumbs. This ensures an even texture, which is key to a good crust.
Chef’s tip: Always have your ingredients at room temperature for better mixing and a smoother texture.
Step-by-Step Cheesecake Preparation
Knowing how to prepare and bake your cheesecake properly can help you plan when to make it in advance. Whether you’re making a classic New York style or a flavored variation, timing is crucial for achieving the best flavor and texture.
- Mixing the Batter: Start by preheating your oven to 325°F (160°C). In a large mixing bowl, combine 16 ounces (450g) of softened cream cheese, ½ cup (100g) granulated sugar, and 1 teaspoon vanilla extract. Use an electric mixer on medium speed to beat until the mixture is smooth and creamy, about 2-3 minutes. Scrape down the sides of the bowl to ensure even mixing.
- Incorporate Eggs: Add 3 large eggs, one at a time, mixing on low speed after each addition until just combined. This prevents overmixing, which can lead to cracks in your cheesecake. The batter should look thick and glossy, with no lumps remaining.
- Prepare the Crust: For a graham cracker crust, mix 1 ½ cups (150g) of crushed graham crackers with ½ cup (100g) of melted butter and ¼ cup (50g) of sugar. Press this mixture firmly into the bottom of a 9-inch (23cm) springform pan. Bake the crust in the preheated oven for 10 minutes, then let it cool slightly.
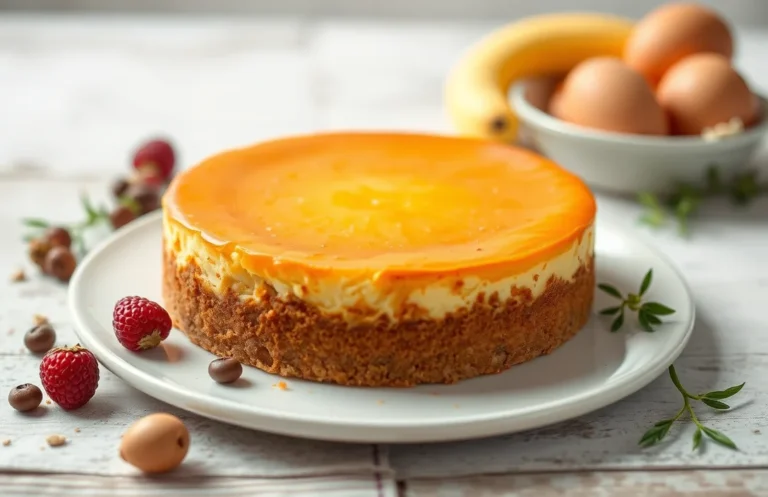
- Baking the Cheesecake: Pour the batter over the cooled crust and smooth the top with a spatula. Bake in the oven at 325°F (160°C) for 55-60 minutes. The edges should be set, but the center will still have a slight jiggle; this is normal and will firm up as it cools. Avoid opening the oven door during baking, as it can cause the cheesecake to crack.
- Cooling: Once baked, turn off the oven and crack the door open. Let the cheesecake cool in the oven for 1 hour to prevent sudden temperature changes. Afterward, remove it from the oven and refrigerate for at least 4 hours, preferably overnight. This allows the flavors to meld and the texture to set perfectly.
Storage Tips for Cheesecake
Knowing how to properly store cheesecake can significantly affect its flavor and texture, especially if you’re making it in advance. Here’s a guide on how long you can keep your cheesecake in the refrigerator or freezer, ensuring it remains delicious and fresh.
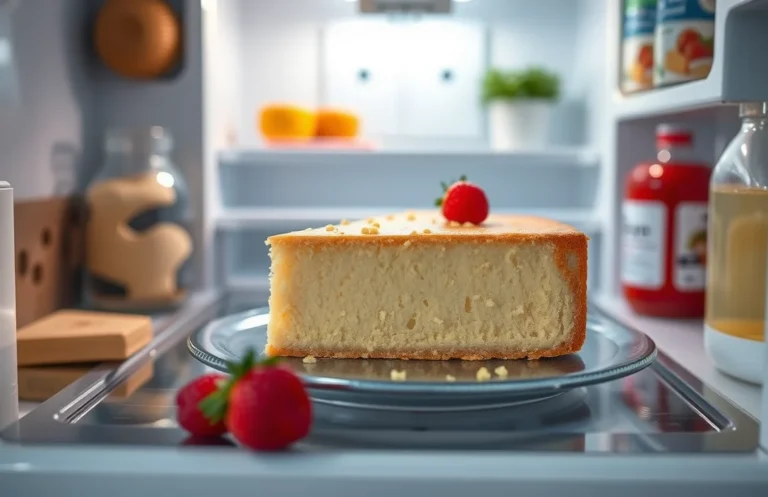
Refrigeration Duration
- Once your cheesecake has cooled to room temperature, cover it tightly with plastic wrap or aluminum foil. This helps prevent it from absorbing any odors from the fridge. Stored this way, your cheesecake can last for up to 5-7 days in the refrigerator.
- For the best flavor and texture, aim to consume your cheesecake within the first 3 days. After this, it may still be safe to eat, but the texture can become denser and the flavor less vibrant.
Freezing Tips
- If you need to store your cheesecake for longer, freezing is an excellent option. Wrap the cheesecake tightly in plastic wrap, followed by aluminum foil to prevent freezer burn. Properly wrapped, it can last for up to 2-3 months in the freezer.
- When you’re ready to enjoy your frozen cheesecake, transfer it to the refrigerator and let it thaw overnight. This slow thawing helps maintain its creamy texture. Avoid microwaving or thawing at room temperature, as it can lead to a watery or grainy consistency.
Cheesecake Variations and Modifications
Understanding how different variations of cheesecake affect preparation and storage can help you plan your baking efficiently. Whether you’re making a traditional cheesecake, a gluten-free version, or a vegan alternative, knowing the specifics can ensure the best results in flavor and texture.
-
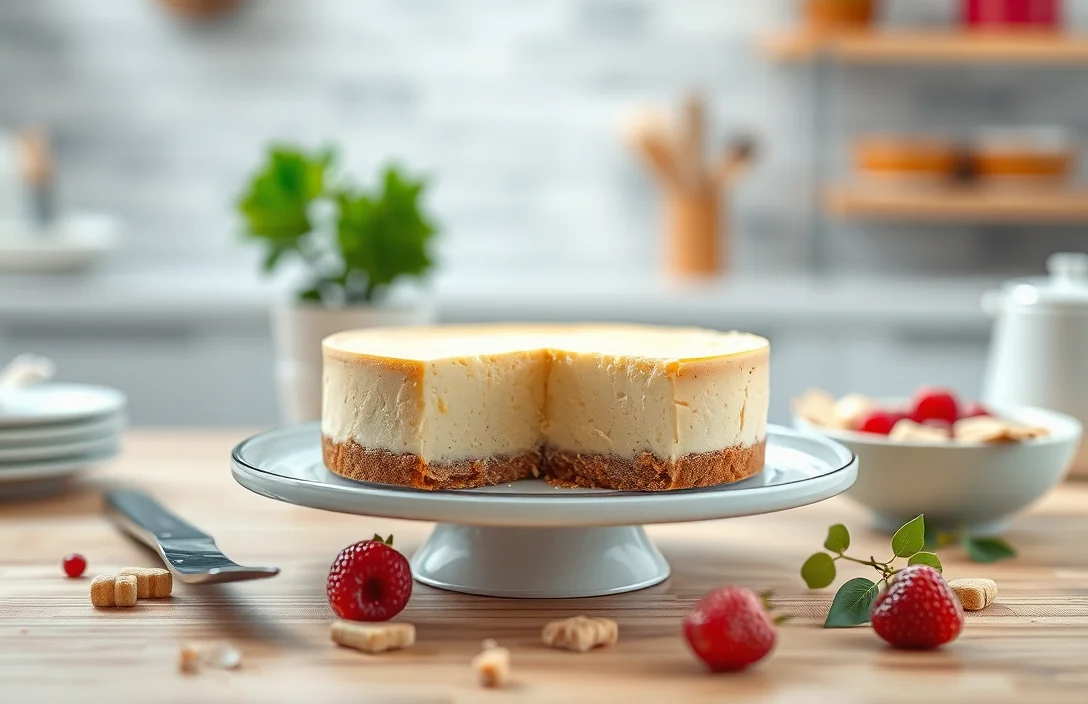
Traditional Cheesecake
For a classic cheesecake, you can prepare it up to 3 days in advance. Store it covered in the refrigerator to maintain its creamy texture. As it sits, the flavors will meld, enhancing the overall taste.
-
Gluten-Free Cheesecake
If you’re making a gluten-free cheesecake using almond flour or gluten-free graham crackers, the same 3-day advance preparation applies. Ensure the crust is fully set before chilling. Keep in mind that gluten-free crusts can become soggy if left too long, so consume within 3 days for optimal texture.
-
Vegan Cheesecake
Vegan cheesecakes, often made with cashews or tofu, can be made 2-3 days in advance as well. Store them in an airtight container in the fridge. The flavors can intensify over time, but be cautious; the texture may change slightly, so serve it chilled for the best experience.
-
Common Mistakes
Do not rush the cooling process. Allow cheesecakes to cool completely before refrigerating; otherwise, condensation can form, affecting texture. Also, avoid freezing cheesecakes unless specified in the recipe, as thawing can alter the creamy consistency.
Serving and Pairing Suggestions
Serving your cheesecake beautifully enhances the overall experience, and knowing how far in advance you can prepare it allows you to plan accordingly. Here are some delightful garnishes and drink pairings that can elevate your cheesecake to the next level.
Plating Tips
Presentation is key when serving cheesecake. Here are some ideas to make your dessert visually appealing:
- Use a springform pan to create a clean edge, and remove it carefully to showcase the smooth sides.
- Top with fresh whipped cream (1 cup heavy cream, whipped until soft peaks form) for a light, airy contrast.
- Add seasonal fruits like strawberries, blueberries, or raspberries for a pop of color and freshness.
- Drizzle with chocolate or caramel sauce for a decadent touch. Melt ½ cup of chocolate chips with 2 tablespoons of butter for a rich glaze.
Drink Pairings
Complement your cheesecake with the right beverage to enhance the flavors:
| Drink | Flavor Profile |
|---|---|
| Coffee | The bitterness pairs beautifully with the sweetness of cheesecake. |
| Sweet Riesling | This wine’s fruity notes enhance the dessert’s creaminess. |
| Herbal Tea | A calming chamomile or mint tea offers a refreshing contrast. |
Chef’s tip: Serve your cheesecake chilled, but allow it to sit at room temperature for about 15-20 minutes before slicing for easier serving.
Quick Summary
| Prep Time | Cook Time | Total Time | Servings |
|---|---|---|---|
| 20 minutes | 60 minutes | 4 hours (includes chilling) | 8 servings |
- Prepare crust: Combine 1.5 cups crushed graham crackers with 1/2 cup melted butter.
- Mix filling: Beat 24 oz cream cheese with 1 cup sugar and 3 eggs until smooth.
- Bake: Pour filling into crust and bake at 325°F for 60 minutes.
- Cool: Let cheesecake cool for 1 hour before refrigerating.
- Chill: Refrigerate for at least 3 hours, ideally overnight, before serving.
- Key tip: Make cheesecake up to 3 days in advance for best flavor.
- Key tip: Use room temperature ingredients for a smoother batter.
- Key tip: Prevent cracks by cooling slowly in the oven with the door ajar.
Frequently Asked Questions
Can I make this ahead of time? How to store and reheat?
You can make cheesecake up to 2-3 days in advance and store it in the refrigerator, covered tightly with plastic wrap. If you need to reheat, do so gently in the oven at 300°F (150°C) for about 10-15 minutes, just until warmed through.
What can I substitute for cream cheese?
If you need a substitute, you can use mascarpone cheese or a mixture of Greek yogurt and sour cream in equal parts. Keep in mind that the texture and flavor may vary slightly.
How do I know when it’s done?
Your cheesecake is done when the edges are set and the center is still slightly jiggly, which usually takes about 50-60 minutes at 325°F (160°C). It will continue to firm up as it cools, so don’t overbake it!
Can I freeze this? How long does it last?
You can freeze cheesecake for up to 2-3 months if wrapped tightly in plastic wrap and aluminum foil. Just remember to let it thaw in the refrigerator overnight before serving.
Why did my cheesecake turn out cracked?
If your cheesecake has cracks, it may be due to overbaking or a sudden temperature change while cooling. To avoid this, bake in a water bath and let it cool gradually in the oven with the door slightly ajar.

- Decadent Peanut Butter No-Bake Cheesecake: Easy Recipe to Indulge - April 3, 2026
- Delicious Mango No-Bake Cheesecake: Step-by-Step Recipe - April 3, 2026
- Decadent Raspberry No-Bake Cheesecake: Easy Step-by-Step Recipe - April 3, 2026