Is Cheesecake a Pie? Delicious Recipes and Clear Comparisons
Cheesecake is one of those desserts that feels like a warm hug — creamy, sweet, and utterly indulgent. Whether it’s a special occasion or just a cozy weeknight treat, this dessert never fails to impress. The rich texture and tangy flavor paired with a buttery crust create a symphony of taste that you won’t forget!
In this guide, we will clarify whether cheesecake is a pie while sharing some delicious recipes. You’ll find total time: 1 hour 30 minutes, difficulty: easy, and servings: 8.
| Prep Time | Cook Time | Total Time | Servings | Difficulty |
|---|---|---|---|---|
| 20 minutes | 50 minutes | 1 hour 30 minutes | 8 | Easy |
Cheesecake’s Delicious History
Cheesecake has a rich and fascinating history that spans centuries, revealing its significance across various cultures. Understanding its origins helps us appreciate the ongoing debate about whether it fits the definition of a pie.
- Ancient Origins: Cheesecake can be traced back to ancient Greece, where it was served to athletes during the first Olympic Games in 776 B.C. Made from simple ingredients like cheese, flour, and honey, it was a source of energy and nutrition for competitors.
- Roman Influence: The Romans adapted the Greek version, adding eggs and baking it in a pie crust. This marked an early instance of combining the cheesecake concept with pie elements, leading to varying interpretations over time.
- Cultural Variations: Across the globe, cheesecake has taken on many forms. For instance, the Italian ricotta cheesecake features a lighter texture, while the Japanese version is known for its fluffy, soufflé-like consistency. Each variation reflects regional tastes and ingredients, further complicating its classification.
- Modern Day: Today, cheesecake is often associated with rich, creamy versions made with cream cheese, and it frequently appears in dessert menus worldwide. Its evolution speaks to the diverse culinary practices that influence how we perceive and enjoy this beloved treat.
Cheesecake vs. Pie: Definitions
This section provides clear definitions of cheesecake and pie, helping to clarify the distinctions between these two beloved desserts. Understanding these definitions is essential in addressing the ongoing debate about whether cheesecake can be classified as a pie.
What is Cheesecake?
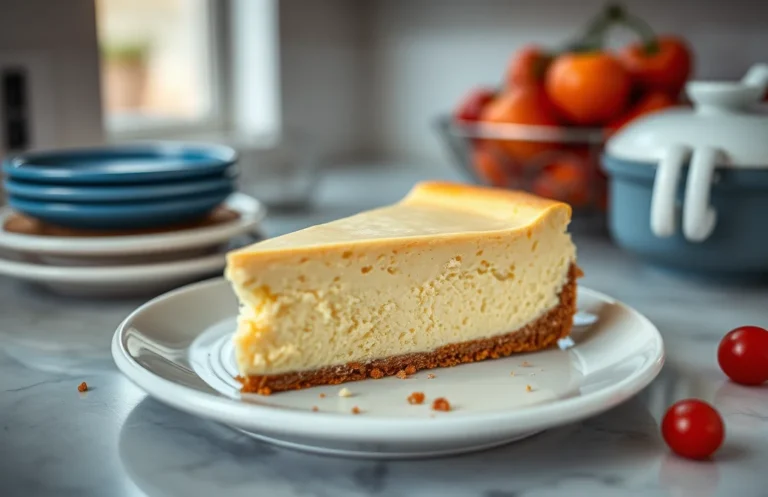
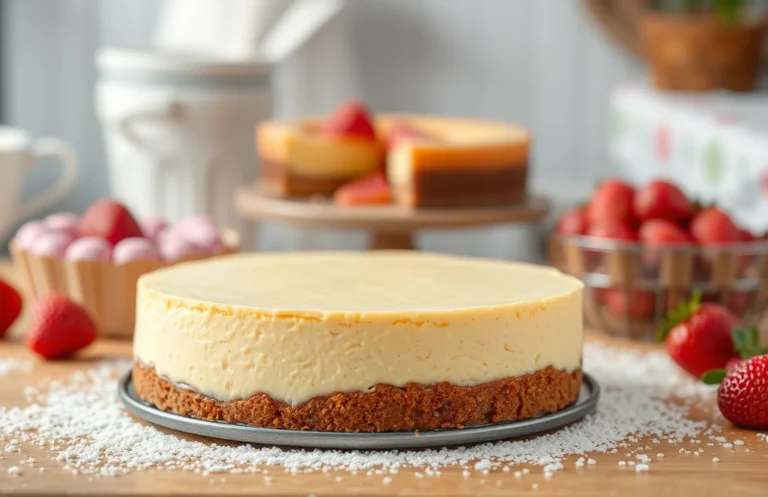
Cheesecake is a creamy dessert made primarily from cheese, typically cream cheese, combined with sugar, eggs, and flavoring. The mixture is poured over a crust, which is often made from crushed cookies or graham crackers. Cheesecakes can be baked or unbaked, and they can feature various toppings or flavorings such as fruit, chocolate, or caramel.
- Main Ingredients: Cream cheese, sugar, eggs, vanilla extract.
- Common Crust: Made from crushed graham crackers or cookies mixed with butter.
- Texture: Smooth and creamy, often dense, with a rich flavor profile.
What is Pie?
Pie is a baked dish typically consisting of a pastry crust filled with sweet or savory ingredients. The crust can be made from flour, butter, water, and sometimes sugar, and it can be either flaky or crumbly. Pies can be open-faced (top crust only) or covered with a full crust.
- Main Ingredients: Flour, butter, sugar, salt.
- Common Fillings: Fruits, custards, meats, or vegetables.
- Texture: Crispy or flaky crust with a soft filling that can range from creamy to chunky.
Chef’s tip: A good pie crust should feel tender and flaky before baking, while a cheesecake mixture should be smooth and well-blended.
Comparative Characteristics
Understanding the differences and similarities between cheesecake and pie is crucial for discerning how to classify these beloved desserts. This section will explore their texture, consistency, and crust variations to clarify whether cheesecake holds a place among pies.
Texture and Consistency
Cheesecake and pie differ significantly in texture and consistency:
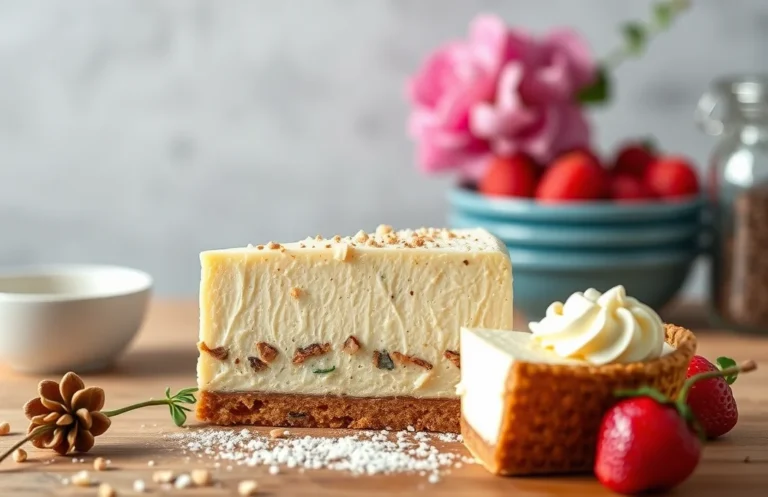
- Cheesecake: Creamy and dense, cheesecakes have a smooth, velvety texture that melts in your mouth. They can range from light and fluffy to rich and heavy, depending on the recipe.
- Pie: Typically has a flaky or crumbly texture with a filling that can be either creamy (like custard pie) or chunky (like fruit pie). The crust contributes to the overall bite and mouthfeel.
Crust Differences
The crust is a defining characteristic of both desserts:
| Type | Crust Composition | Common Ingredients |
|---|---|---|
| Cheesecake | Often a crumb crust | Graham cracker crumbs, butter, sugar |
| Pie | Flaky or crumbly crust | All-purpose flour, butter, shortening |
While cheesecake’s crust is typically made from crushed cookies or crackers, pie crusts are usually rolled out from dough, resulting in different textures and flavors. This distinction plays a significant role in how each dessert is perceived and enjoyed.
Chef’s tip: If your cheesecake cracks, it may have been baked at too high a temperature. Aim for a gentle 325°F (160°C) for a smooth surface.
Essential Cheesecake Ingredients
To create the perfect cheesecake, you need to gather a few essential ingredients that contribute to its rich, creamy texture and delicious flavor. Here, you’ll find the exact measurements required for both the crust and the filling, ensuring you have everything you need to make your cheesecake a delightful dessert.
For the Crust
| Item | Amount/Specification | Notes |
|---|---|---|
| Graham cracker crumbs | 1 ½ cups (150g) | Can substitute with gluten-free crumbs if needed |
| Sugar | ¼ cup (50g) | Adjust for sweetness preference |
| Unsalted butter | ½ cup (115g), melted | Ensure it’s fully melted for binding |
For the Filling
| Item | Amount/Specification | Notes |
|---|---|---|
| Cream cheese | 4 packages (8 oz each, 900g total) | Softened to room temperature for smooth mixing |
| Sugar | 1 cup (200g) | Use granulated sugar for best results |
| Sour cream | 1 cup (240ml) | Can substitute with Greek yogurt if desired |
| Vanilla extract | 1 teaspoon | For flavor enhancement |
| Eggs | 4 large | At room temperature for even blending |
- Tip: Make sure your cream cheese is at room temperature; this helps avoid lumps in your filling.
- Common mistake: Don’t overmix the filling; this can introduce too much air, leading to cracks during baking.
- Preheat your oven to 325°F (160°C) before starting the mixing process for best results.
Key Equipment and Prep Steps
Understanding the right kitchen tools and ingredient preparation is crucial for making an exceptional cheesecake. This section will outline the essential baking equipment you’ll need and how to prep your ingredients effectively for the best results.
- Springform Pan: A 9-inch springform pan is ideal for cheesecakes. The removable sides allow for easy removal without damaging the cake. Make sure to grease the bottom and sides with butter to prevent sticking.
- Mixing Bowls: Gather a medium bowl for mixing your crust ingredients and a large bowl for the cheesecake batter. Use glass or stainless steel bowls, as they are easy to clean and won’t retain odors.
- Electric Mixer: A hand mixer or stand mixer will make blending the cream cheese smooth and creamy. Ensure your cream cheese is at room temperature (about 70°F or 21°C) for the best consistency.
- Spatula: Use a rubber spatula for folding in ingredients gently. This helps maintain the airy texture of the batter without over-mixing.
- Measuring Cups and Spoons: Precise measurements are key to a successful cheesecake. Use dry measuring cups for the crust and liquid measuring cups for any liquids in the filling.
- Oven Thermometer: An oven thermometer will help ensure your oven is at the right temperature (usually 325°F or 163°C for cheesecake). This is important for even baking and preventing cracks.
Before starting, ensure all ingredients are prepped: crush the graham crackers for the crust and measure out your sugar, cream cheese, eggs, and flavorings. This helps streamline the process and keeps things organized.
Step-by-Step Cheesecake Recipe
This section will guide you through mixing the crust and baking the cheesecake, ensuring you achieve a perfect texture and flavor. Following these steps closely will help you determine whether cheesecake leans more towards pie or cake, based on its crust and filling composition.
Mixing the Crust
- Start by preheating your oven to 350°F (175°C). This temperature is crucial for achieving that golden, crispy crust.
- In a medium bowl, combine 1 ½ cups (150g) of graham cracker crumbs, ½ cup (100g) of granulated sugar, and ½ teaspoon of salt. Mix thoroughly to ensure even distribution of the sugar and salt.
- Next, melt ½ cup (115g) of unsalted butter in the microwave or on the stove until completely liquid. Let it cool slightly before adding it to the crumb mixture.
- Pour the melted butter into the dry ingredients and stir until the mixture resembles wet sand. Press this mixture firmly into the bottom and slightly up the sides of a 9-inch (23cm) springform pan, using the back of a measuring cup to create an even layer.
- Bake the crust in the preheated oven for 10 minutes, until it’s lightly browned and fragrant. Remove it from the oven and set aside to cool while you prepare the filling.
Baking the Cheesecake
- In a large mixing bowl, beat 24 ounces (680g) of cream cheese at room temperature with an electric mixer until smooth and creamy, about 3 minutes. Scrape down the sides of the bowl as needed.
- Gradually add in 1 cup (200g) of granulated sugar and beat for another 2-3 minutes until well combined and fluffy. The mixture should feel light and airy.
- Next, add 3 large eggs, one at a time, mixing on low speed after each addition just until incorporated. Avoid overmixing to prevent air bubbles, which can cause cracks.
- Stir in 1 teaspoon of vanilla extract and ½ cup (120ml) of sour cream, mixing until the mixture is smooth and homogenous. The filling should be creamy and glossy.
- Pour the cheesecake filling over the cooled crust and smooth the top using a spatula. Bake at 350°F (175°C) for 50-60 minutes. The edges should be set, while the center slightly jiggles when shaken. Do not open the oven door during the first 40 minutes of baking to ensure an even rise.
Tips for Perfect Cheesecake
Creating the perfect cheesecake requires attention to detail, especially when it comes to avoiding cracks and ensuring a creamy texture. These tips will help you achieve a beautiful cheesecake that not only tastes fantastic but also looks impressive on your table.
- Avoiding Cracks: To prevent those dreaded cracks on the surface of your cheesecake, make sure to bake it in a water bath. Wrap the outside of your springform pan with aluminum foil to keep water from seeping in. This method helps maintain a steady, moist temperature, which is crucial for preventing cracking.
- Mixing Techniques: When mixing your batter, avoid overmixing as this can incorporate too much air, leading to cracks. Mix just until the ingredients are combined and the batter is smooth. A good tip is to mix the cream cheese until it’s creamy and lump-free before adding eggs, which helps maintain a thick and creamy consistency.
- Cooling Gradually: After baking, allow your cheesecake to cool in the oven with the door slightly ajar for about 1 hour. This gradual cooling process helps prevent temperature shock, which can cause the cheesecake to crack as it cools down. Afterward, refrigerate for at least 4 hours, preferably overnight, before serving.
- Testing for Doneness: To check if your cheesecake is done, gently shake the pan; the center should still have a slight jiggle but not be liquid. If it looks too liquidy, give it a few more minutes in the oven. Remember, it will continue to firm up as it cools.
Cheesecake Variations and Substitutions
This section highlights delicious variations of cheesecake and dietary substitutions to accommodate different preferences and needs. Understanding these options can enhance your cheesecake experience and ensure everyone at the table can enjoy a slice.
Flavored Cheesecakes
Flavored cheesecakes offer a delightful twist on the classic recipe. Here are some popular variations:
- Chocolate Cheesecake: Add ½ cup of unsweetened cocoa powder to your cheesecake batter for a rich chocolate flavor.
- Fruit Swirl Cheesecake: Incorporate 1 cup of pureed fruit like strawberries or blueberries into the batter before baking.
- Caramel Cheesecake: Drizzle ½ cup of caramel sauce into the batter and swirl with a knife for a decadent treat.
Gluten-Free Options
If you’re catering to gluten-free diets, making substitutions is easy:
- Use 1 ½ cups of gluten-free graham cracker crumbs in place of regular crumbs for the crust.
- Ensure all other ingredients, such as cream cheese and sugar, are certified gluten-free.
Chef’s tip: Always check labels for hidden gluten in ingredients like flavored extracts or pre-packaged products.
| Flavor Variation | Main Ingredient | Preparation Time |
|---|---|---|
| Chocolate Cheesecake | ½ cup cocoa powder | 15 minutes |
| Fruit Swirl Cheesecake | 1 cup fruit puree | 10 minutes |
| Caramel Cheesecake | ½ cup caramel sauce | 15 minutes |
Experimenting with flavors and dietary needs ensures that cheesecake can be enjoyed by everyone, regardless of their preferences or restrictions.
Serving and Pairing Ideas
Cheesecake is not only a delicious dessert but also a versatile one that can be served in various ways. How you present it and what you pair it with can elevate the experience, making it memorable for gatherings or a simple treat at home.
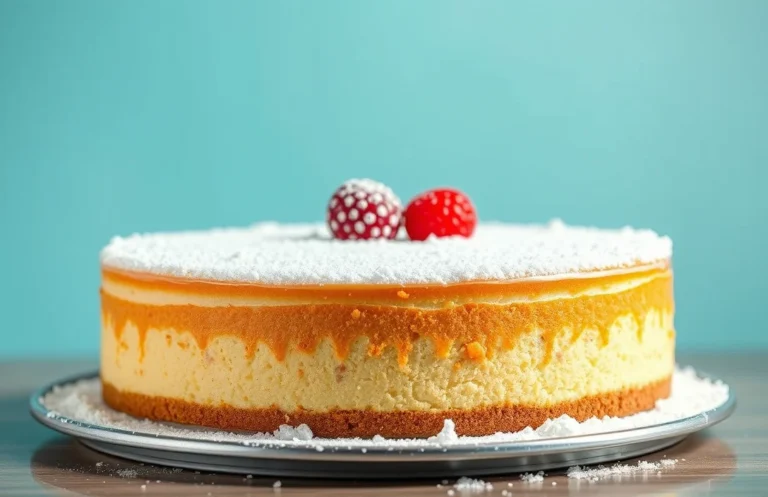
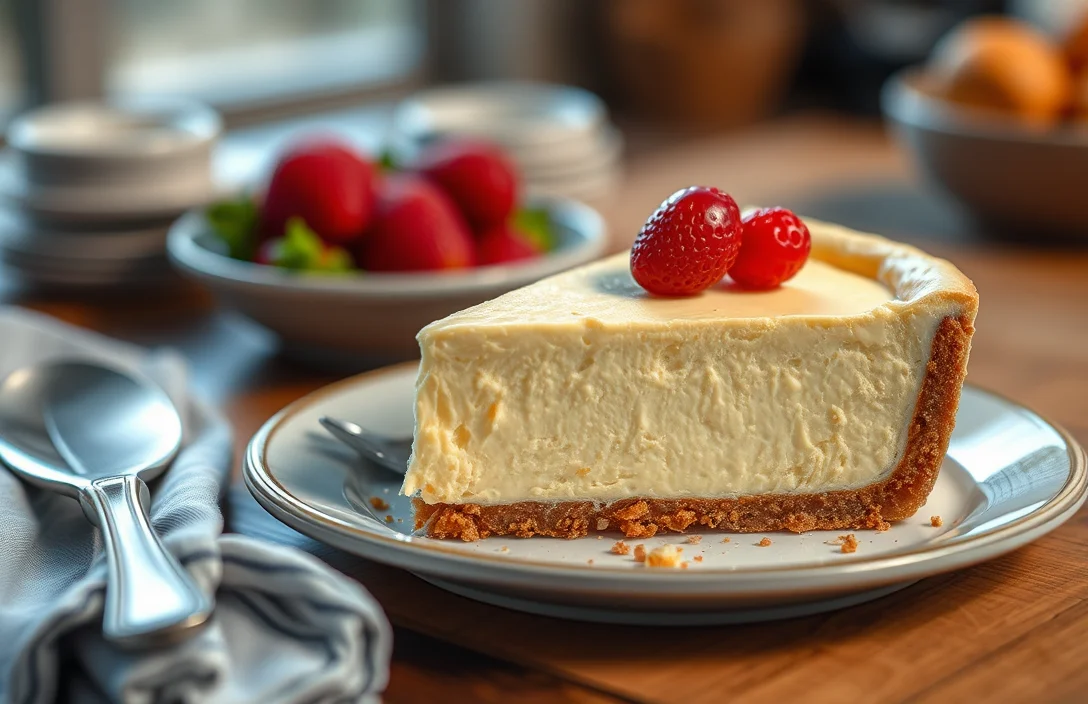
- Presentation Tips: A well-presented cheesecake can be a showstopper. Consider garnishing your cheesecake with fresh fruit like strawberries or blueberries, or a drizzle of chocolate or caramel sauce. A simple dusting of powdered sugar adds a touch of elegance. For a refined look, slice the cheesecake with a hot knife (run it under hot water and dry it) to get clean edges.
- Beverage Pairings: The right drink can enhance the flavors of your cheesecake. For classic New York-style cheesecake, a glass of dessert wine like Sauternes or a light sparkling wine such as Prosecco works beautifully. If you prefer coffee, a rich espresso or a creamy cappuccino can complement the creamy texture of the cheesecake.
- Seasonal Suggestions: In the summer, serve your cheesecake with a refreshing berry compote or a scoop of lemon sorbet on the side. In the fall, consider adding spiced caramel sauce or apple cider syrup to bring warmth to the flavors. For winter gatherings, a warm chocolate sauce drizzled over a slice can make it feel more festive.
Quick Summary
| Prep Time | Cook Time | Total Time | Servings |
|---|---|---|---|
| 20 minutes | 60 minutes | 1 hour 20 minutes | 8 servings |
- Crust preparation: Use crushed graham crackers mixed with 1/4 cup melted butter.
- Filling blend: Beat 16 oz cream cheese until smooth, then add 1 cup sugar and 1 tsp vanilla.
- Baking temperature: Preheat oven to 325°F (163°C) for even cooking.
- Water bath: Place the cheesecake pan in a larger pan filled with water to prevent cracking.
- Cooling time: Allow cheesecake to cool in the oven with the door ajar for 1 hour.
- Tip 1: Use room temperature ingredients for a smoother batter.
- Tip 2: Don’t overmix once you add eggs to avoid too much air and cracking.
Frequently Asked Questions
Can I make this cheesecake ahead of time? How do I store and reheat it?
You can absolutely make this cheesecake up to 2 days in advance. Store it in the refrigerator, covered tightly with plastic wrap, and enjoy it cold or let it sit at room temperature for about 30 minutes before serving.
What can I substitute for cream cheese?
If you need a substitute for cream cheese, you can use mascarpone cheese for a similar texture and flavor. Alternatively, a mixture of ricotta cheese and sour cream can also work well.
How do I know when my cheesecake is done?
Your cheesecake is done when the edges are set but the center still has a slight jiggle when you gently shake the pan. It should also be slightly puffed and not crack on the surface.
Can I freeze this cheesecake? How long does it last?
You can freeze cheesecake for up to 3 months if wrapped tightly in plastic wrap and aluminum foil. Thaw it overnight in the refrigerator before serving for the best texture.
What if I don’t have a springform pan?
If you don’t have a springform pan, you can use a 9-inch round cake pan lined with parchment paper to help with easy removal. Just run a knife around the edges and invert it onto a plate when ready to serve.